Rostock MAX v2 Assembly Guide
It's specifically designed to mount on the newly redesigned effector platform and the included
30mm squirrel cage fan.
Download, extract and load the layer fan model into MatterControl, just as you did for the
PEEK fan. The printing parameters are the same. Make sure you've got the same slicing configuration
you used as last time and hit the
Start
button!
When you're able to remove the part from
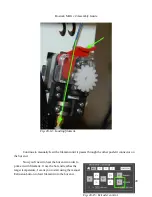
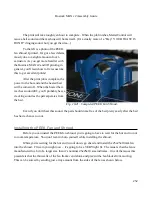
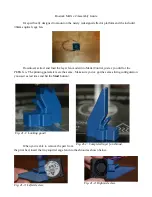
the print bed, insert the tiny squirrel cage fan into the shroud as shown below.
257
Fig. 21-1: Looking good!
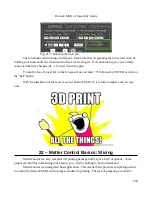
Fig. 21-2: Completed layer fan shroud.
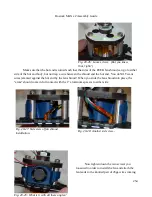
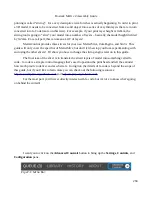
Fig. 21-3: Left side view.
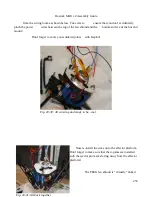
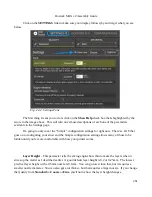
Fig. 21-4: Right side view.
Summary of Contents for Rostock MAX v2
Page 25: ...Rostock MAX v2 Assembly Guide Melamine Parts Sheet 1 25 ...
Page 26: ...Rostock MAX v2 Assembly Guide Melamine Parts Sheet 2 Melamine Parts Sheet 3 26 ...
Page 27: ...Rostock MAX v2 Assembly Guide Melamine Parts Sheet 4 27 ...
Page 171: ...Rostock MAX v2 Assembly Guide 171 Fig 14 8 Spool holder support installed ...


