Rostock MAX v2 Assembly Guide
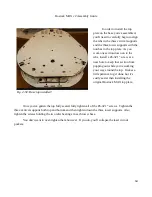
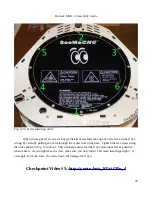
When you've got all six screws loosely installed, carefully take up any extra slack in the Onyx
wiring by carefully pulling any extra through the center hole in the base. Tighten the six screws using
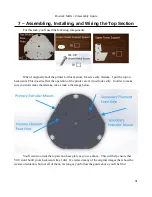
the order shown in Fig. 5-32 above. This will help ensure that the Onyx remains as flat as possible
when it heats. As you tighten each screw, make sure you only turn it a bit more than finger tight – if
you apply too much force, the screw head will damage the Onyx.
Checkpoint Video #5:
78
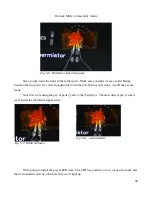
Fig. 5-32: Screw fastening order.
Summary of Contents for Rostock MAX v2
Page 25: ...Rostock MAX v2 Assembly Guide Melamine Parts Sheet 1 25 ...
Page 26: ...Rostock MAX v2 Assembly Guide Melamine Parts Sheet 2 Melamine Parts Sheet 3 26 ...
Page 27: ...Rostock MAX v2 Assembly Guide Melamine Parts Sheet 4 27 ...
Page 171: ...Rostock MAX v2 Assembly Guide 171 Fig 14 8 Spool holder support installed ...

