Rostock MAX v2 Assembly Guide
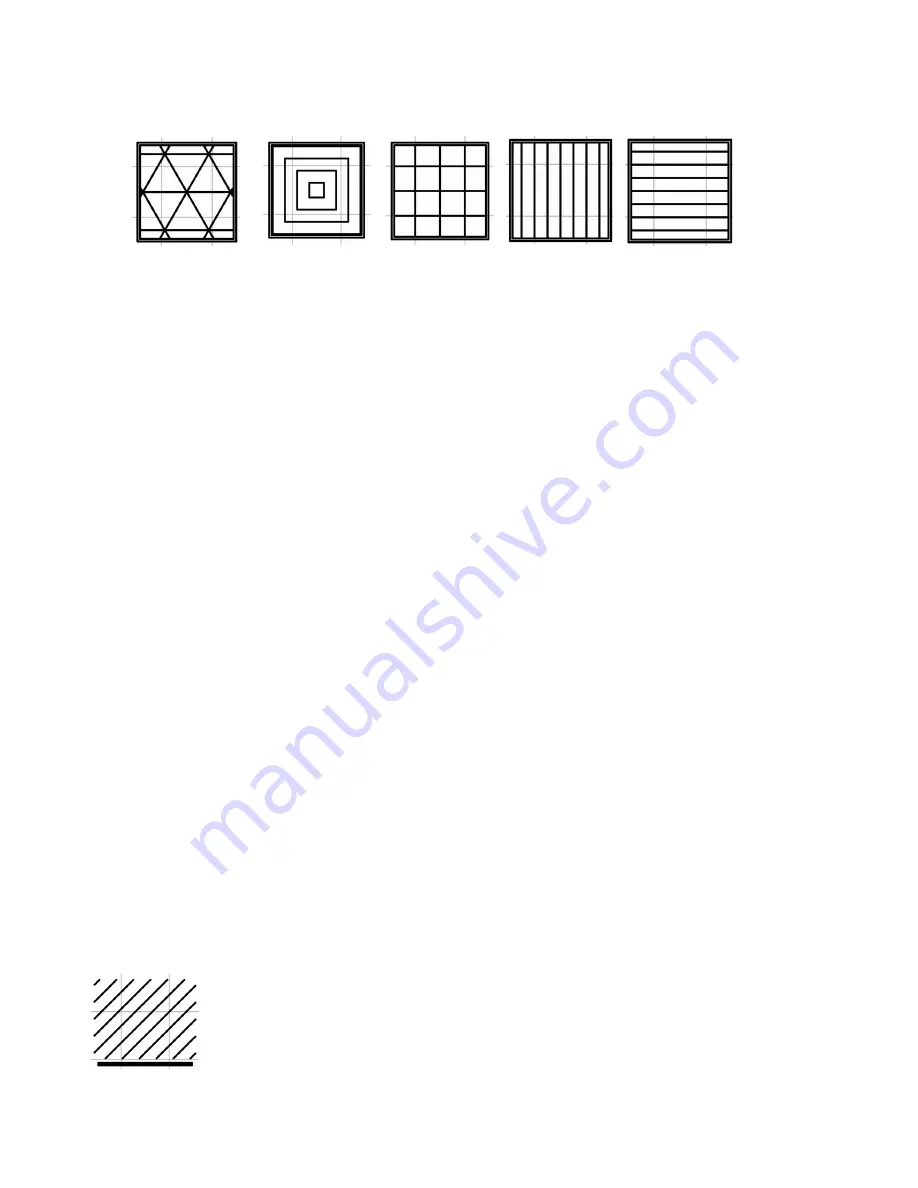
The
Lines
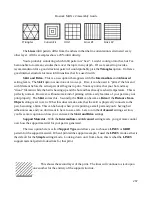
infill pattern differ from the others in that the line orientation is alternated every
other layer. All the examples show a 20% infill density.
You're probably wondering which infill pattern is “best”. I wish I could go into that, but I've
been unable to locate any studies that cover the topic in any depth. If I were asked to provide a
recommendation for a good structural pattern I would probably pick the
Triangles
option. It offers a
good internal structure for most infill densities that I've used it with.
Skirt and Brim
– This is a new option that appears with the
Intermediate
and
Advanced
setting levels. The
Skirt
option is used one of two ways. First, it can be used to “prime” the hot end
with filament before the actual part itself begins to print. You may notice that your hot end may
“drool” filament while the bed is heating up and the hot end has already reached temperature. This is
perfectly normal. However, without some kind of priming action, early features of your part may not
print properly. The
Skirt
solves this. Secondly, the
Skirt
can become a
Brim
if the
Distance from
Object
setting is set to zero. What this does is make sure that the skirt is physically connects to the
part, becoming a brim. This can be handy when you're printing a small part and you're having bed
adhesion issues and you don't want to have to use a raft. Later on in the
Advanced
settings section,
you'll see more options on how you can tweak the
Skirt and Brim
settings.
Support Material
– With the
Intermediate
and
Advanced
setting levels, you get more control
over how the support material for your part is generated.
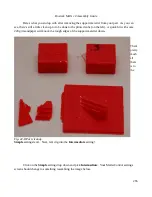
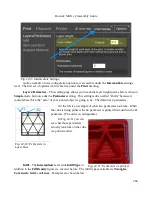
The new option here is called
Support Type
and allows you to choose a
LINES
or
GRID
pattern for the support material. When I printed the support example, I used the
LINES
mode as that is
the default for the
Simple
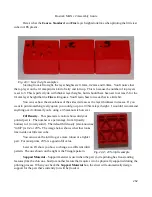
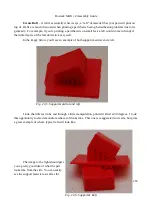
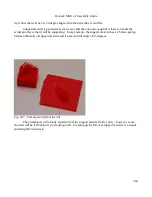
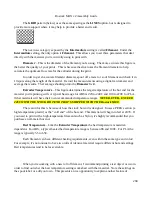
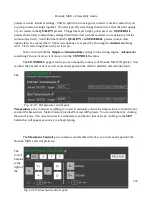
settings mode. Looking down on it from above, this is what the
LINES
support material pattern looked like for that print.
This shows the second layer of the print. The lines will continue to stack upon
one another for the entirety of the support structure.
267
Triangles
Lines #1
Concentric
Grid
Lines #2
Summary of Contents for Rostock MAX v2
Page 25: ...Rostock MAX v2 Assembly Guide Melamine Parts Sheet 1 25 ...
Page 26: ...Rostock MAX v2 Assembly Guide Melamine Parts Sheet 2 Melamine Parts Sheet 3 26 ...
Page 27: ...Rostock MAX v2 Assembly Guide Melamine Parts Sheet 4 27 ...
Page 171: ...Rostock MAX v2 Assembly Guide 171 Fig 14 8 Spool holder support installed ...


