Note:
You may also use the VTR buttons (
FWD
or
REV
) located above the Jog/Shuttle wheel to frame-step through
the clip in the direction specified by the button press. Each time the button is pressed, the clip will be advanced to
the previous (REV) or next (FWD) frame.
4.
Normal playback of a clip under Jog/Shuttle control may be resumed either by rotating the shuttle wheel to the right
of the center indent until the Dashboard displays “PLAYING” or by simply pressing the
PLAY
button directly above
the jog/shuttle wheel.
5.
Playback of a clip under the Jog/Shuttle playstyle is similar to controlling playback of videotape. If the end of the clip
is reached the clip remains loaded waiting for additional transport instructions. To end playback of a clip under
jog/shuttle control, the
STOP
button must be pressed twice.
The first press of the
STOP
button will halt playback control of the clip and place it in a
PAUSED
state.
While in the
PAUSED
state, playback (shuttle) or frame-step (jog) control of the clip may resume by using the
appropriate controls (VTR transport buttons or Jog/Shuttle wheel) or the clip may be unloaded from jog/shuttle
control and playback halted by pressing the
STOP
again.
6.
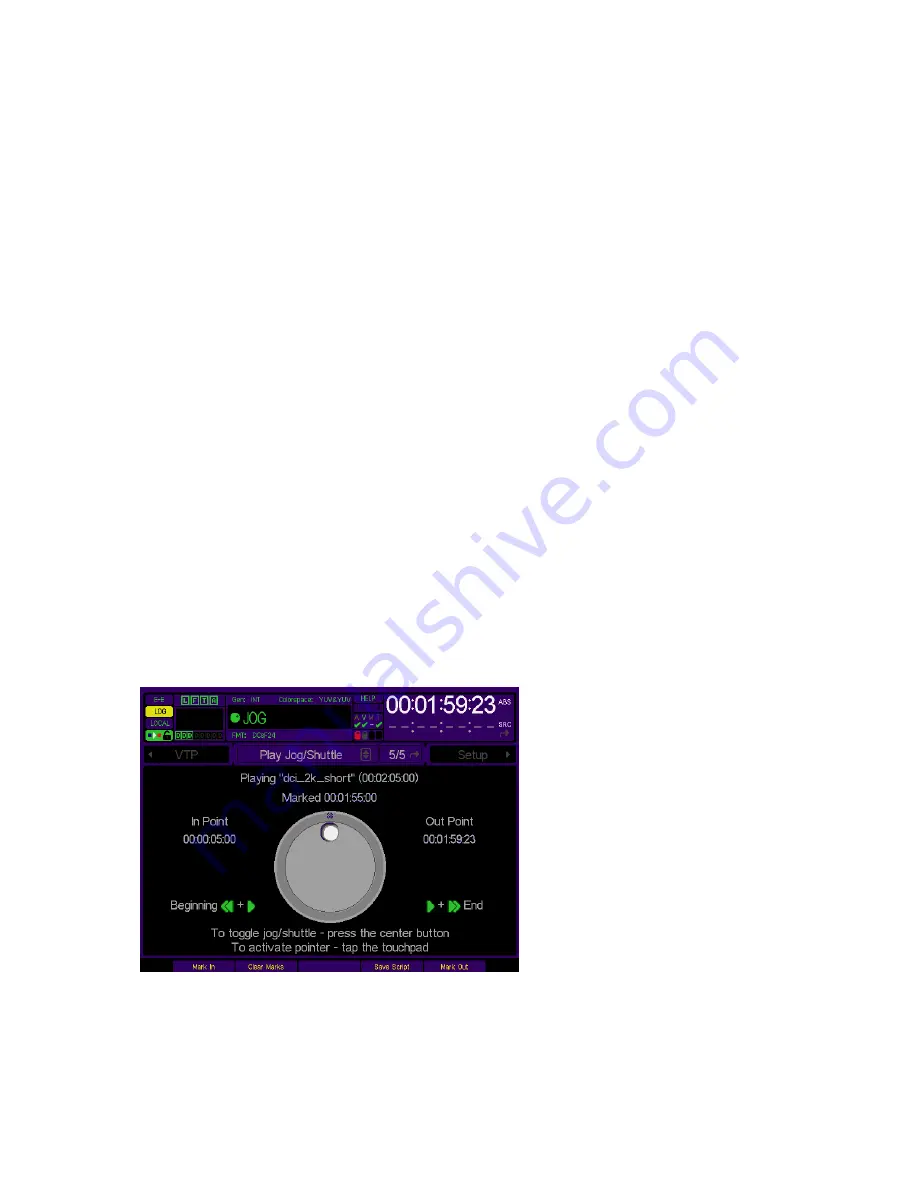
During playback of a clip under the
Play jog/shuttle
playstyle, the navigation pointer is hidden in order to ensure
proper control of the virtual jog/shuttle wheel. To activate the pointer and navigate elsewhere within the GUI
(without existing jog/shuttle), tape the touchpad once. The pointer will appear and you may navigate other screens
(remember to return to PLAY 5/5 so that you can exit jog/shuttle playback afterward).
To restore jog/shuttle control after re-displaying the pointer, tap the touchpad again (while on the PLAY 5/5 menu
page) to hide the pointer.
Note:
Activating/deactivating the pointer will not work if the touchpad TAP function has been disabled on the
SETUP GUI menu screen (Setup menu page 3/8).
Clip-based Script Authoring
On the
Play Jog/Shuttle
menu page are four controls that can be used to create a mini-script (single play event
only) by marking an
In Point
and
Out Point
for a collapsed (interleaved audio and video) clip.
1.
To set the
In Point
play (Shuttle or Jog) the current clip and stop on the desired frame (timecode position).
2.
Press the
Mark In
soft
button.
3.
To set the
Out Point
, play (Shuttle or Jog) the current clip and stop on the desired frame (timecode position).
QuVIS Acuity
™
Page 89
QSR Version 3.3
Summary of Contents for Acuity
Page 1: ......
Page 152: ...Keyboard Hotkeys Description ENTER Complete current edit QuVIS Acuity Page 151 QSR Version 3 3...
Page 190: ...QuVIS Acuity Page 189 QSR Version 3 1...
Page 200: ......


