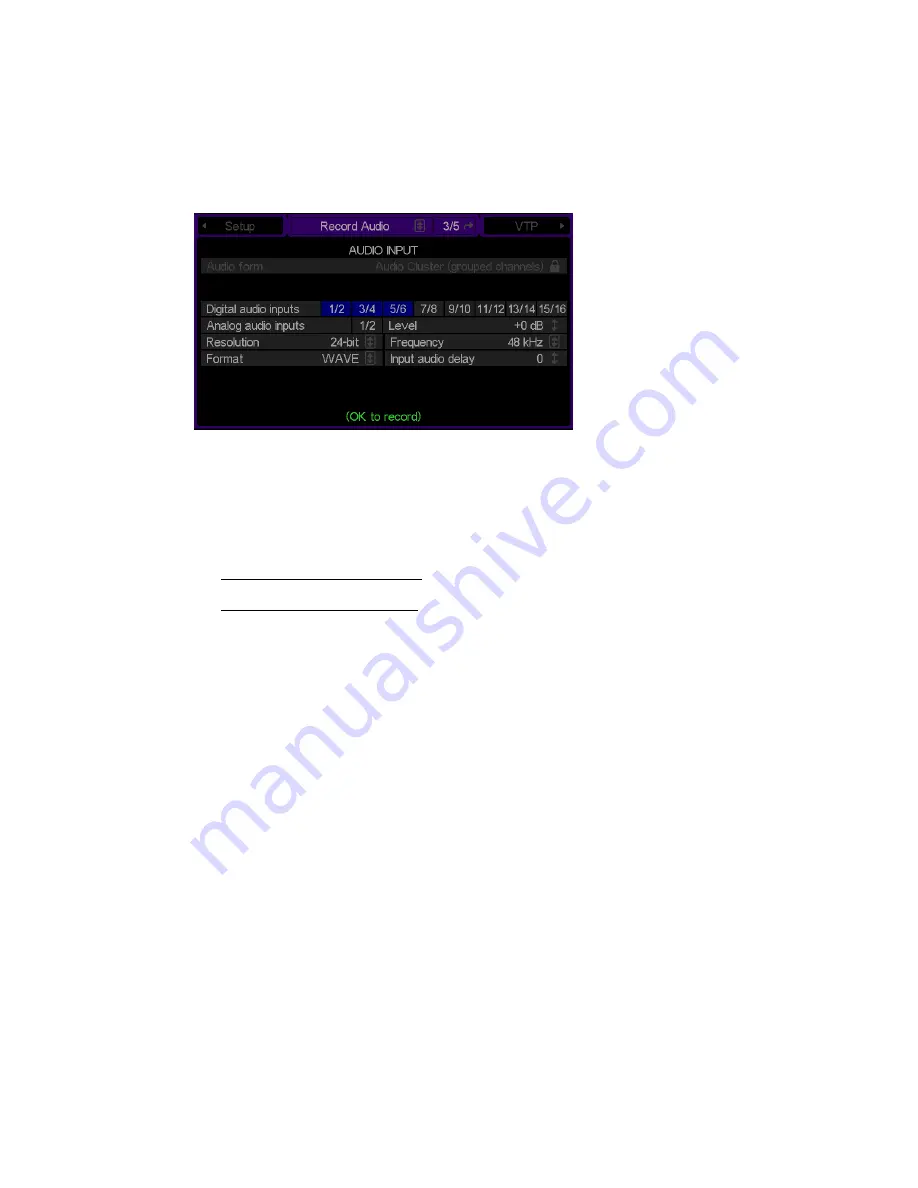
Select Audio Input Settings
1.
Navigate to the
Record Audio
menu page.
2.
If required, modify audio input settings.
a.
Audio form
may only be used when the
Clip form
is set to “expanded”. This control is used to define
the way each channel of audio is stored, typically only done in an editing environment. Choices
include:
Audio Cluster (grouped channels) – A single file is used to store all selected audio channels.
Audio Tracks (discrete channels) – A separate file is used to store each selected channel of audio.
b.
Use the
Digital audio inputs
and
Analog audio inputs
to specify which audio channels should be
recorded and whether channels 1 and 2 should be analog or digital.
c.
If channels 1 and 2 are selected to be analog channels, the
Level
control is used to set the level of
attenuation for the analog channels.
d.
Select the
Resolution
of the recorded audio signal. Choices include 16, 20 and 24 bit.
e.
Select the sampling
Frequency
of the recorded audio signal. Choices include 44.1 kHz or 48 kHz.
f.
Select the audio
Format
.
The
Wave
audio format is required for JPEG2000 record projects.
g.
If necessary, use the
Input audio delay
to set the number of frames needed to compensate for audio
routing.
QuVIS Acuity
™
Page 26
QSR Version 3.3
Summary of Contents for Acuity
Page 1: ......
Page 152: ...Keyboard Hotkeys Description ENTER Complete current edit QuVIS Acuity Page 151 QSR Version 3 3...
Page 190: ...QuVIS Acuity Page 189 QSR Version 3 1...
Page 200: ......


