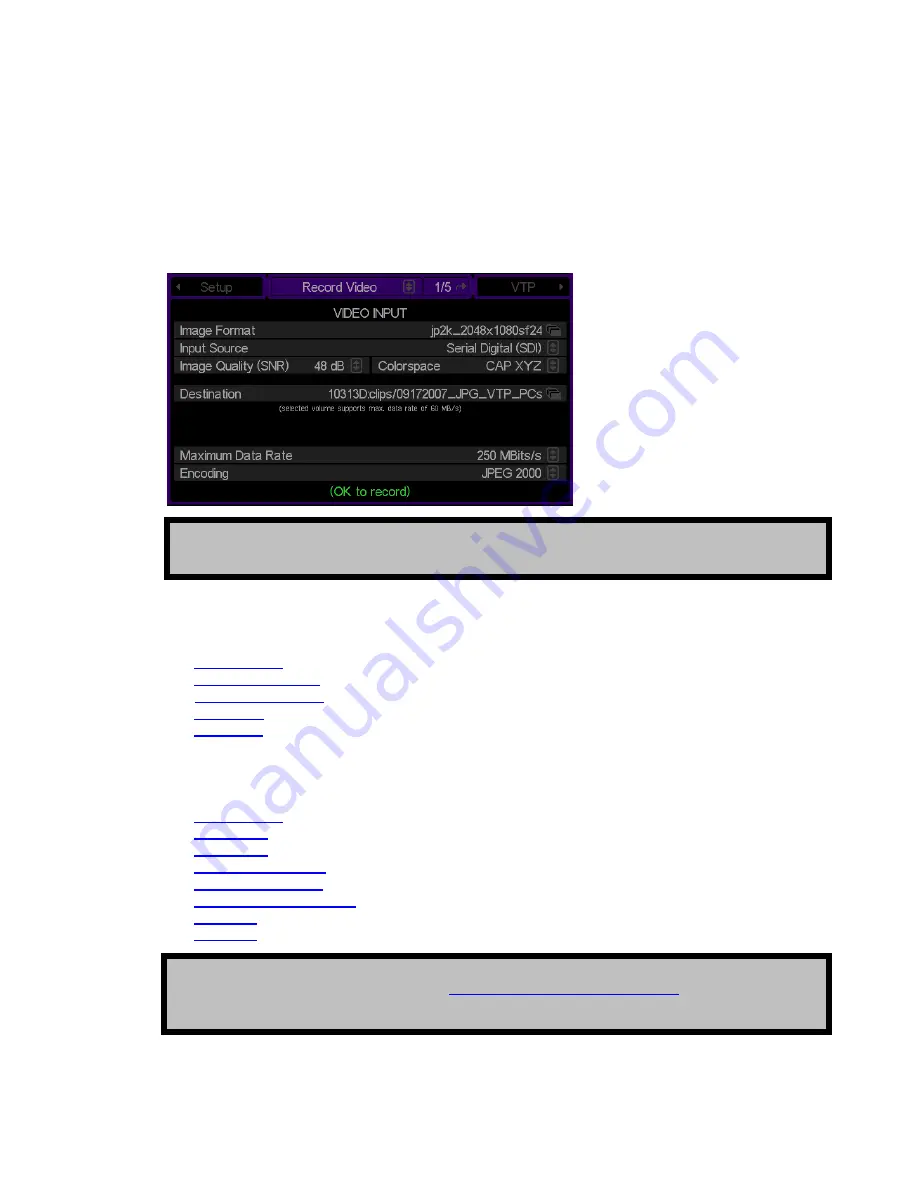
Record a clip from the GUI (Local record)
To record a clip from the GUI, the QuVIS Acuity must first be configured to match the format settings of the source
material (including video, audio and timecode). Before you begin make sure that the video, audio and LTC timecode
(if required) input connections to the QuVIS Acuity are properly connected to the content source.
1.
Navigate to the
Record Video
menu page.
2.
Review the current record settings to ensure that the Acuity is properly configured to accept the video and
audio format of the source material. You may need to modify the following settings found on the specified menu
pages:
TIP:
If the
Record Video
menu page is not the active screen, you can press the VTR
REC
button as a
shortcut to the load the Record menu group.
a.
Image Format
(Record Video 1/5)
b.
Digital audio inputs
(Record Audio 3/5)
c.
Analog audio inputs
(Record Audio 3/5)
d.
Resolution
(Record Audio 3/5)
e.
Frequency
(Record Audio 3/5)
3.
Review the additional system systems to ensure that the Acuity is properly configured to record content with
the correct parameters for this specific project. Settings that should be review are as follows:
a.
Image Quality
(Record Video 1/5)
b.
Colorspace
(Record Video 1/5)
c.
Destination
(Record Video 1/5)
d.
QuVIS Media Format
(Record Video 1/5)
e.
Maximum Data Rate
(Record Video 1/5)
f.
Quality Priority Encoding
(Record Video 1/5)
g.
Clip Form
(Record Video Adv 2/5)
h.
Timecode
(Record Video Adv 2/5)
TIP:
If you have already saved a
config
files that contains the settings for your project, you can load the
required record settings in a single step. See
Load custom settings from a config file
for additional details.
QuVIS Acuity
™
Page 37
QSR Version 3.3
Summary of Contents for Acuity
Page 1: ......
Page 152: ...Keyboard Hotkeys Description ENTER Complete current edit QuVIS Acuity Page 151 QSR Version 3 3...
Page 190: ...QuVIS Acuity Page 189 QSR Version 3 1...
Page 200: ......


