1-46
OEP-3 V1 (UC)
90
Installation and Adjustment
Setting Up the Printer (Continued)
O
/
c
/l
/
p
/i
/
o
u
t
/
UT
P
U
T
S
E
T
U
P
OUTPUT SETUP
COLOR : 200
/ COL / LAY / PRN / IN / OUT /
DISPLAY
: OFF / ON
SOURCE
: THRU / EE
SYNC ON G
: OFF / ON
MONI C
–
R
MONI M
–
G
MONI Y
–
B
R
B
N
REMAIN
: OFF / ON
Q1 A 1
S
: 0
: 0
: 0
Matc
hing the
Video Monitor Color to the Printer Color
To match the color of the monitor image to that of the printout, adjust the monitor
and printer colors such that the monitor color is the same as that of the printout.
The printer outputs either of two kinds of video signals according to the printer
settings.
•
EE (E to E): Signals are output to the monitor after being processed by the
printer
’s circuitry.
•
THRU (THROUGH): Signals are output to the monitor as is.
Adjustment on the video monitor
The monitor color may not be adjusted correctly even if the printer color is
correctly adjusted. Check the color of the video monitor before adjusting the
printout color. In such a case, use the THRU signal by setting SOURCE to THRU
in the OUTPUT SETUP menu or turning off the power of the printer to send out
the through signal from the video equipment to the video monitor
After adjusting the color of the video monitor using video monitor controls, adjust
the color of the printer
’s output signal.
Adjustment on the printer
Note
This adjustment is performed to adjust the color of the printer output signal when
the monitor color is unsatisfactory. This adjustment does not affect the printout
itself. To adjust the color of the printout, see
“Adjusting the Printout Color
” on
page 93.
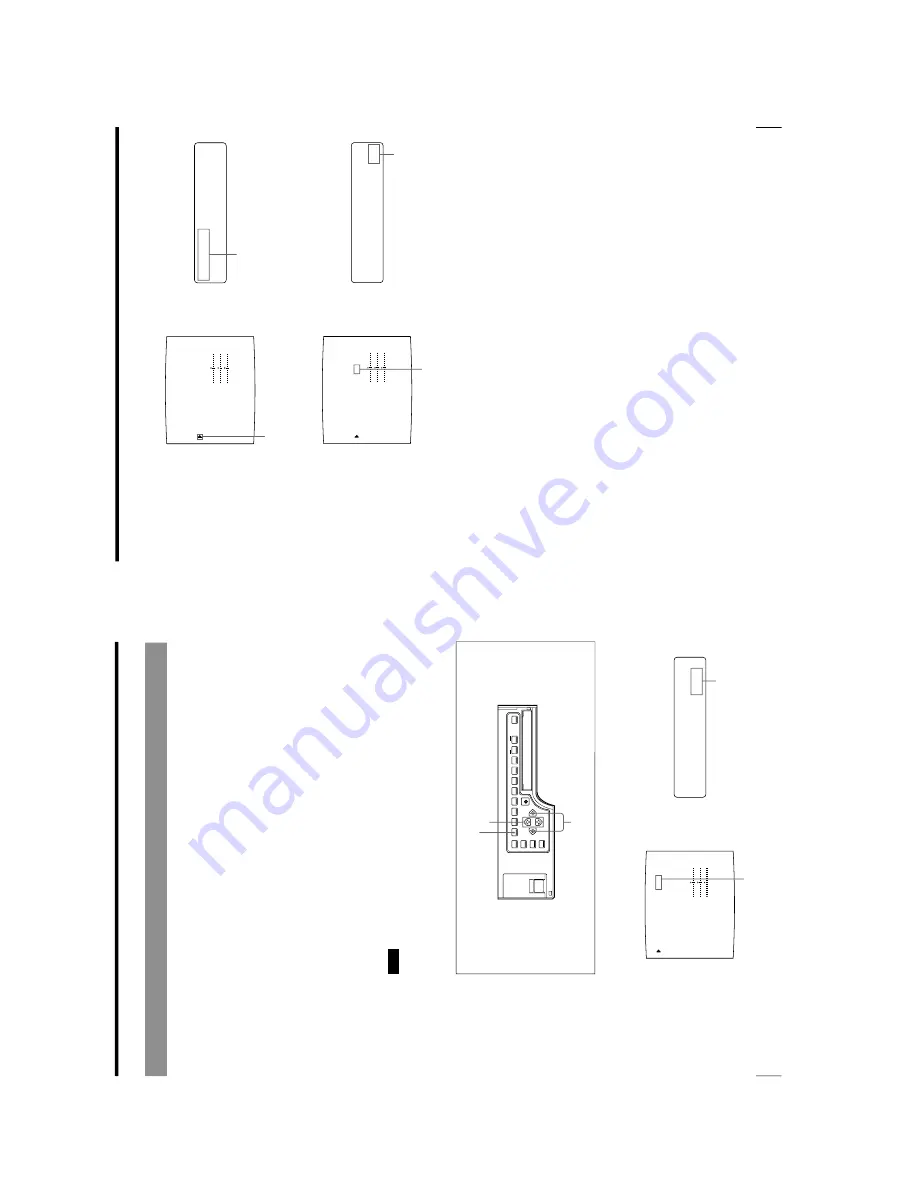
1
Press the MENU button, then select OUT by pressing the
G
or
g
button.
The OUTPUT SETUP menu appears.
1,4,6,8
2,7
1,3,6,7
Switch OUT to green by pressing
the
G
or
g
button.
Display OUT in capital letters
by pressing the
G
or
g
button.
91
Installation and Adjustment
S
th
r
u
/
E
E
OU
R
C
E
:
OUTPUT SETUP
COLOR : 200
/ COL / LAY / PRN / IN / OUT /
DISPLAY
: OFF / ON
SOURCE
: THRU / EE
SYNC ON G
: OFF / ON
R
B
N
REMAIN
: OFF / ON
Q1 A 1
S
: 0
: 0
: 0
MONI C
–
R
MONI M
–
G
MONI Y
–
B
S
TH
R
U
/
e
e
OU
R
C
E
:
OUTPUT SETUP
COLOR : 200
/ COL / LAY / PRN / IN / OUT /
DISPLAY
: OFF / ON
SOURCE
: THRU / EE
SYNC ON G
: OFF / ON
R
B
N
REMAIN
: OFF / ON
Q1 A 1
S
: 0
: 0
: 0
MONI C
–
R
MONI M
–
G
MONI Y
–
B
2
Select SOURCE by pressing the
F
or
f
button.
3
Select EE by pressing the
G
or
g
button.
4
Press the MENU button.
The regular screen appears.
5
Capture a new image in memory and make a printout.
Adjust the settings on the printer side by comparing the printout with the image
on the monitor, as follows.
6
Press the MENU button, then select OUT by pressing the
G
or
g
button.
The OUTPUT SETUP menu appears.
Position the cursor at SOURCE by
pressing the
F
or
f
button.
Press the
F
or
f
button until SOURCE
appears.
Switch EE to green by pressing
the
G
or
g
button.
Display EE in capital letters by pressing
the
G
or
g
button.
Continue to the next page
c
Summary of Contents for OEP-3
Page 1: ...COLOR VIDEO PRINTER OEP 3 SERVICE MANUAL Volume 1 1st Edition...
Page 6: ......
Page 80: ......
Page 119: ...4 11 OEP 3 V1 UC Memory Configuration Eight Frame Memory Configuration Four Frame...
Page 154: ......
Page 165: ...5 11 OEP 3 V1 UC 5 5 Direct Chuck Mechanism...
Page 176: ...2000 9 22 OEP 3 UC E 9 955 247 11...


