1-12
OEP-3 V1 (UC)
22
Operation
Q1
A
S
Q1 A 1
S
1
SOURCE/
MEMORY
MEMORY
PAGE
CAPTURE
ALARM
POWER
Making Full-Size Image Printouts
This section explains how to make a full-size image printout. The operations
described here constitute the basic procedure for making a printout.
Before making a full-size image printout
•
All connections should have already been made. (See page 80.)
•
Ensure that the appropriate ink ribbon/paper set is being used and that they are
correctly loaded. (See pages 14, 17 and 129.)
•
Select the input signal to be used to make a printout. (See page 19.)
•
Set the printer to capture one full-size image into memory. (See page 41.)
•
Select the appropriate memory page. (See page 43.)
•
Confirm the printout color quality (using, for example, the LOAD COLOR
number) (See page 93.)
1
Turn on the video monitor and the printer.
2
Start the video source to display the source image on the video monitor.
This operation is done using the controls of the video equipment acting as the
source.
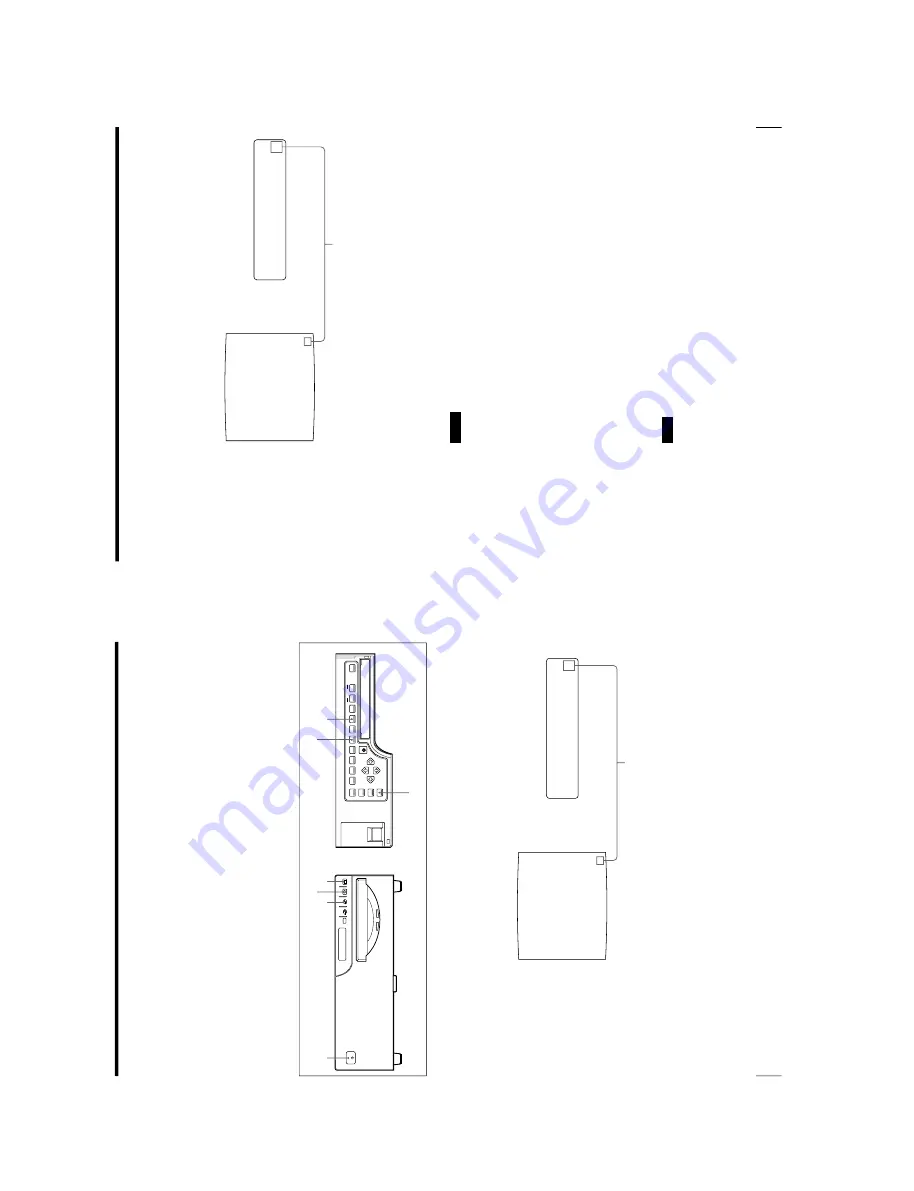
SOURCE/MEMORY button
RIBBON REMAIN button
MEMORY FRM/FLD button
DISPLAY button
1
3
4
Video monitor screen
Printer window display
Shows that the image from the source equipment
is displayed on the screen.
23
Operation
Q1
A
M
Q1 A 1
M
1
3
Press the CAPTURE button at the instant when the image you want to print
appears on the screen.
The image is captured into memory. The memory image is displayed on the
screen. Which image appears after this, the source image or the memory image,
depends on the setting made with the FUNCTION SETUP function of the
printer. (See page 47.)
If the captured image is blurred
A quickly moving image may be blurred when captured. Should this occur,
change the memory mode setting to FIELD, then print it again. Although the
blur should be eliminated, the ultimate print quality will be slightly degraded.
Select the FIELD mode by pressing the MEMORY FRM/FLD button. (See
“Selecting the memory mode
” on page 38.)
Notes
•
Usually, it is recommended that you make printouts in FRAME mode. To
confirm the memory mode setting, press the MEMORY FRM/FLD button.
The currently selected memory mode appears lit in green on the video
monitor and spelled out in the printer window display for about three
seconds, then disappears.
•
You can change the memory mode only when selecting 1 (full-size image), 2
(two-reduced images) or 4 (four-reduced images).
•
The number of usable memory pages depends on the selected memory mode.
(See page 43.)
To change the image captured in memory
1
To display the source image when the memory image is displayed on the
screen, press the SOURCE/MEMORY button .
2
Press the CAPTURE button at the instant the image you want to print
appears.
The previous image is replaced with the new one.
Note
If you turn off the power, the image stored in memory will be lost. Should this
happen, capture the image into memory again after turning on the power. If no
image is stored in memory, the printer will not print even if you press the
PRINT button.
Shows that the image captured in
memory is displayed on the monitor.
Continue to the next page
c
Summary of Contents for OEP-3
Page 1: ...COLOR VIDEO PRINTER OEP 3 SERVICE MANUAL Volume 1 1st Edition...
Page 6: ......
Page 80: ......
Page 119: ...4 11 OEP 3 V1 UC Memory Configuration Eight Frame Memory Configuration Four Frame...
Page 154: ......
Page 165: ...5 11 OEP 3 V1 UC 5 5 Direct Chuck Mechanism...
Page 176: ...2000 9 22 OEP 3 UC E 9 955 247 11...


