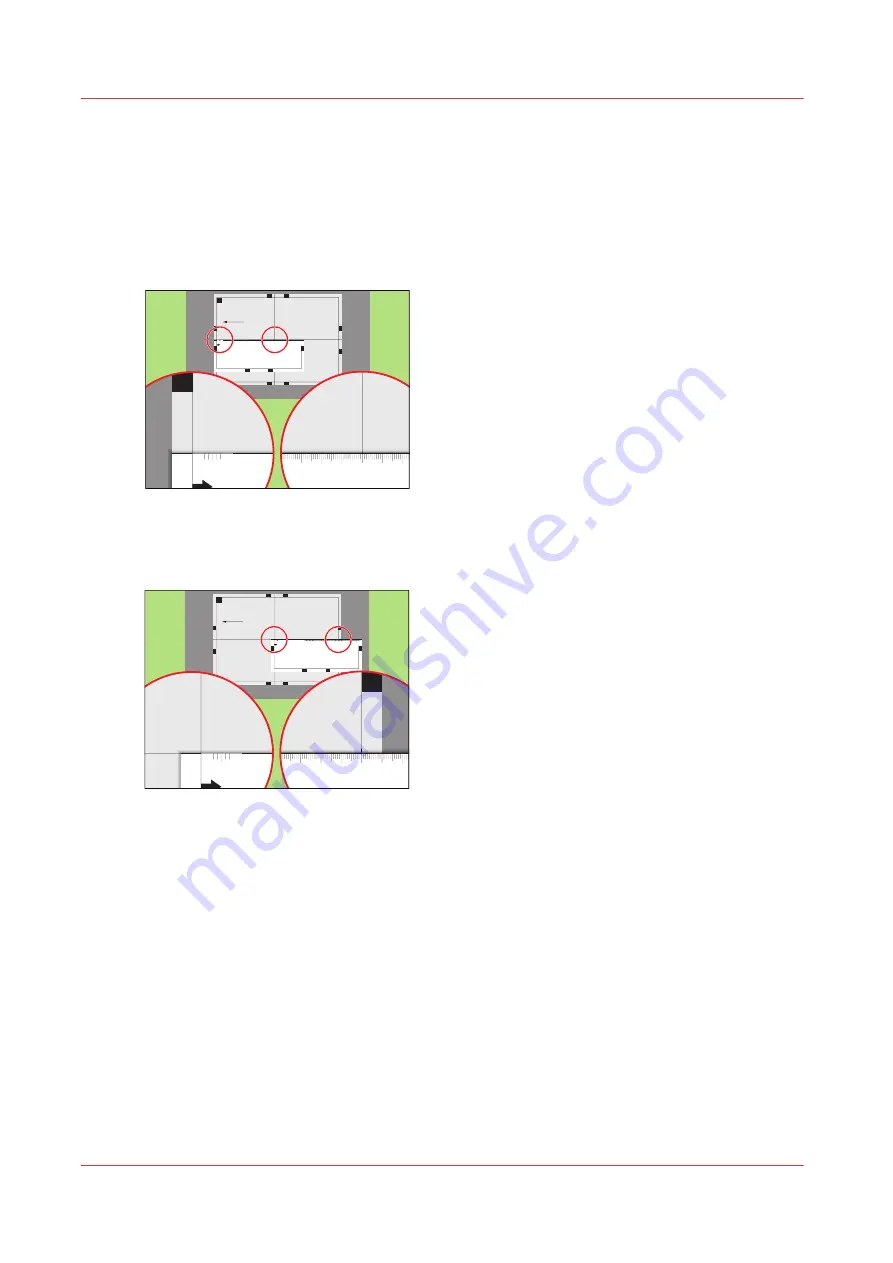
Perform a media registration for large media - Adjust the X-length
of side 1
Procedure
1.
Take the first test sheet.
2.
Align the start of the ruler with point 'D' and read the value at point 'E'.
Test bitmap: REGISTRATION
Size: 420 x 297 mm
2006-10-09 / 14:08:22
Page 1
1
Primary image
-50
0
+50
3
- Sheet skew
B
H
E
D
F
100
0
105
0
1100
1150
120
0
125
0
130
0
135
0
140
0
145
0
150
0
155
0
160
0
165
0
170
0
175
0
180
0
185
0
190
0
195
0
200
0
205
0
210
0
215
0
220
0
225
0
230
0
235
0
240
0
245
0
250
0
255
0
260
0
265
0
270
0
275
0
280
0
-50
0
+50
Prima
ry X
imag
e po
sitio
n
Prima
ry Z i
mag
e po
sitio
n
Prima
ry d
iamon
d sh
ape
X len
gth
L
1
D
-50
0
+50
E
150
0
155
0
160
0
165
0
170
0
175
0
180
0
185
0
190
0
195
0
200
0
205
0
210
0
[61] Align the ruler with 'D' and read the value at 'E'
3.
Open the [Calculator assistant], enter the 'DE' value and press [OK].
4.
Align the start of the ruler with point 'E' and read the value at point 'F'.
Test bitmap: REGISTRATION
Size: 420 x 297 mm
2006-10-09 / 14:08:22
Page 1
1
Primary image
-50
0
+50
3
- Sheet skew
B
H
E
D
F
100
0
105
0
1100
1150
120
0
125
0
130
0
135
0
140
0
145
0
150
0
155
0
160
0
165
0
170
0
175
0
180
0
185
0
190
0
195
0
200
0
205
0
210
0
215
0
220
0
225
0
230
0
235
0
240
0
245
0
250
0
255
0
260
0
265
0
270
0
275
0
280
0
-50
0
+50
Prima
ry X
imag
e po
sitio
n
Prima
ry Z i
mag
e po
sitio
n
Prima
ry d
iamon
d sh
ape
X len
gth
L
E
-50
0
+50
F
170
0
175
0
180
0
185
0
190
0
195
0
200
0
205
0
210
0
215
0
2200
2250
230
0
[62] Align the ruler with 'E' and read the value at 'F'
5.
Open the [Calculator assistant], enter the 'EF' value and press [OK].
6.
Take the second test sheet.
7.
Repeat the steps 2 - 5.
8.
Take the third test sheet.
9.
Repeat the steps 2 - 5.
Perform a media registration for large media - Adjust the X-length of side 1
232
Chapter 11 - Media handling
Océ VarioPrint 6000 line
Summary of Contents for VarioPrint 6180
Page 1: ...User guide Océ VarioPrint 6000 line VarioPrint 6180 6220 6270 6330 ...
Page 8: ...Contents 8 Océ VarioPrint 6000 line ...
Page 9: ...Chapter 1 Introduction ...
Page 15: ...Chapter 2 Explore the print system ...
Page 31: ...Chapter 3 Explore the ease of operation ...
Page 43: ...Chapter 4 Start the print system ...
Page 49: ...Chapter 5 Prepare the print system ...
Page 81: ...Chapter 6 Prepare the print jobs ...
Page 89: ...Chapter 7 Plan the workload remotely ...
Page 93: ...Chapter 8 Plan the jobs ...
Page 129: ...Chapter 9 Carry out print jobs ...
Page 193: ...Chapter 10 Keep the system printing ...
Page 202: ...The operator attention light 202 Chapter 10 Keep the system printing Océ VarioPrint 6000 line ...
Page 203: ...Chapter 11 Media handling ...
Page 245: ...Chapter 12 Maintain the print system ...
Page 275: ...Chapter 13 PRISMAlytics Dashboard ...
Page 277: ...Chapter 14 Troubleshooting ...
Page 287: ...Chapter 15 Specifications ...
Page 305: ......


