Reset and Automation
The Play List (Automation)
304/ 380
V1.0/1
Eclipse User Guide
Setting a MTC Offset
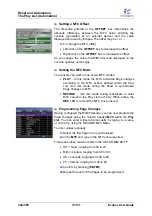
The timecode entered in the
OFFSET
box determines the
absolute difference between the MTC value entering the
console (generated by an external device) and the value
displayed and used by Eclipse. The offset may be + or -:
1.
To change the MTC offset:
•
Left-click on the
OFFSET
box to decrease the offset.
•
Right-click on the
OFFSET
box to increase the offset.
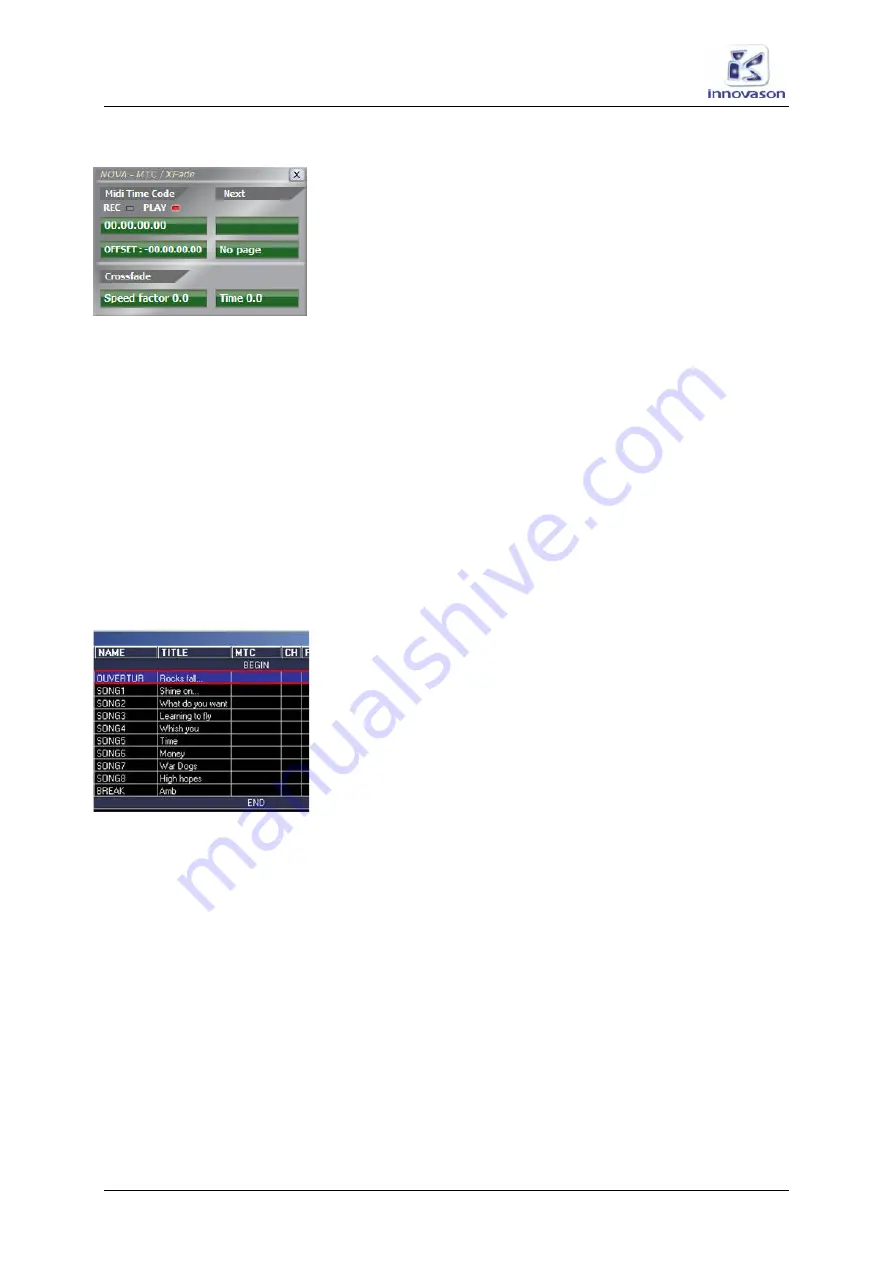
As you change the value, the MIDI timecode displayed on the
console updates accordingly.
Setting the MTC Mode
The console can work in one of two MTC modes:
•
PLAY
- In this mode the MTC activates Page changes
according to the MTC events defined within the Play
List. Use this mode during the show to synchronise
Page changes to MTC.
•
RECORD
– Use this mode during rehearsals to enter
MTC values to the Play List on the fly. When active, the
REC
LED is red and the MTC box turns red.
Programming Page Changes
Having configured the MIDI timecode, you can now program the
Page changes using the column headed
MTC
within the
Play
List
. You can enter a timecode manually, by typing in a value,
or on the fly, using the RECORD MTC Mode.
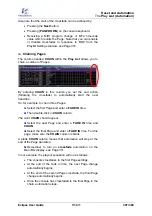
To enter values manually:
1.
Select the first Page to be synchronised.
2.
In the
MTC
cell, type in the MTC value required.
Timecode entries must be made in the form HH:MM:SS:FF
•
HH = hours, ranging from 00 to 23
•
MM = minutes, ranging from 00 to 59
•
SS = seconds, ranging from 00 to 59
•
FF = frames, ranging from 00 to 29
3.
Confirm by pressing [
ENTER
].
4.
Repeat for each of the Pages to be programmed.


