SAN32M-2 Installation and Service Manual
58
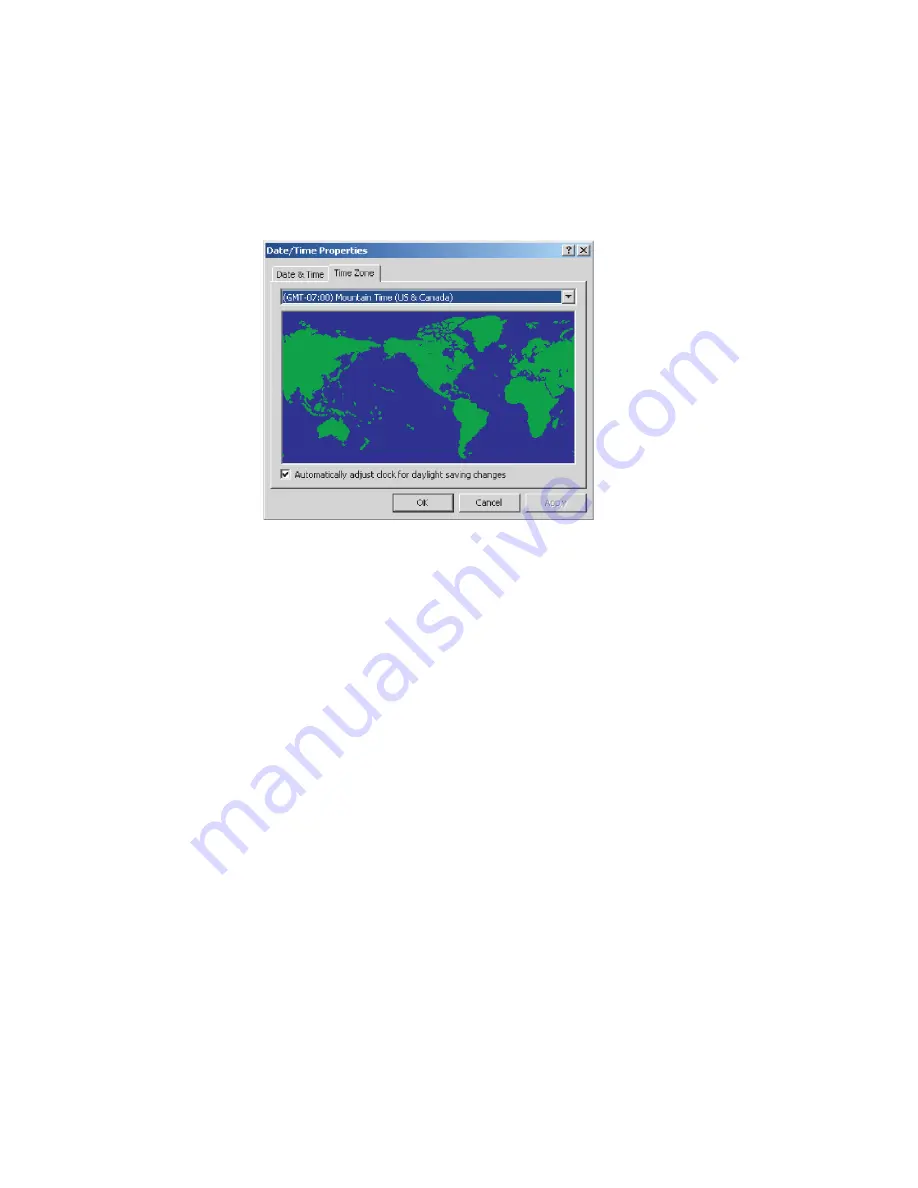
2. Click the
Time Zone
tab. The
Date/Time Properties
dialog box
displays with the
Time Zone
page open (
Figure 27
).
Figure 27
Date/Time Properties dialog box (Time Zone tab)
3. To change the time zone:
a. Select the appropriate time zone from the drop-down list at
the top of the dialog box.
b. If instructed by the customer, select the
Automatically adjust
clock for daylight saving changes
check box.
c. Click
Apply
. Record time zone and daylight savings
information for reference if the server hard drive fails and
must be restored.
4. Click the
Date & Time
tab. The
Date/Time Properties
dialog box
displays with the
Date & Time
page open (
Figure 28
).
5. To change the date and time:
a. Select the month from the drop-down list under
Date
.
b. Click the up or down arrow adjacent to the year field and
select the desired year.
c. Click the day on the calendar to select the desired date.
i24M1
165
Summary of Contents for SAN32M-2
Page 2: ......
Page 10: ...SAN32M 2 Installation and Service Manual xii...
Page 14: ...SAN32M 2 Installation and Service Manual xvi...
Page 42: ...SAN32M 2 Installation and Service Manual 16...
Page 120: ...SAN32M 2 Installation and Service Manual 94...
Page 174: ...SAN32M 2 Installation and Service Manual 148...
Page 236: ...SAN32M 2 Installation and Service Manual 210...
Page 240: ...SAN32M 2 Installation and Service Manual 214...
Page 244: ...SAN32M 2 Installation and Service Manual 218...
Page 290: ...SAN32M 2 Installation and Service Manual 264...
Page 308: ...SAN32M 2 Installation and Service Manual 282...
Page 311: ......
Page 312: ...Printed in USA GC26 7763 01...


