www.hygiena.com
86
Step 14: Test detection on different samples
Before saving the job and setting the camera back online, it is recommended to test the new job with other
types of samples, to make sure these samples will not be detected with the created job. Otherwise, this can
result in damaging the system when a wrong barcode is scanned. To test the camera job with other samples,
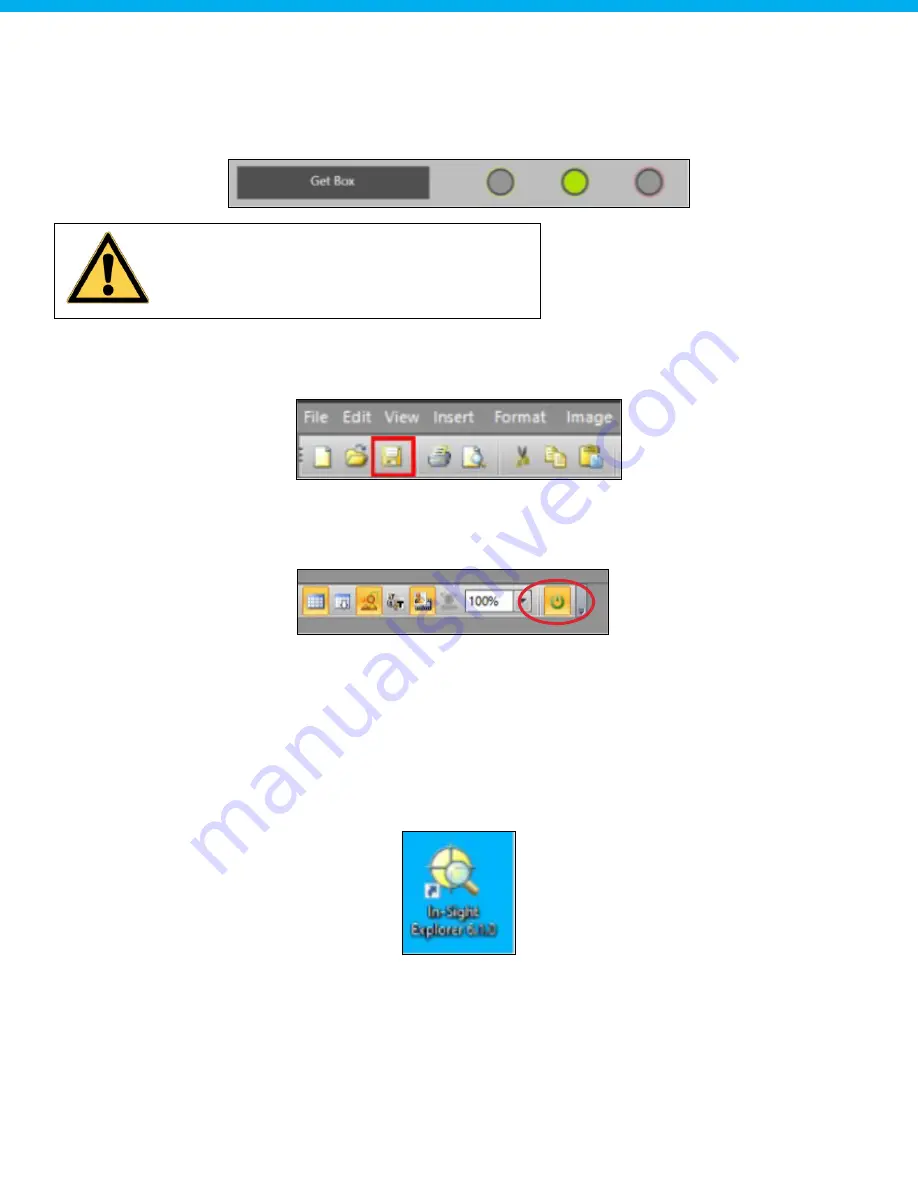
use the "Get Box" routine from the PLC maintenance panel (see Chapter 12) for the infeed of new boxes.
Step 15: Save job
If the detection is correct and the job is finished, the created job can be saved. Saving the job can be done by
clicking on the save symbol. Make sure the correct job is opened when saving.
Step 16: Set camera online
If the detection is correct and the job is finished, the camera can be set back online. This can be done by
pressing the "Online" symbol. The symbol should be activated after pressing it, indicating that the sensor is
online.
13.2: Modify existing camera job
The steps described below can be used to change an existing Cognex job (i.e., when a position is off). Follow
the steps as described below very carefully.
Step 1: Make sure the machine is on and initialized
Make sure the Autosampler III and the compressor are switched on and initialized. The Autosampler III should
not be running and the Xperimate application needs to be closed, before connecting to the Cognex camera.
Step 2: Open In-Sight Explorer
Open the In-Sight Explorer camera software by clicking at the icon located at the desktop.
Warning: Make sure the Z-axis is positioned at
290 mm before starting the "Get Box" routine.


