80
Program description: base settings - fixed-wing model
“Binding” multiple receivers to one model
If necessary, it is possible to bind more than one re-
ceiver to a single model. This is accomplished by initially
binding the receivers individually, as described in the
next section.
When operating the system, please note
that only the receiver which was bound last will
establish a telemetry link to the transmitter.
For this
reason all telemetry sensors installed in the model must
be connected to this receiver, since only the last bound
receiver is able to transmit their data via the down-link
channel. The second, and all other receivers, run in
parallel to the receiver last bound to the transmitter, but
completely independently of it; they operate in Slave
mode with the down-link channel switched off.
“Binding” transmitter and receiver
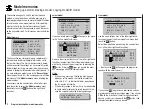
Use the arrow buttons
of the left or right-hand
touch-key to move to the “rx bind” line:
phase 2
phase 3
phase 4
takeoff
landing
speed
–––
7
6
receiv out
rx bind
–––
If you have not already done so, switch on the power
supply to your receiver now: the red LED on the receiver
flashes.
Press and hold the
SET
button on the receiver until,
after about three seconds, the red-flashing LED starts to
flash red / green; this will last for a further three seconds.
You can now release the
SET
button on the receiver.
The receiver is in Bind mode as long as the LED flashes
red / green.
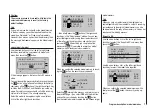
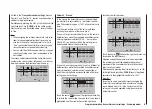
Within this period of about three seconds briefly touch
the central
SET
button of the right-hand touch-key to
initiate the so-called binding process between a receiver
and the current model memory. At the same time the
word “BINDING” starts flashing on the screen in the
frame of the “Bound receiver” line, instead of the three
“---”:
phase 2
phase 3
phase 4
takeoff
landing
speed
–––
7
6
receiv out
rx bind
BINDING
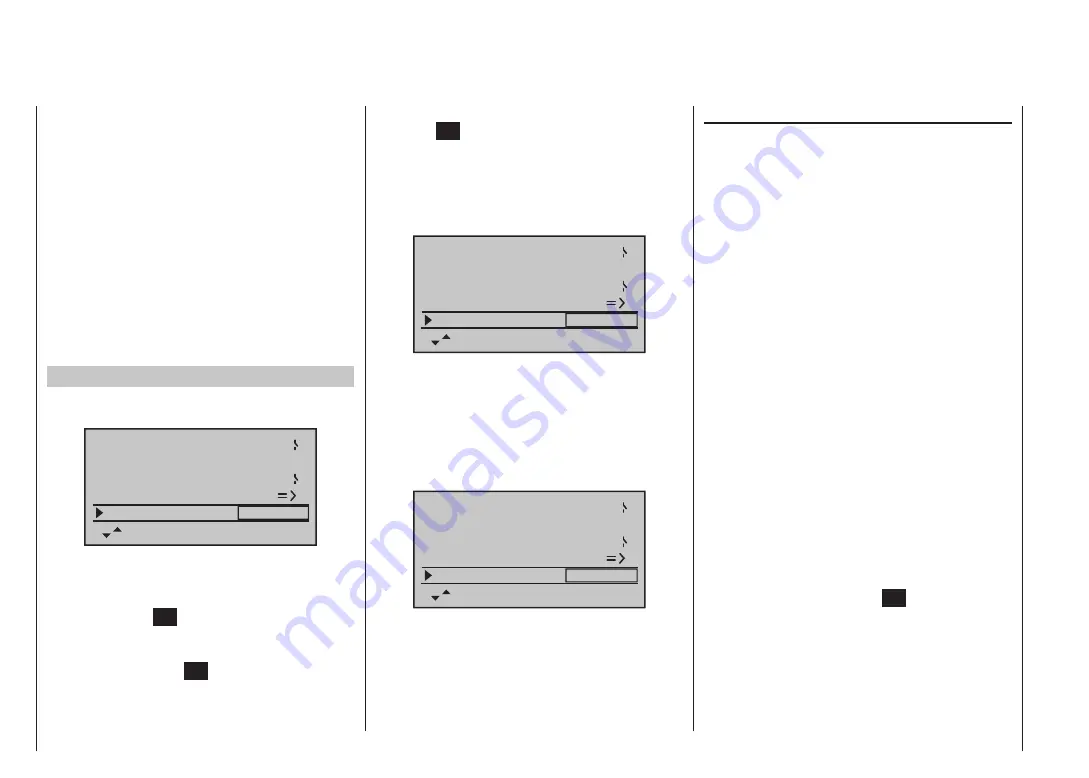
The receiver LED is now flashing red again, and if it
goes out without about ten seconds, and instead glows
a constant green, then the binding process has been
completed successfully. Your model / receiver combina-
tion is now ready for use. In parallel with this the screen
displays the code number for the receiver now “bound”
to this model memory. For example:
phase 2
phase 3
phase 4
takeoff
landing
speed
–––
7
6
receiv out
rx bind
R08
If, in contrast, the red LED on the receiver flashes
for longer than about ten seconds, then the binding
process has failed. In parallel with this the screen will
display three “---” once more. If this should occur, alter
the relative position of the aerials, and repeat the whole
procedure.
range test
The integral range-check reduces the transmitter’s out-
put power in such a way that you can test the system’s
operation at a distance of less than hundred metres.
Carry out the range-check of the
Graupner|SJ
HoTT
system in accordance with the following instructions. We
recommend that you ask a friend to help with range-
checking.
Install the receiver in the model as required, prefer-
1.
ably after completing the binding process with the
transmitter.
Switch the radio control system on and wait until the
2.
green LED on the receiver glows. Now you can ob-
serve the servo movements.
Place the model on a flat surface (paving, close-mown
3.
grass or earth), with the receiver aerials at least
15 cm above the ground. This means that you may
have to place the model on a raised object for the pe-
riod of the check.
Hold the transmitter at hip-height, and away from your
4.
body. However, do not point the aerial straight at the
model; instead rotate and / or angle the tip of the aeri-
al so that it is vertical while you carry out the check.
If you have not already done so, use the arrow but-
5.
tons
of the left or right-hand touch-key to move
to the “Test range” line, and initiate range-check mode
by briefly pressing the central
SET
button of the right-
hand touch-key:
Summary of Contents for mx-12 Hott
Page 1: ...Programming Manual 33116 mx 16 HoTT 3 en mx 16...
Page 35: ...35 For your notes...
Page 49: ...49 For your notes...
Page 55: ...55 For your notes...
Page 59: ...59 For your notes...
Page 63: ...63 For your notes...
Page 69: ...69 For your notes...
Page 91: ...91 For your notes...
Page 101: ...101 For your notes...
Page 123: ...123 For your notes...
Page 181: ...181 For your notes...
Page 193: ...193 For your notes...


