46
Updating the receiver firmware
Firmware updates for the receiver are carried out using
the telemetry socket on the side of the receiver, in con-
junction with a PC running Windows XP, Vista or 7. For
this you require the optional USB interface, No.
7168.6
and the optional adapter lead, Order No.
7168.6S
. The
software and files also required for the process can
be found in the Download area for the corresponding
product at www.graupner.de.
Note:
Once you have registered your transmitter at https://
www.graupner.de/en/service/product_registration you
will automatically be informed of new updates by e-mail
as they become available.
Updating the receiver firmware
Important notes:
Please note that reliable communication between
•
your system’s HoTT components is only guaran-
teed if the firmware is compatible. That is why the
programs required to update all the HoTT compo-
nents and files are grouped in a single file, which
is currently named HoTT_Software_V4.zip”.
It is essential to check the state of charge of your
•
receiver battery before you carry out any update.
For safety’s sake recharge it before updating.
The connection between the receiver and the PC
•
or laptop must not be interrupted during the up-
date process, so please ensure that there is reli-
able contact between the receiver and the com-
puter.
Installing the driver
1.
The driver software for the USB interface, Order No.
7168.6
, is identical to the driver software of the inter-
face fitted to the
mx-16
transmitter. This means that
the driver only has to be installed once; the proce-
dure is described on page 39.
Connecting the receiver to the PC
2.
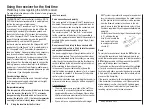
Connect the USB interface, Order No.
7168.6
to the
receiver socket marked “- + T” using the adapter lead,
Order No.
7168.6S
. The connectors are polarised:
look for the small chamfer on the side. The connec-
tors should engage easily; on no account use force.
Adapter lead
Order No.
7168.6A
If a central red wire is present,
cut through it
Caution:
If your adapter lead is of the earlier three-core
type, first cut the central red wire in the adapter
lead, Order No. 7168.6A.
Now connect the USB interface to the PC or laptop
using the USB lead (PC USB / mini-USB) also sup-
plied in the set. When the components are connected
correctly, a red LED on the interface circuit board
should light up red for a few seconds.
The receiver should be left switched off.
Firmware update
3.
Start the program “Firmware_Upgrade_grStudio_Ver-
X.X.exe” by double-clicking on it, as described for up-
dating the transmitter software; see page 39. (Version
1.9, which is current at the time this manual went to
press, starts without being installed beforehand.):
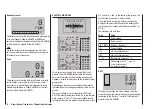
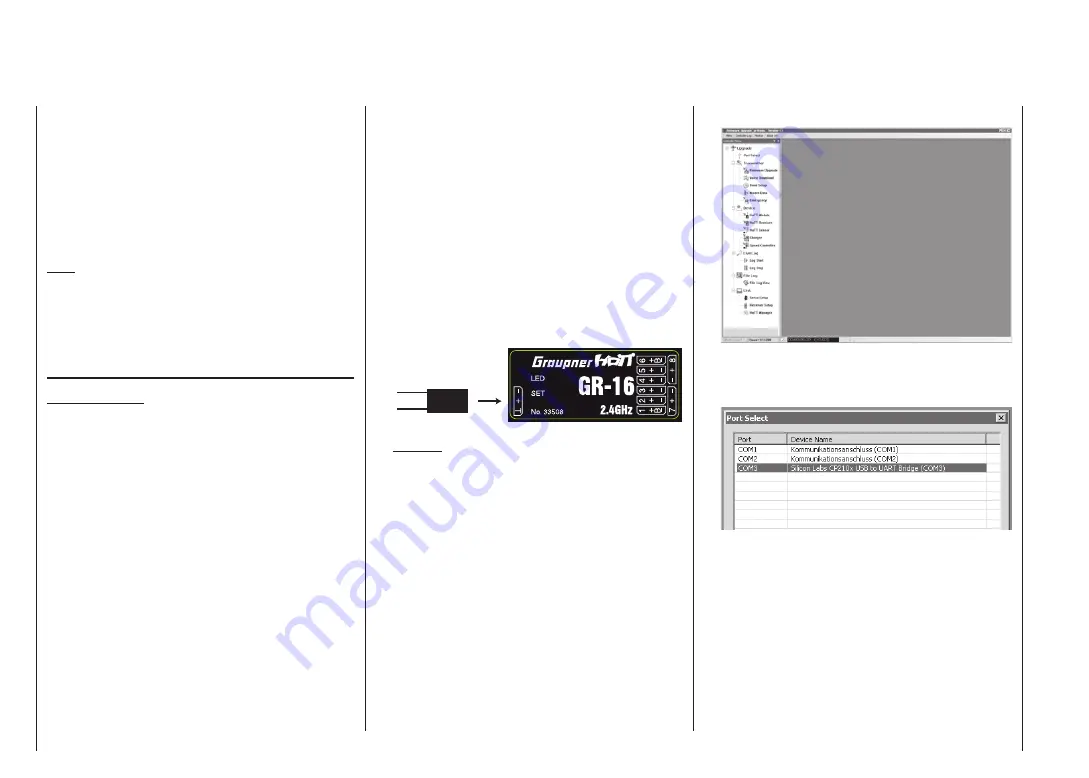
Open the “Controller Menu” and click on “Port Select”
in the “Upgrade” folder. Alternatively select the “Port
Select” entry under “Menu”:
Now select the correct COM port in the “Port select”
window, i.e. the port to which the USB interface is
connected. You can recognise this by the name “Sil-
icon Labs CP210x USB to UART Bridge” in the “De-
vice Name” column. In the screen-shot above this
would be the “COM 3” port.
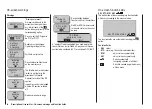
Now call up the “HoTT Receiver” option in the “De-
vice” folder under “Controller Menu”. Alternative-
ly select the “HoTT Receiver Upgrade” entry under
“Menu”:
Firmware update of the receiver
Summary of Contents for mx-12 Hott
Page 1: ...Programming Manual 33116 mx 16 HoTT 3 en mx 16...
Page 35: ...35 For your notes...
Page 49: ...49 For your notes...
Page 55: ...55 For your notes...
Page 59: ...59 For your notes...
Page 63: ...63 For your notes...
Page 69: ...69 For your notes...
Page 91: ...91 For your notes...
Page 101: ...101 For your notes...
Page 123: ...123 For your notes...
Page 181: ...181 For your notes...
Page 193: ...193 For your notes...

