50
Backing up receiver settings
The “
Receiver Setup
” segment of the program
“Firmware_Upgrade_grStudio” can be used to save all
the data programmed in the receiver in a file on your
computer, so that you can transfer the data set back into
the receiver in an emergency; this eliminates the need to
re-program the receiver using the “
Telemetry
” menu, as
would otherwise be necessary.
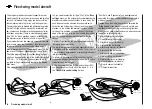
We recommend that you call up the “Receiver Setup”
program from the “Firmware_Upgrade_grStudio” pro-
gram. Alternatively you can start the application directly.
You will find the file “Receiver_Setup.exe” in the “Graup-
ner_PC-Software” folder.
Note:
If you call up “Receiver Setup” from the Firmware_Up-
grade program, ensure that the sub-program “Re-
ceiver_Setup.exe” is located in the same folder as
the “Firmware_Upgrade_grStudio” program; see the
screen-shot above!
For this program you need the USB interface, Order No.
7168.6
, and the interface lead, Order No.
7168.S
, sup-
plied in the
mx-16
radio control set, Order No.
33116
.
Backing up receiver settings
Connecting the receiver to the PC
1.
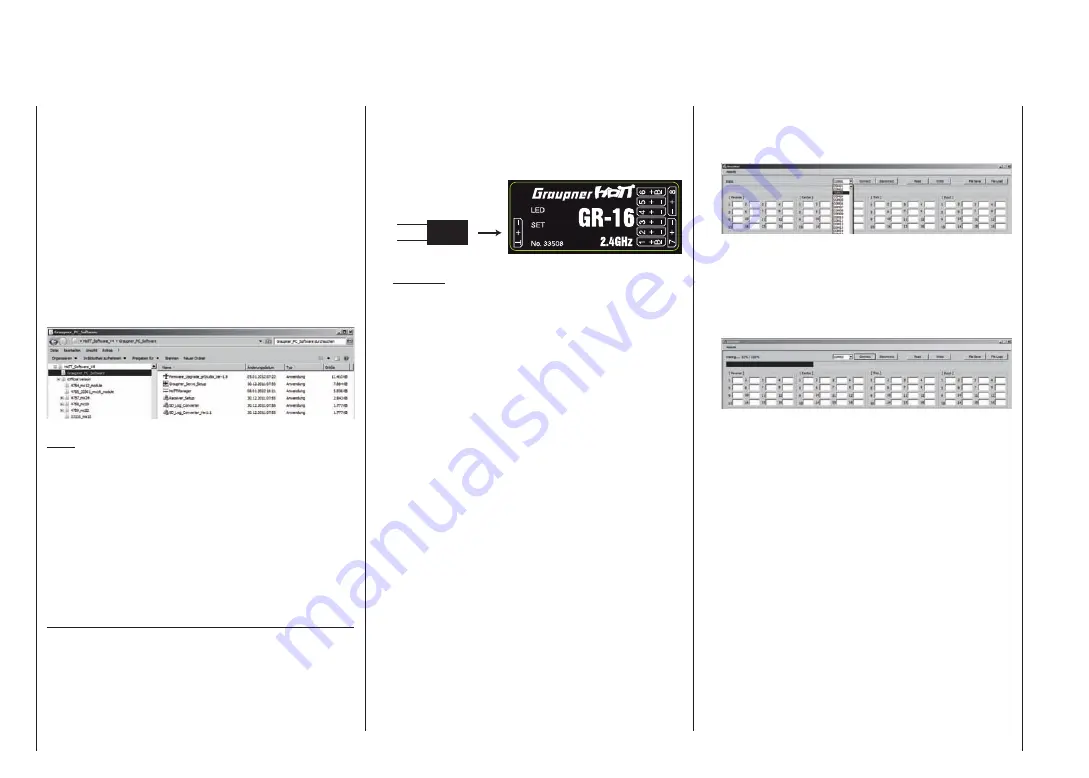
With the receiver switched off, connect the USB in-
terface, Order No.
7168.6
, to the socket marked “-+T”
on the receiver using the adapter lead, Order No.
7168.6S
.
Backing up receiver settings
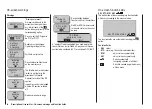
The connector system is polarised: note the small
chamfers on the edges. Do not use force under any
circumstances; the plugs should engage easily.
Adapter lead
Order No.
7168.6A
If a central red wire is present,
cut through it
Caution:
If you are using the - earlier - adapter lead, Order
No. 7168.6A, and this is fitted with a three-core
lead, cut through the central red wire of the
adapter lead before using it.
Now connect the USB interface to the PC or lap-
top using the USB lead supplied in the set (PC-USB
/ mini-USB). If connected correctly, a red LED on the
interface circuit board should light up.
The receiver should be left switched off at this point.
Receiver Setup: selecting the port
2.
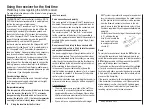
Start the program “Firmware_Upgrade_grStudio_
Ver-X.X.exe” by double-clicking on it, as described
for updating the transmitter software (see page 41).
(Version 1.9, which is current at the time this manu-
al went to press, starts without being installed before-
hand.)
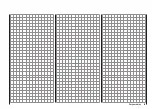
Open the “Controller Menu” and click on “Receiver
Setup” in the “Upgrade / Link” folder. Alternatively se-
lect the “Receiver Setup” entry under “Menu”.
A program window now appears, in which you should
start by setting the “correct” COM port for the USB in-
terface, Order No.
7168.6
. If you are not sure of this,
check the COM port in the “Port select” window in
the “Controller Menu” (see earlier), and note the Com
port number at the entry “Silicon Labs CP210x USB
to UART Bridge”. In accordance with the previous up-
date descriptions this would be the port “COM 3”.
(If you select the wrong port, the program will alert
you to the error.)
Reading out receiver data
3.
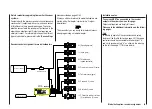
Click on the “Connect” button and wait until the Sta-
tus bar below it starts to advance:
Locate the
SET
button on the receiver and hold it
pressed in while you switch it on. After about three
seconds the receiver’s current values will be dis-
played in the corresponding fields. If the progress bar
is “faster than you are”, and reaches the end before
you have switched the receiver on, the pop-up win-
dow shown here appears. In this case repeat the pro-
cedure.
Summary of Contents for mx-12 Hott
Page 1: ...Programming Manual 33116 mx 16 HoTT 3 en mx 16...
Page 35: ...35 For your notes...
Page 49: ...49 For your notes...
Page 55: ...55 For your notes...
Page 59: ...59 For your notes...
Page 63: ...63 For your notes...
Page 69: ...69 For your notes...
Page 91: ...91 For your notes...
Page 101: ...101 For your notes...
Page 123: ...123 For your notes...
Page 181: ...181 For your notes...
Page 193: ...193 For your notes...

