47
Updating the receiver firmware
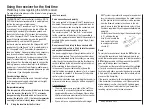
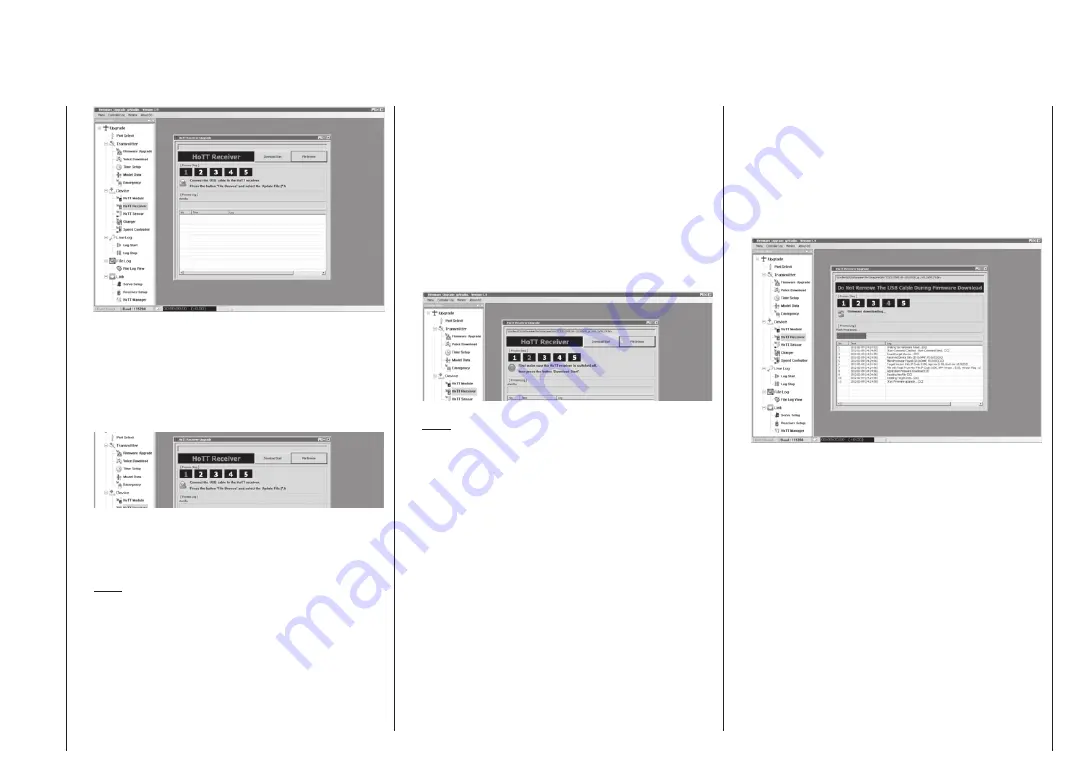
When you have called up the program, you will see
the number “1” flashing red in the numeric row 1 … 5
at the top of the window, indicating that the program
is currently operating at “[Process Step] 1”.
In each case the meaning of the currently flashing
step is indicated immediately below the numeric row:
For example, at Step 1: “Connect USB lead to HoTT
receiver” and “Press File Browse button and select
Update file”, as shown here.
Note:
At any time you can call up an explanation of any
step in the form of Quick-Info by positioning the
mouse pointer over a number.
If you have not already done so, connect your receiv-
er to the PC or laptop at this point. Now click on the
button marked “File Browse” and select the firmware
update file matching your receiver in the “Open file”
dialogue which now appears; the file suffix will be
“bin”.
In the case of the zip file “HoTT_Software_VX” which
you have already downloaded and unpacked, this
will usually be found in the folder whose name starts
with the Order Number of the receiver to be up-
dated. If your receiver is the GR-16 which is sup-
plied in the set as standard, this would be the folder
“33508_8CH_RX”. The file appears in the associated
window. At the same time the “2” starts to flash red:
Note:
The firmware files are encoded in a manner specific
to each product, i.e. if you accidentally select a file
which does not match the product (e.g. transmitter
update file instead of receiver update file), the pop-up
window “Product code error” appears, and you will be
unable to continue the update process.
Follow the instructions for “[Process Step] 2”. With
the receiver still switched off, click on the “Download
Start” button in the “HoTT Receiver Upgrade” window.
(The display changes to “[Process Step] 3”.) Wait un-
til the progress bar starts to advance; this may take
several seconds, depending on your computer.
Only at this point should you switch the receiver on
with the
SET
button pressed in. After a few seconds
“Line 3” appears in the column “No” of the Status dis-
play, with the message: “Found target device …”. Re-
lease the button at this point. The actual firmware
update process now starts automatically: “11, Start
Firmware upgrade…”.
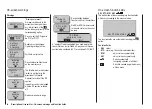
If the device is not detected, a pop-up window ap-
pears with the message “Target device ID not found”.
If this should happen, check your update arrange-
ments and try again:
In the Status display the progress of the firmware up-
date is indicated by the progress bar.
During the update process the green and the red
LED on the receiver glows a constant green and red.
You must not interrupt the connection between
the transmitter and the PC during the update
process!
The update is finished when the progress bar reach-
es the right-hand end, and the message “12, Com-
plete !!” appears in the bottom line of the Status dis-
play. At the same time the [Process Steps] display
moves on to “5”.
When the update is completed, the green LED goes
out, and the red LED starts to flash.
If the process terminates before the 100% mark is
Summary of Contents for mx-12 Hott
Page 1: ...Programming Manual 33116 mx 16 HoTT 3 en mx 16...
Page 35: ...35 For your notes...
Page 49: ...49 For your notes...
Page 55: ...55 For your notes...
Page 59: ...59 For your notes...
Page 63: ...63 For your notes...
Page 69: ...69 For your notes...
Page 91: ...91 For your notes...
Page 101: ...101 For your notes...
Page 123: ...123 For your notes...
Page 181: ...181 For your notes...
Page 193: ...193 For your notes...


