41
Using the transmitter for the first time - Updating the firmware
transmitter battery before you carry out any up-
date. For safety’s sake recharge it and back up
all occupied model memories, so that you can re-
store them if anything goes wrong.
The connection between the transmitter and the
•
PC or laptop must not be interrupted during the
update process, so please ensure that there is re-
liable contact between the transmitter and the
computer.
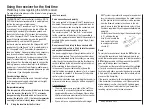
Unpacking the program package
1.
Unpack the file “HoTT_Software_VX.zip” into a con-
venient folder. For example, you might name the fold-
er “HoTT_Software_VX”, the “X” standing for the cur-
rent version number.
Installing the driver
2.
If you have not already done so, install the driver soft-
ware which is included in the program package in the
“USB driver” folder; this is necessary in order to use
the transmitter’s integral USB port.
Start the driver installation by double-clicking on the
corresponding file, and follow the instructions. Af-
ter a successful installation the computer will need to
be restarted. Note that the driver only has to be in-
stalled once.
Connecting the transmitter to the PC
3.
Connect the USB lead to the PC or laptop and the
five-pin mini-USB socket on the back of the transmit-
ter, with the transmitter switched off. Check that the
USB lead is making solid contact.
4. Updating the
mx-16
HoTT transmitter software
Start the program “Firmware_Upgrade_grStudio_Ver-
X.X.exe”, which is now stored in the folder you have
just named “HoTT_Software_VX” (or similar). (Note:
version 1.9, which is current at the time this manu-
al went to press, starts without being installed before-
hand.):
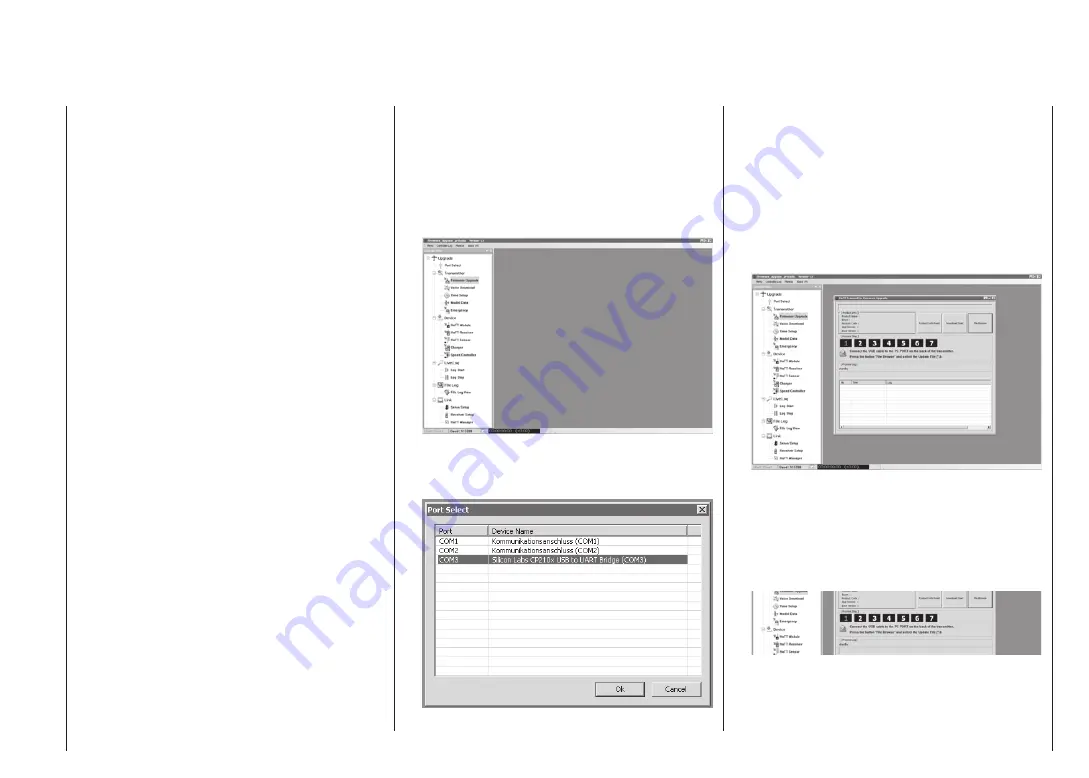
Open the “Controller Menu” and click on “Port Select”
in the “Upgrade” folder. Alternatively select the “Port
Select” entry under “Menu”:
Now select the correct COM port in the “Port select”
window, i.e. the port to which the USB interface is
connected. You can recognise this by the name “Sil-
icon Labs CP210x USB to UART Bridge” in the “De-
vice Name” column. In the screen-shot above this
would be the “COM 3” port.
Now call up the “Firmware Upgrade” option in the
“Transmitter” folder under “Controller Menu”. Alter-
natively select the “Firmware Upgrade” entry under
“Menu”:
When you have called up the program, you will see
the number “1” flashing red in the numeric row 1 … 7
at the top of the window, indicating that the program
is currently operating at “[Process Step] 1”.
In each case the meaning of the currently flashing
step is indicated immediately below the numeric row:
For example, at Step 1: “Connect USB lead to PC
and transmitter” and “Press File Browse button and
select Update file”, as shown here.
Summary of Contents for mx-12 Hott
Page 1: ...Programming Manual 33116 mx 16 HoTT 3 en mx 16...
Page 35: ...35 For your notes...
Page 49: ...49 For your notes...
Page 55: ...55 For your notes...
Page 59: ...59 For your notes...
Page 63: ...63 For your notes...
Page 69: ...69 For your notes...
Page 91: ...91 For your notes...
Page 101: ...101 For your notes...
Page 123: ...123 For your notes...
Page 181: ...181 For your notes...
Page 193: ...193 For your notes...


