GE M
EDICAL
S
YSTEMS
D
IRECTION
FK091075, R
EVISION
04
V
IVID
3N P
RO
/E
XPERT
S
ERVICE
M
ANUAL
Chapter 8 Replacement Procedures
8-115
Section 8-7
Software Loading
8-7-1
Software Installation/Upgrade Procedure
Note:
It is recommended to back-up the archive and the settings as described in the Vivid 3N Pro/
Expert User Manual, before commencing software installation (or whenever upgrading the
software).
WARNING:
Do not attempt to install software that was not designated for your Vivid 3N Pro/Expert unit.
Attempting to install un-approved software will cause irreversible damage to hardware and software!
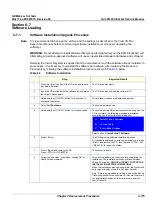
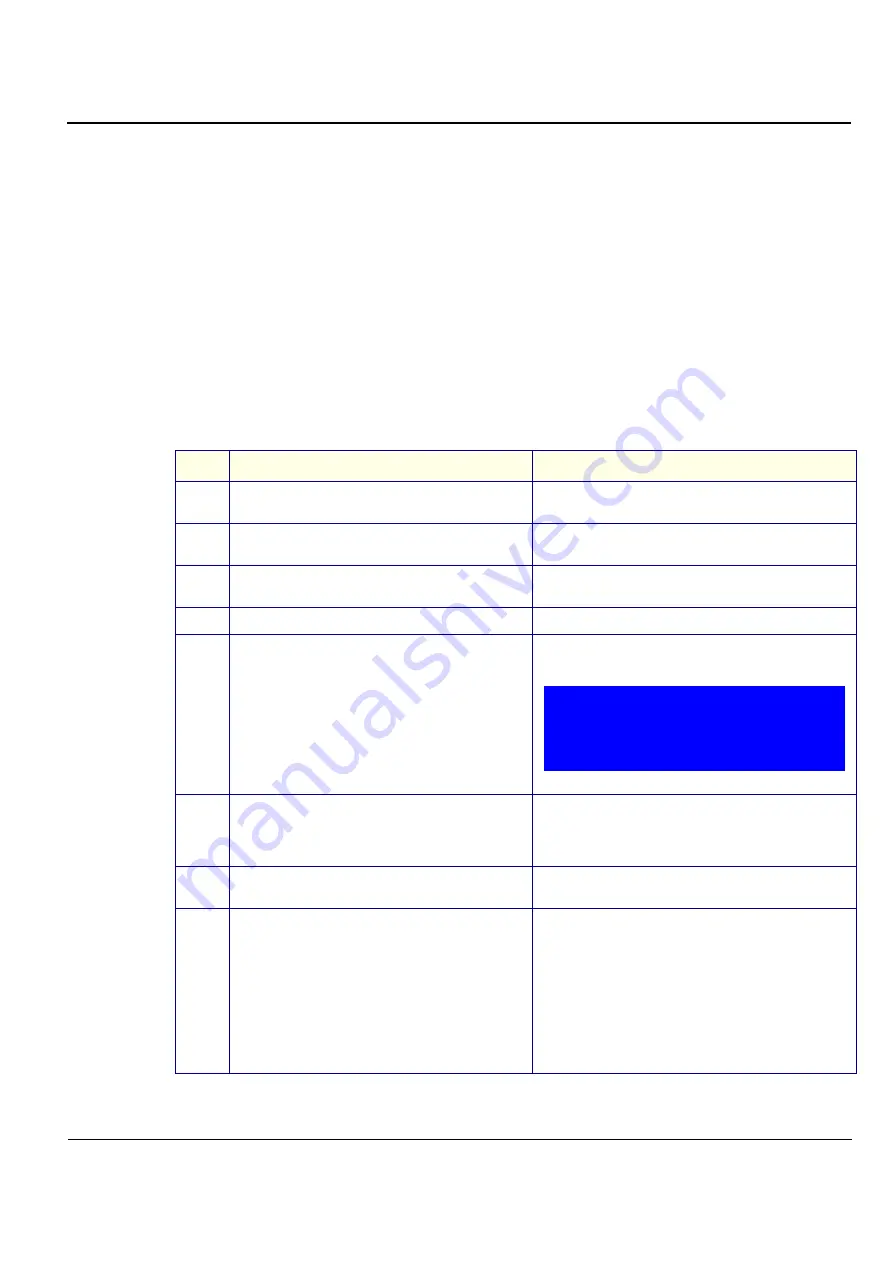
Normally the Vivid 3N system is supplied from the manufacturer with the software already installed. In
some cases, it is necessary to re-install the software (for example, after replacing the Back-end
Processor) by following the software installation procedure shown in
Table 8-3
below.
Table 8-3
Software Installation
Step
Expected Result
1
Press the <Eject> button of the CD drive and remove
any media if present.
The CD drive tray ejects.
2
Insert the CD provided with the software kit, and press
the <Eject> button again.
The CD drive tray will load the software CD.
3
Hold down the <ON/OFF> button for 5 seconds to
shutdown the system.
The shutdown options are displayed on-screen.
4
Select
Full Shutdown
.
The system powers down.
5
Hold down the <ON/OFF> button for three seconds.
The system powers ON and when system boot-up from the
CD is complete, the following message is displayed
prompting you to select the required option:
Select option A)
Install Vivid 3 Software
.
6
Press <Enter>.
The CD begins the software installation process.
A message is displayed on-screen prompting you to press
<Eject> and remove the CD, then to press <CTRL + ALT
+ DELETE> to reboot the system.
7
Press <Eject> and remove the CD.
Press <CTRL+ALT+DELETE>.
The system re-boots.
8
Follow the on-screen instructions, clicking OK (or
Cancel) when prompted.
The machine performs 4 reboots before completing the
installation. The installation process will take between
20 and 50 minutes -
DO NOT ATTEMPT TO STOP THE
INSTALLATION BEFORE COMPLETION!
When the installation process is complete, the system will
be in regular display mode (Probe Select Screen).
Note: If this is a new software version, an adhesive Rating
Plate is supplied with the software CD. Adhere the plate in
the appropriate position on the metal cover under the
control console.
Install Vivid 3 Software
Service Tools
Exit without Actions
A.
B.
C.

