GE M
EDICAL
S
YSTEMS
D
IRECTION
FK091075, R
EVISION
04
V
IVID
3N P
RO
/E
XPERT
S
ERVICE
M
ANUAL
8-60
Section 8-5 - Back End Parts Replacement
8-5-1-4 Back End Processor Installation Procedure
(cont’d)
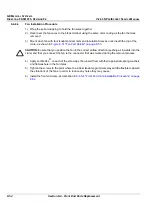
19.)
For systems
without
a UPS
:
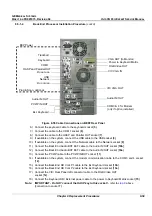
Connect the BEP power cable to the power input socket [
16a
]
For systems using a UPS
:
Connect the UPS power cable to the Plug and Scan socket [
16b
]
and then connect the BEP/Modem power cable to the power input socket [
16a
].
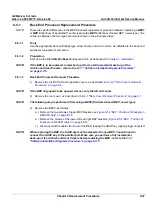
20) Facing the side cover, push the BEP as far to the right as possible, and tighten first the left lower
bracket, then the right lower bracket and finally the bracket on its upper left side. Use two screws
to fasten each bracket.
21) Turn ON the system and boot-up in
Technical Support
mode - make sure the T-plug (dongle) is
inserted into the parallel port on the rear panel.
22.)Re-install the Software - see the
8-7-1 "Software Installation/Upgrade Procedure" on page 8-115
.
The system will perform four reboots before completing the software installation, after which the
probe select screen will be displayed.
Note:
IMPORTANT: During the software installation, the system will display a few messages;
reply to all by selecting
OK
, or
Cancel
(all can be ignored).
23.)After a complete installation of the software, boot-up the system.
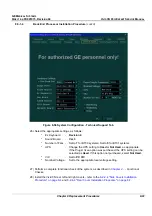
24.)Press the
Config
button on the control console; the System Configuration dialog box is displayed.
25.)Trackball to the
Technical Support
tab and press
Select
.
The dialog box displays the Technical Support Tab as shown in
Figure 8-56 "System Configuration
- Technical Support Tab" on page 8-61
.


