GE M
EDICAL
S
YSTEMS
D
IRECTION
FK091075, R
EVISION
04
V
IVID
3N P
RO
/E
XPERT
S
ERVICE
M
ANUAL
Chapter 8 Replacement Procedures
8-95
8-6-3
Keyboard or Monitor Cable Replacement Procedure
8-6-3-1
Tools
Use the appropriate flat and Phillips-type screw drivers, a wire cutter and the appropriate Allen keys as
indicated in the keyboard or monitor cable replacement procedure.
8-6-3-2
Preparation
Shut down the Vivid 3N Pro/Expert ultrasound unit, as described in
Chapter 3 -
Installation
.
8-6-3-3
Keyboard or Monitor Cable Removal Procedure
1) Remove the Vivid 3N left, right and rear covers, as described in
8-2-2-3 "Side Covers Removal
Procedure" on page 8-4
, and the
8-2-4-3 "Rear Cover Removal Procedure" on page 8-7
.
2) Use the front handle to raise the console to its highest position.
3) Locate the black cable track containing all the cables, at the back of the unit.
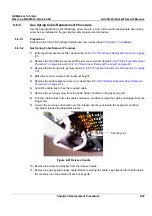
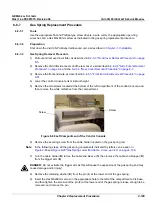
4) Open the track by hooking a thumb or finger under the right side of one of the tracks and pulling the
side of the track. The track clicks open, enabling you to select the required cable.
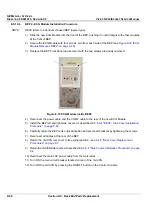
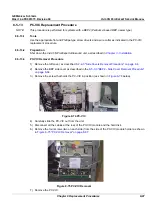
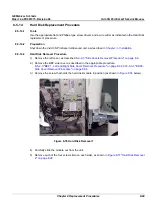
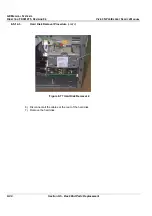
Figure 8-80 Opening the Track
5) Disconnect both ends of the cable that is to be replaced.
6) Replace the cable, adding new ties to bind the cables together where necessary, and snap the track
back to the closed position.
8-6-3-4
Keyboard or Monitor Cable Installation Procedure
1) Route the cables, adding new ties to bind the cables together where necessary.
2) Reconnect both ends of the cable that was replaced.
3) Close the track by pressing a thumb or finger on the left and right sides of each of the tracks and
pushing the track until it snaps back to the closed position.
4) Replace the Vivid 3N rear, left and right covers, as described in
8-2-4-4 "Rear Cover Installation
Procedure" on page 8-7
and the
8-2-2-4 "Side Covers Installation Procedure" on page 8-4
.


