GE M
EDICAL
S
YSTEMS
D
IRECTION
FK091075, R
EVISION
04
V
IVID
3N P
RO
/E
XPERT
S
ERVICE
M
ANUAL
Chapter 8 Replacement Procedures
8-37
8-3-3-4
Vivid 3N 17" Monitor Installation - Procedure 2
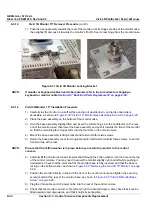
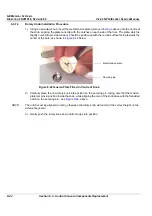
1) Carefully lay the monitor on a soft surface and turn it upside down, so that its bottom is accessible.
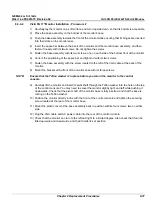
2) Place the base assembly on the bottom of the monitor’s case.
3) Push the base assembly towards the front of the monitor while ensuring that its hinges are inserted
into their slots on the monitor case.
4) Insert the space bar between the back of the monitor and the monitor base assembly, and then
fasten it loosely with its two screws. Do not tighten the screws.
5) Fasten the base assembly with its two screws, one on each side of the bottom front of the monitor.
6) Correct the positioning of the space bar and tighten it with its two screws.
7) Fasten the base assembly with the screw located to the left of the VGA cable at the back of the
monitor.
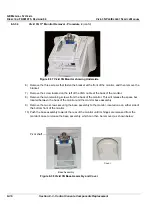
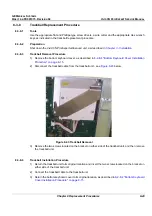
8) Mount the bracket at the front of the monitor case with its three screws.
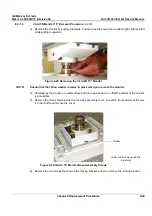
NOTE:
Ensure that the Teflon washer is in place before you return the monitor to the control
console.
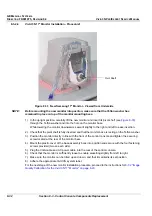
9) Carefully lift the monitor and insert its pivot shaft through the Teflon washer into the hole on the top
of the control console. You may need to swivel the monitor slightly
right
and
left
while pushing it
downwards. Check that the pivot shaft of the monitor base is fully inserted, and that the base is
resting on the Teflon washer.
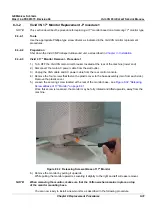
10) Position the monitor directly in line with the front of the control console and tighten the securing
screw located at the rear of the monitor base.
11) Mount the plastic cover of the base assembly back in position with its four screws, two on either
side.
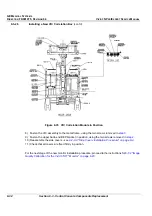
12) Plug the VGA cable and AC power cable into the rear of the control console.
13) Check that the monitor can turn to the
left
and
right
to a limited degree. Also check that it can be
tilted
upwards
and
downwards
, and that it holds its set position.

