4.2 Loading Paper
119
6.
Press the <
> button until [Paper Size
Settings] is displayed.
7.
Press the <
> or <OK> button to select.
[Tray 1] is displayed.
8.
Press the <
> button until the desired paper
tray is displayed, and then press the <
> or
<OK> button to display its current setting.
The current set value is displayed.
9.
Press the <
> button until [Custom] is
displayed.
10. Press the <OK> button to select.
[Portrait (Y) Size] is displayed.
11. Press the <
> or <OK> button to select.
The current set value is displayed.
12. Use the <
> and <
> buttons to enter the
Portrait (Y) size and then press the <OK>
button to apply it.
(Example: 297 mm)
13. After setting the Portrait (Y) Size, set the
Landscape (X) Size.
Press the <
> or <Back> button to return to
[Portrait (Y) Size].
14. Press the <
> button.
[Landscape (X) Size] is displayed.
15. Press the <
> or <OK> button to select.
The current set value is displayed.
16. Use the <
> and <
> buttons to enter the
Landscape (X) Size and then press the <OK>
button to apply it.
(Example: 432 mm)
17. To configure settings for other trays, press the
<
> button or <Back> button until the screen
in step 8 is displayed. Then repeat the steps
that follow.
To exit the setting operation, press the
<Settings> button to return to the [Ready to
print] screen.
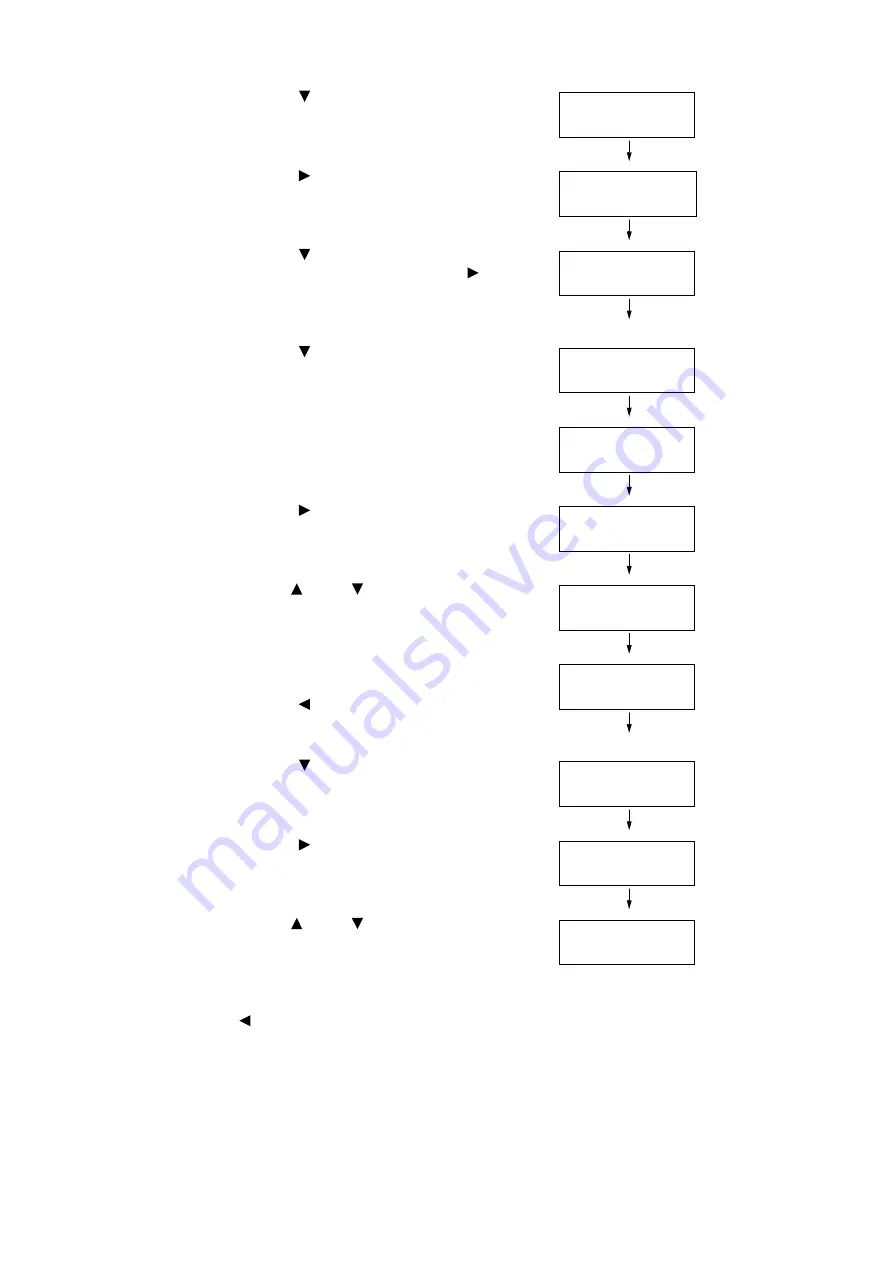
Printer Settings
PaperSizeSettings
PaperSizeSettings
Tray 1
Tray 1
•
Auto
Tray 1
Custom
Tray 1 Custom
Portrait(Y)Size
Portrait(Y)Size
•
140 mm
Portrait(Y)Size
•
297 mm
Tray 1 Custom
Portrait(Y)Size
Tray 1 Custom
Landscape(X)Size
Landscape(X)Size
•
182 mm
Landscape(X)Size
•
432 mm


