EPSON AcuLaser C8500
Revision C
Chapter 4
Diagnostics
4-13
LOG WINDOW PROCEDURES
Moving the cursor to inside the [Log Window] and right-clicking displays
the [Log Clear], [Log Save], and [Log Window Close] buttons.
By licking these buttons you can do the following:
[Log Clear]Log Clear is executed, deleting the contents of the
Log Window.
[Log Save] Saves the contents of the log. In the [Log Save]
window, specify a filename and click [Save]. If you do not specify
a file extension, “LOG” is automatically attached.
[.Log Window Close] Closes the Log Window.
NOTE: You can display the saved log file using an editor such as Memo
Pad.
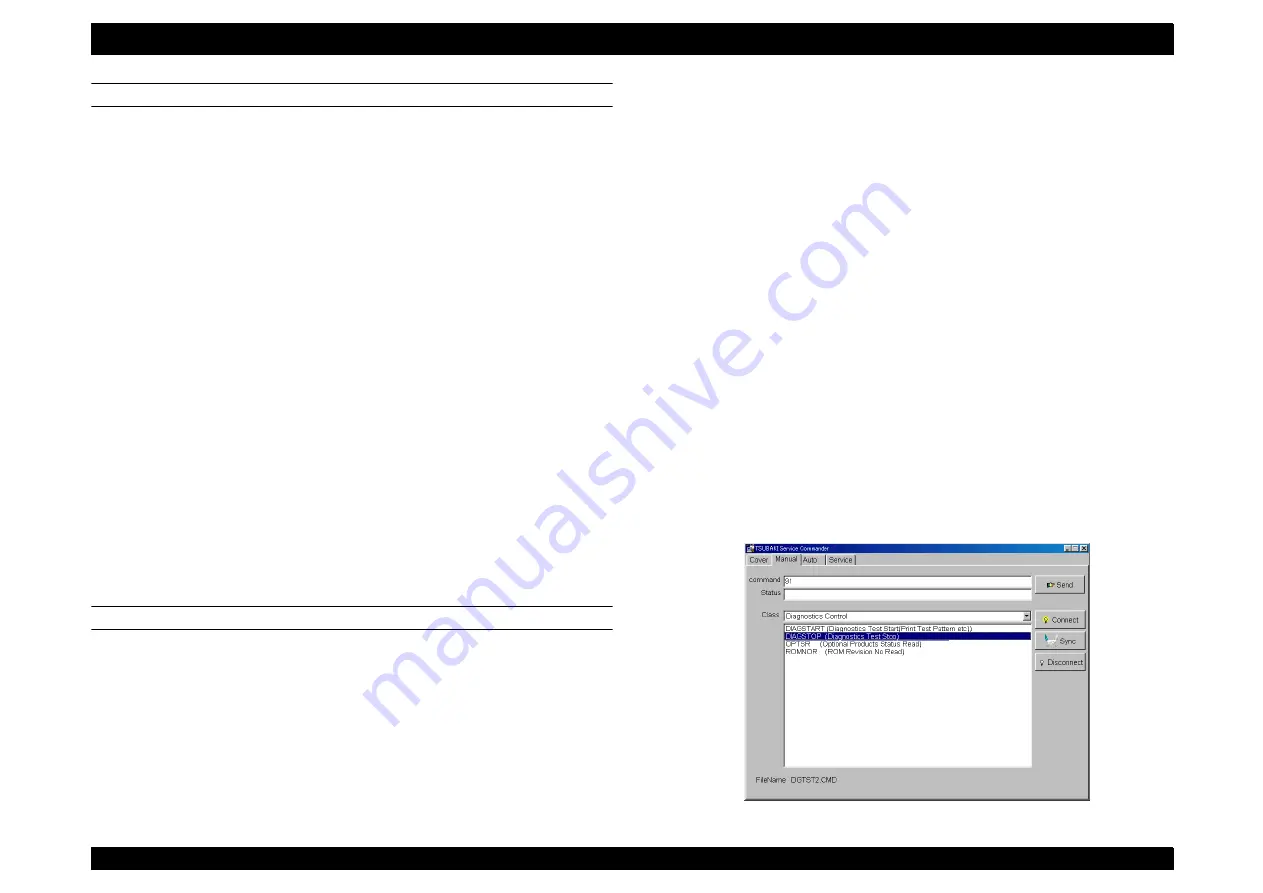
4.2.4.4 [Manual] Tab Operation
With [Manual] tab, you can send commands and receive statuses.
NOTE: Send commands only after communications are established.
NOTE: For the details of the commands and statuses, see Section 4.2.7
SELECTION FROM A PULL-DOWN MENU
NOTE: There are command codes and parameter codes in the pull-
down menu that cannot be selected.
NOTE: Be careful with the thing as well which hasn't been used for pull
down menu because they are indicated.Don't transmit the
command which is not in Section 4.2.7 “Command/Status List”
even if it is indicated again by the pull-down menu.
[Procedure]
1. Connect DIAG TOOL with the printer, launch the diagnostics
commander.
2. Click on the [Manual] tab to display the Manual screen.
3. Establish communications. (See Section 4.2.4.2 “Communications
4. Click on the [Class] column and select the class with the command
code to be sent from four classes described in Section 4.2.3.1
“Overview of Commands and Statuses”.
5. Select the command code to be sent from the command codes
displayed.
6. The command code selected is displayed in the [Command]
column.
NOTE: Clicking once only displays the command code in the
[Command] column.
Summary of Contents for AcuLaser C8500
Page 12: ......
Page 21: ...C H A P T E R 1 PRODUCTDESCRIPTIONS ...
Page 78: ...C H A P T E R 2 OPERATINGPRINCIPLES ...
Page 108: ...EPSON AcuLaser C8500 Revision C Operating Principles 2 31 Figure 2 38 Xerographics II ...
Page 110: ...EPSON AcuLaser C8500 Revision C Operating Principles 2 33 Figure 2 39 Development ...
Page 118: ...EPSON AcuLaser C8500 Revision C Operating Principles 2 41 Figure 2 45 Drive ...
Page 120: ...EPSON AcuLaser C8500 Revision C Operating Principles 2 43 Figure 2 46 Electrical ...
Page 153: ...C H A P T E R 3 DISASSEMBLY ASSEMBLY ADJUSTMENT ...
Page 269: ...C H A P T E R 4 DIAGNOSTICS ...
Page 353: ...C H A P T E R 5 TROUBLESHOOTING ...
Page 480: ...C H A P T E R 6 MAINTENANCE ...
Page 503: ...C H A P T E R 7 APPENDIX ...
Page 564: ......
Page 565: ......
Page 566: ......
Page 567: ......
Page 568: ......
Page 569: ......
Page 570: ......


