EPSON AcuLaser C8500
Revision C
Chapter 4
Diagnostics
4-11
4.2.4 Operating the Diagnostics Commander
4.2.4.1 Starting Up the Diagnostics Commander
[Procedure]
1. Connect the Diag tool with the printer.
2. Turn ON the power supply of the printer.
3. Launch Windows 95, and select [Program (P)]-[Tsubaki Service
Commander V*.**]-[TSCV*] from the “Start menu.”
4. To quit the diagnostics commander, click on the [Close] button.
4.2.4.2 Communications Connection
[Procedure]
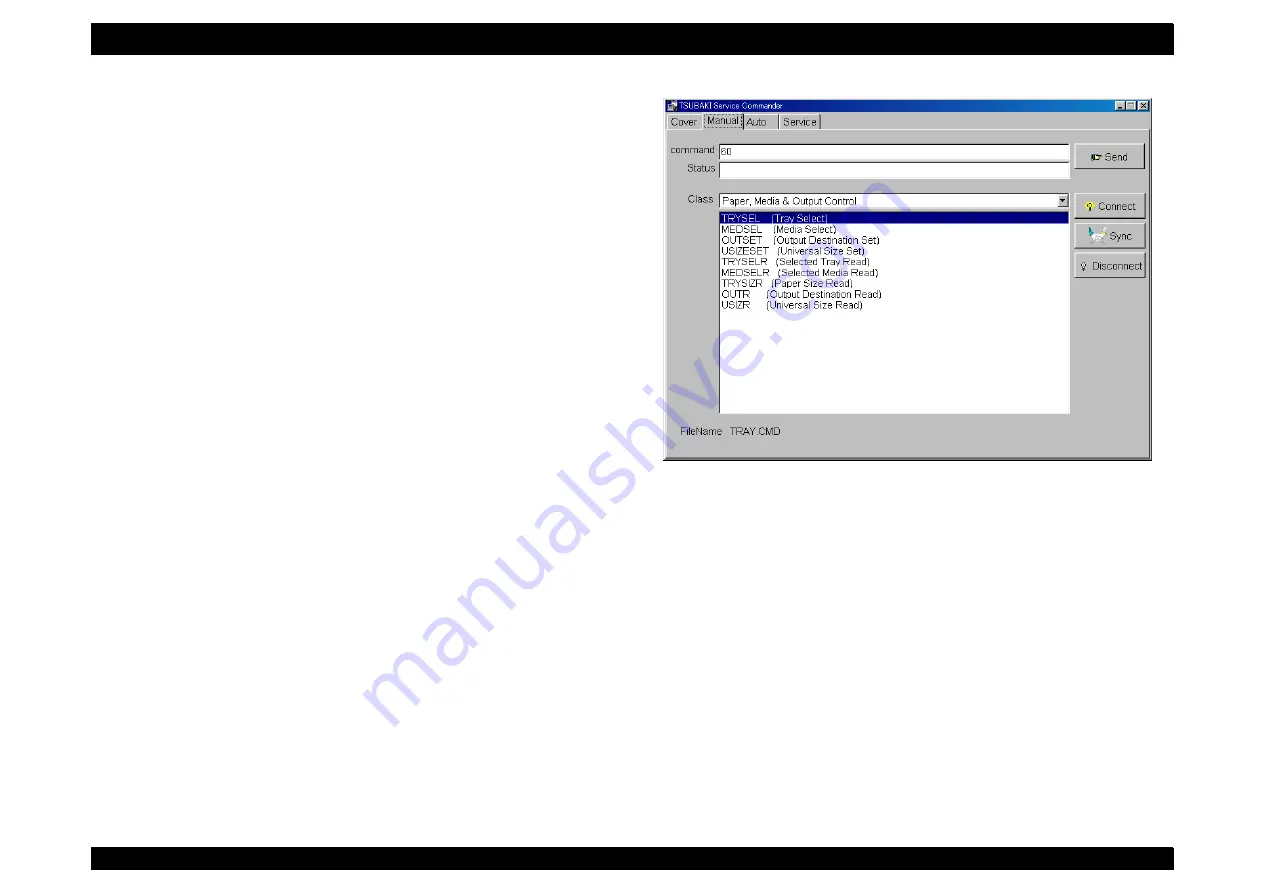
1. Click on the [Manual] tab or [Auto] tab according to what you want to
send.
2. Click on the [Connect] button to connect the communications port.
3. Click on the [Sync] button to establish communications.
NOTE: Clicking on the [Service] tab establishes communications.
NOTE: When exiting the [Manual] tab, or [Auto] tab, disconnect
communications by clicking on the [Disconnect] button.
Figure 4-5. Window when the [Manual] tab is selected.
Summary of Contents for AcuLaser C8500
Page 12: ......
Page 21: ...C H A P T E R 1 PRODUCTDESCRIPTIONS ...
Page 78: ...C H A P T E R 2 OPERATINGPRINCIPLES ...
Page 108: ...EPSON AcuLaser C8500 Revision C Operating Principles 2 31 Figure 2 38 Xerographics II ...
Page 110: ...EPSON AcuLaser C8500 Revision C Operating Principles 2 33 Figure 2 39 Development ...
Page 118: ...EPSON AcuLaser C8500 Revision C Operating Principles 2 41 Figure 2 45 Drive ...
Page 120: ...EPSON AcuLaser C8500 Revision C Operating Principles 2 43 Figure 2 46 Electrical ...
Page 153: ...C H A P T E R 3 DISASSEMBLY ASSEMBLY ADJUSTMENT ...
Page 269: ...C H A P T E R 4 DIAGNOSTICS ...
Page 353: ...C H A P T E R 5 TROUBLESHOOTING ...
Page 480: ...C H A P T E R 6 MAINTENANCE ...
Page 503: ...C H A P T E R 7 APPENDIX ...
Page 564: ......
Page 565: ......
Page 566: ......
Page 567: ......
Page 568: ......
Page 569: ......
Page 570: ......


