4.
Select
Scan on the HOME screen, then press the
OK
button.
The screen for selecting to which you forward the data is displayed.
5.
Select
PC, then press the
OK
button.
6.
Use the
button to select the PC to forward the scanned data, then press the
OK
button.
Select USB for a USB connected computer, or select the PC to forward the scanned data for a LAN
connected computer.
The document type selection screen is displayed.
Note
The LAN connected PCs are displayed as "User's name PCs name".
7.
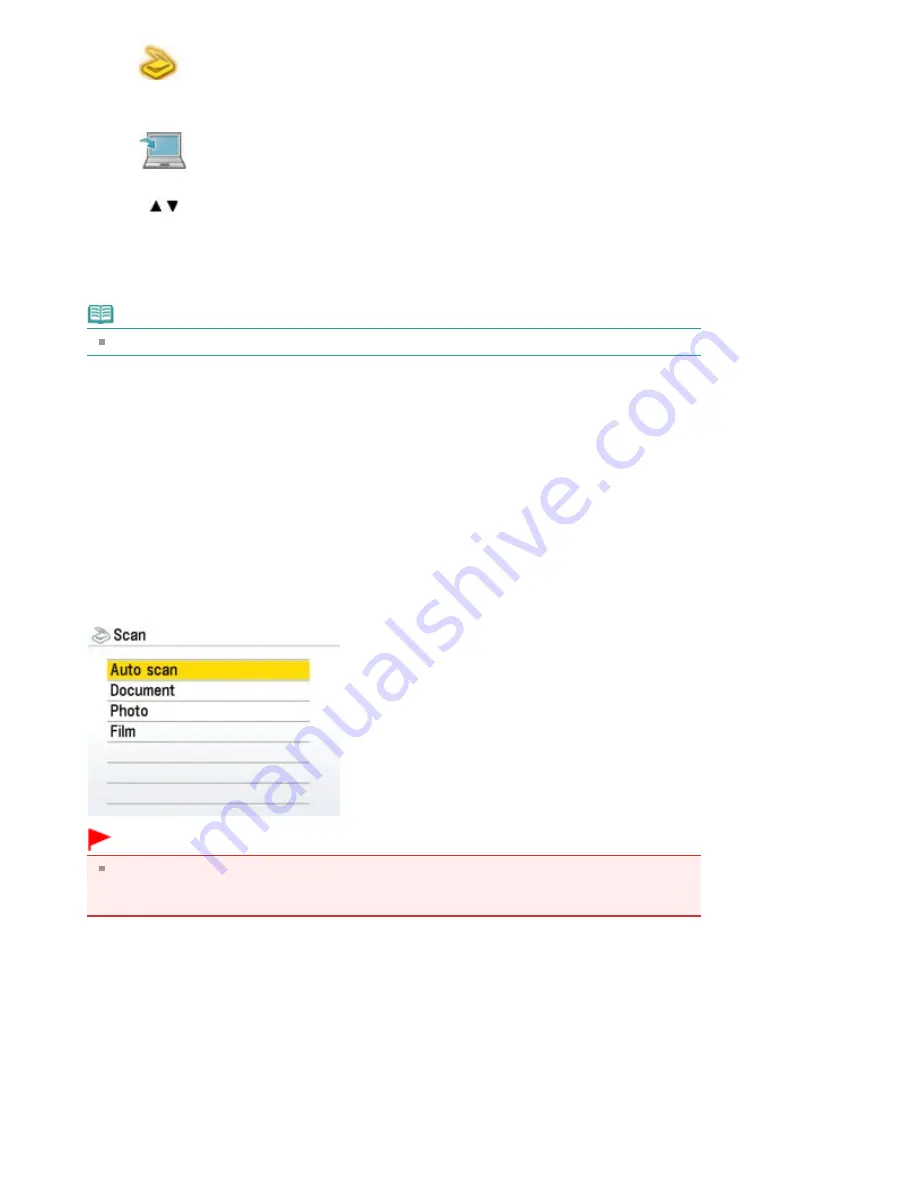
Select the document type, then press the
OK
button.
Auto scan
This item is available only when the machine is connected to the computer using a USB cable.
The machine detects the type of the original automatically and the image is forwarded in the
optimized data.
Proceed to step 9.
Document
Scans the original on the Platen Glass applying the optimized settings for scanning a document.
Photo
Scans the original on the Platen Glass applying the optimized settings for scanning a photo.
Film
Scans the original on the Platen Glass applying the optimized settings for scanning a film.
Important
Make sure that the document has been loaded correctly according to the document type that
you have selected. Refer to
Placing Documents
for how to load the original on the Platen
Glass.
8.
If you selected Document, Photo, or Film in step 7, select the file format, then press
the
OK
button.
Save to PC
The original is scanned and saved.
Save as PDF file
The original is scanned and saved as a PDF file. This item can be selected only when Document
has been selected on the Scan screen.
Attach to E-mail
The original is scanned, and the image is attached to an e-mail using the e-mail application
software.
Page 505 of 1086 pages
Forwarding Scanned Data to PC Using the Operation Panel of the Machine
Summary of Contents for 3749B002
Page 19: ...Page top Page 19 of 1086 pages Printing Photos Saved on the Memory Card USB Flash Drive ...
Page 22: ...Page top Page 22 of 1086 pages Using Various Functions ...
Page 28: ...Page top Page 28 of 1086 pages Inserting the USB Flash Drive ...
Page 57: ...Page top Page 57 of 1086 pages Using Various Scan Functions ...
Page 82: ...Page top Page 82 of 1086 pages Machine Settings ...
Page 88: ...Page top Page 88 of 1086 pages Loading Paper ...
Page 103: ...break 2 Close the Document Cover gently Page top Page 103 of 1086 pages Loading Originals ...
Page 118: ...Page top Page 118 of 1086 pages Printing the Nozzle Check Pattern ...
Page 164: ...Page top Page 164 of 1086 pages What Is Easy PhotoPrint EX ...
Page 193: ...See Help for details on the Edit screen Page top Page 193 of 1086 pages Editing ...
Page 202: ...Page top Page 202 of 1086 pages Printing ...
Page 211: ...Adjusting Images Page top Page 211 of 1086 pages Correcting and Enhancing Photos ...
Page 254: ...Page top Page 254 of 1086 pages Printing ID Photos ID Photo Print ...
Page 273: ...Page top Page 273 of 1086 pages Printing Dates on Photos ...
Page 298: ...Page top Page 298 of 1086 pages Printing ...
Page 332: ...Page top Page 332 of 1086 pages Borderless Printing ...
Page 393: ...Page top Page 393 of 1086 pages Smoothing Jagged Outlines ...
Page 687: ...Advanced Mode Tab Page top Page 687 of 1086 pages Scanning in Advanced Mode ...
Page 689: ...Related Topic Auto Scan Mode Tab Page top Page 689 of 1086 pages Scanning in Auto Scan Mode ...
Page 692: ...Advanced Mode Tab Page top Page 692 of 1086 pages Scanning Film in Advanced Mode ...
Page 746: ...Page top Page 746 of 1086 pages Scanner Tab ...
Page 768: ...Page top Page 768 of 1086 pages Scanning with WIA Driver ...
Page 866: ...Page top Page 866 of 1086 pages Printer Cannot be Registered ...
Page 899: ...Page top Page 899 of 1086 pages If an Error Occurs ...
Page 931: ...Page top Page 931 of 1086 pages Printing Does Not Start ...
Page 1001: ...Page top Page 1001 of 1086 pages Before Printing on Art Paper ...
Page 1024: ...Page top Page 1024 of 1086 pages Using Easy PhotoPrint EX ...
Page 1053: ...Page top Page 1053 of 1086 pages How to Set a Network Key Network Password ...


