For Service Engineer
Service Information
SI1705004E-00=SIGMA-G5SII Service Manual
128/273
(2)
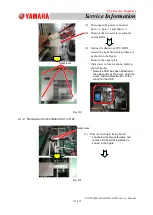
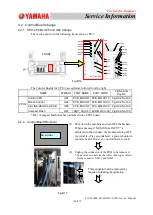
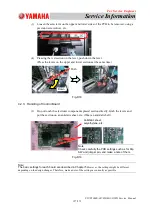
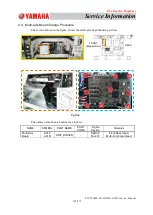
Control Board Attachment
Fig.D20
4.2.4. Change of PCB U81 (CPU2 Main Board)
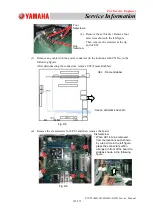
The PCB removal/attachment procedure and precautions are the same as those in item
4.2.2. For the CPU2 Main Board (U81), confirm the following items.
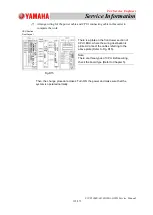
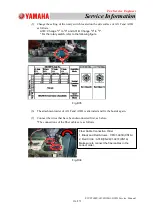
(1)
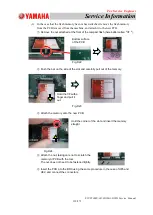
Confirm that the following flash memory has been attached to the prepared board.
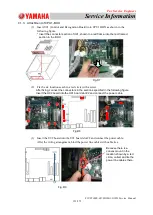
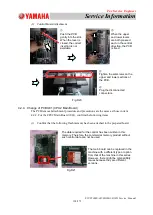
①
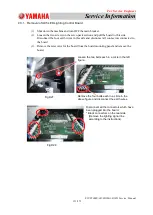
Push the PCB
gently into the slot.
When the lever is
closed, the correct
insertion is not
available.
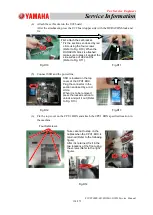
③
Tighten the setscrews on the
upper and lower sections of
the PCB.
④
Plug the disconnected
connectors.
Fig.D21
The data required for the control has been written in this
memory. Therefore, the commercial memory product without
such control data can not be used.
The main board can be replaced in the
machine with a different type or option
from that of the machine in this series.
However, there might be compatibility
issues because they are different
versions.
②
When the upper
and lower levers
are both pressed
each in the central
direction, the PCB
is fixed.


