For Service Engineer
Service Information
SI1705004E-00=SIGMA-G5SII Service Manual
110/273
①
The 0.01mm shim cannot be inserted in the gap between the linear scale and knock pin.
②
The laterally adjusted position of the Y-axis linear scale should be the position
with the center value.
* Refer to Item 3.5.1 for the adjustment procedure.
③
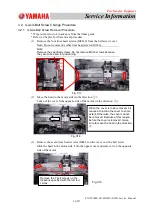
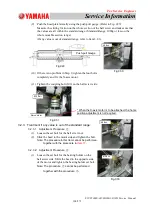
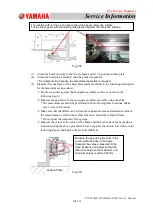
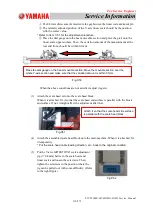
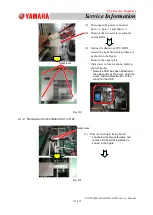
Place the dial gauge onto the beam movable section and place the pick onto the
linear scale upper surface. Then, the variation amount of the measurement at the
rear and front, should be within 0.1mm.
Fig.C50
When the above conditions are not satisfied, adjust it again.
(3)
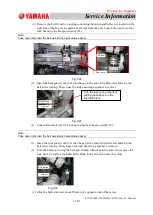
Attach the scale head set onto the scale head block.
When it is attached, fix it so that the scale head end surface is parallel with the block
end surface. If not, it might affect the adjustment after that.
(4)
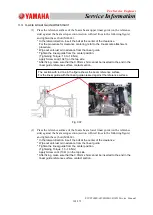
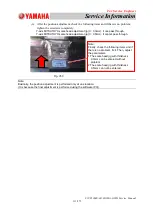
Attach the assembled scale head block onto the main machine. When it is attached, fix
it temporarily.
* Put the scale head cable leading direction, etc., back to the original condition.
(5)
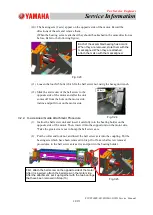
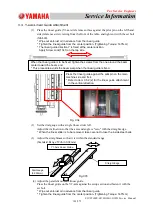
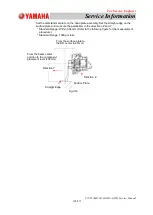
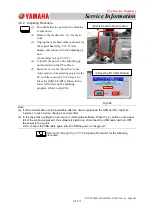
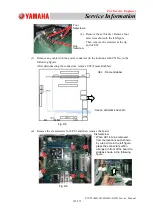
Put the Y-axis MITSUTOYO scale adjustment
jig (t = 0.4mm) between the scale head and
linear scale and loosen the setscrews. Then,
tighten the setscrews in the position where the
jig can be pulled out with some difficulty. (Refer
to the right figure).
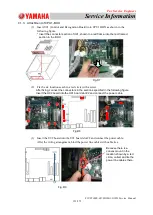
Attach it so that the scale head side surface
is parallel with the scale head block.
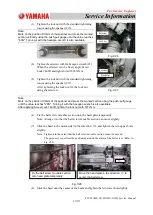
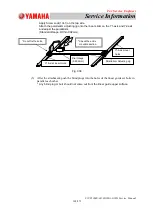
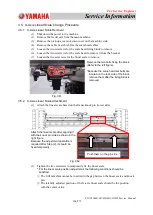
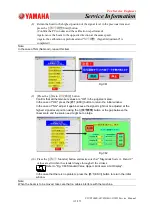
Place the dial gauge on the beam movable section. Move the movable section over the
whole Y-axis section and make sure that the variation amount is within 0.1mm.
Fig.C51
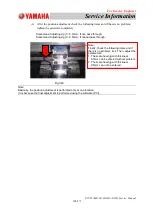
Fig.C52

