System Options: Nav-Cam
7-12
User Manual
C O N F I D E N T I A L –
limited rights
Feb 2018
Revision A
Nav-Cam
Besides the Sample Navigation / Navigation Montage feature, this functionality represents a fast method to
navigate across a large stage movement area. It provides a quality Navigation image quickly and easily, which is
convenient when investigating large area samples or several samples with the use of any multi-sample holder.
Note
Nav-Cam operation is restricted for highly shiny and simultaneously planar specimens (Si wafers, mirrors etc.).
Capturing Navigation Image Procedure
1.
Vent the chamber, open the chamber door, insert a sample and pump the chamber.
2.
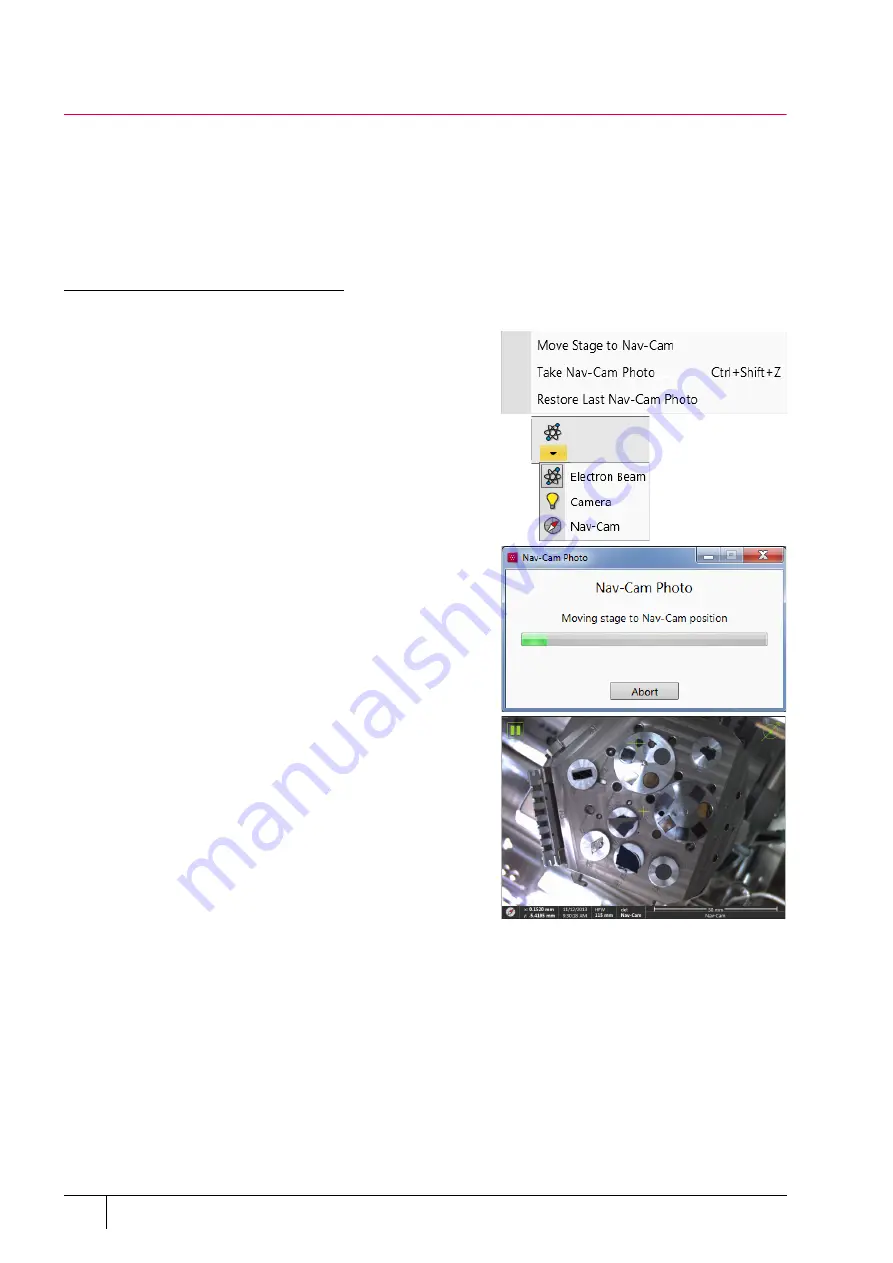
Select the
Stage
menu /
Move Stage to Nav-Cam
function to
move the stage to the Nav-Cam position.
At this moment, the beam and the detector change to Nav-Cam
and a live image from the navigation camera is obtained in the
active display (with a resolution of 768 × 512 pixels only). Set
the
Detectors
module /
Brightness
slider in case the imaging is
not satisfactory.
W A R N I N G !
Retract all retractable detectors to prevent equipment damage!
Note
Run the Stage menu / Take Nav-Cam Photo (Ctrl + Shift + Z) item to
run steps 2, 3 and 4 automatically at once. It is possible to cancel this
procedure with the Abort button at any time; the stage then remains
in its present position.
3.
Capture the Navigation image (with the high resolution of
3072 × 2048 pixels) by using the Snapshot / Photo function.
The image can be saved or adjusted like any other image taken
from the microscope (image enhancement, process, etc.).
It is possible to capture the Navigation image after the
Home Stage
procedure has been run. For better image quality
and navigation accuracy, running the
Link Z to FWD
is also
recommended.
Note
Wait until image capturing is finished (about several seconds).
4.
Click on the
Stage
menu /
Move Stage to Nav-Cam
function
again to move the stage to the previous stage position.
A green rectangle (or just a cross) represents the spot where
the electron beam is aimed.
Besides a navigation image the
Digital Zoom
module can be applied
to navigate the stage.
When the
Preferences
/
General
section /
Show Stage Map in
Navigation displays
item is set to
Yes
, saved stage positions are
shown in the Nav-Cam photo.
In case a user logs off and the sample and its stage loading position did not change, use
Stage
menu /
Restore Last
Nav-Cam Photo
.


