Operating Procedures: Capturing and Handling Single Image
5-37
C O N F I D E N T I A L
– limited rights
User Manual
Revision A
Feb 2018
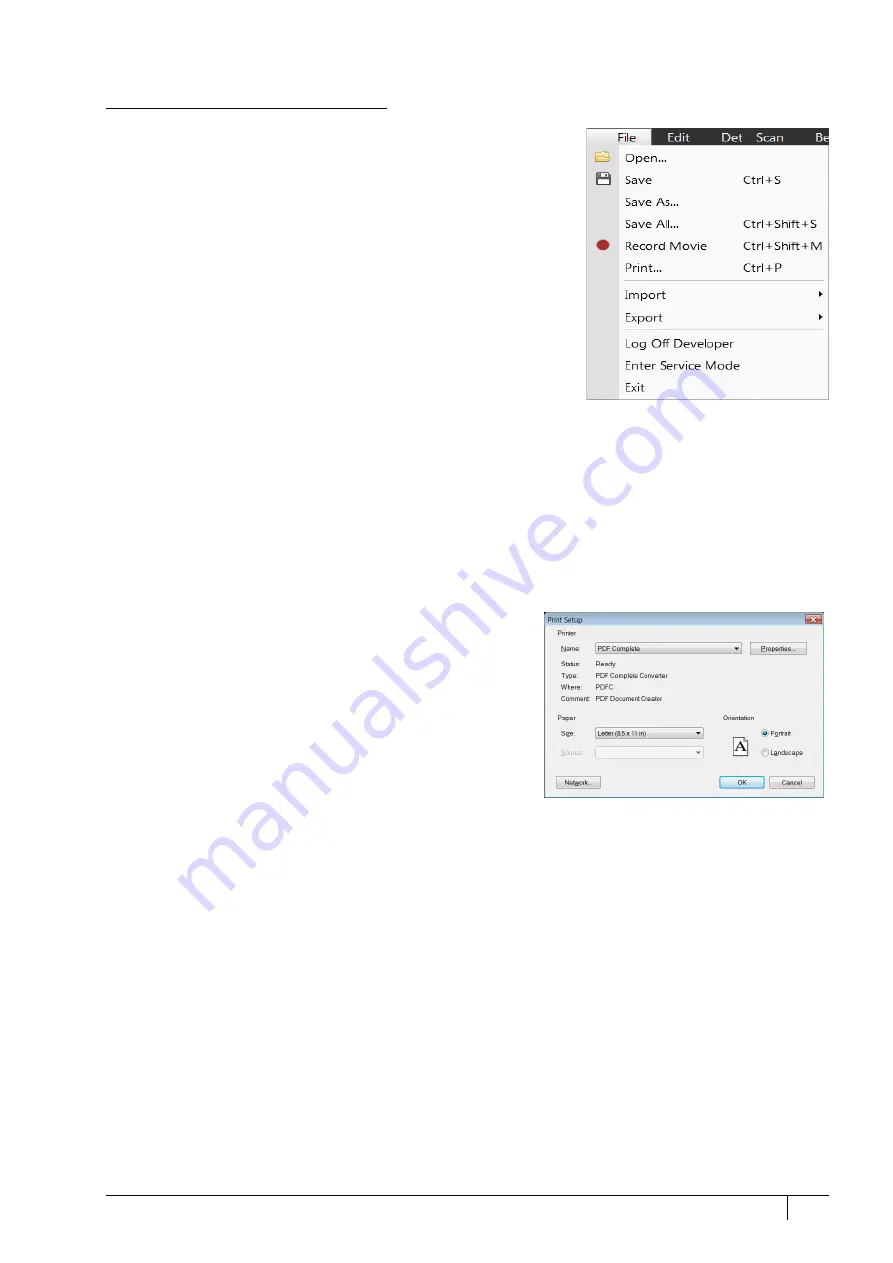
Saving / Opening / Printing
The following universal file handling functions can be used:
Image Capturing
1.
Select the area of interest and set the
Magnification
,
Scan condition
,
image pixel
Resolution
and the Databar information that are required
in the saved image.
2.
Make the best image using any suitable method you are familiar with.
3.
Use the
Pause
(F6) /
Snapshot
(F4) /
Photo
(F2) /
Active Preset Snapshot
(Ctrl + F2) /
Scanning Preset
function. The scan makes one display
pass (or several passes when the number of integrated frames is
larger) and pauses.
Note
When applying the Shift key together with above mentioned acquisition
functions, the effect simultaneously works in all displays with the same beam.
Image Saving
•
Save
(Ctrl + S): stores the image to the predetermined location with
the last used filename, including an incremental number.
•
Save As:
opens a dialog for saving images (this provides an opportunity to change the file name, its location, and the
possibility to also save Databar and overlaid graphics). Both functions can be linked to the Snapshot / Photo function
(see the
Preferences
/
Scanning
section).
•
Save All:
(Ctrl + Shift + S) behaves the same way as the Save As functionality, but enables saving the images from
all four displays at once.
•
Open:
opens a single image file into the active display. The dialog shows, by default, the location used in the last
Save As utilization.
Image Printing
1.
Capture the image or open a saved one.
2.
Click on the
File
menu /
(Ctrl + P), the printer setup dialog
appears. The choice of printer and settings can be established
to print the active display.
3.
Complete the print setup and click the
OK
button to activate
the printer and print an image.


