RUGGEDCOM ROX II
User Guide
Chapter 3
Device Management
Adding a Fixed Module Configuration
79
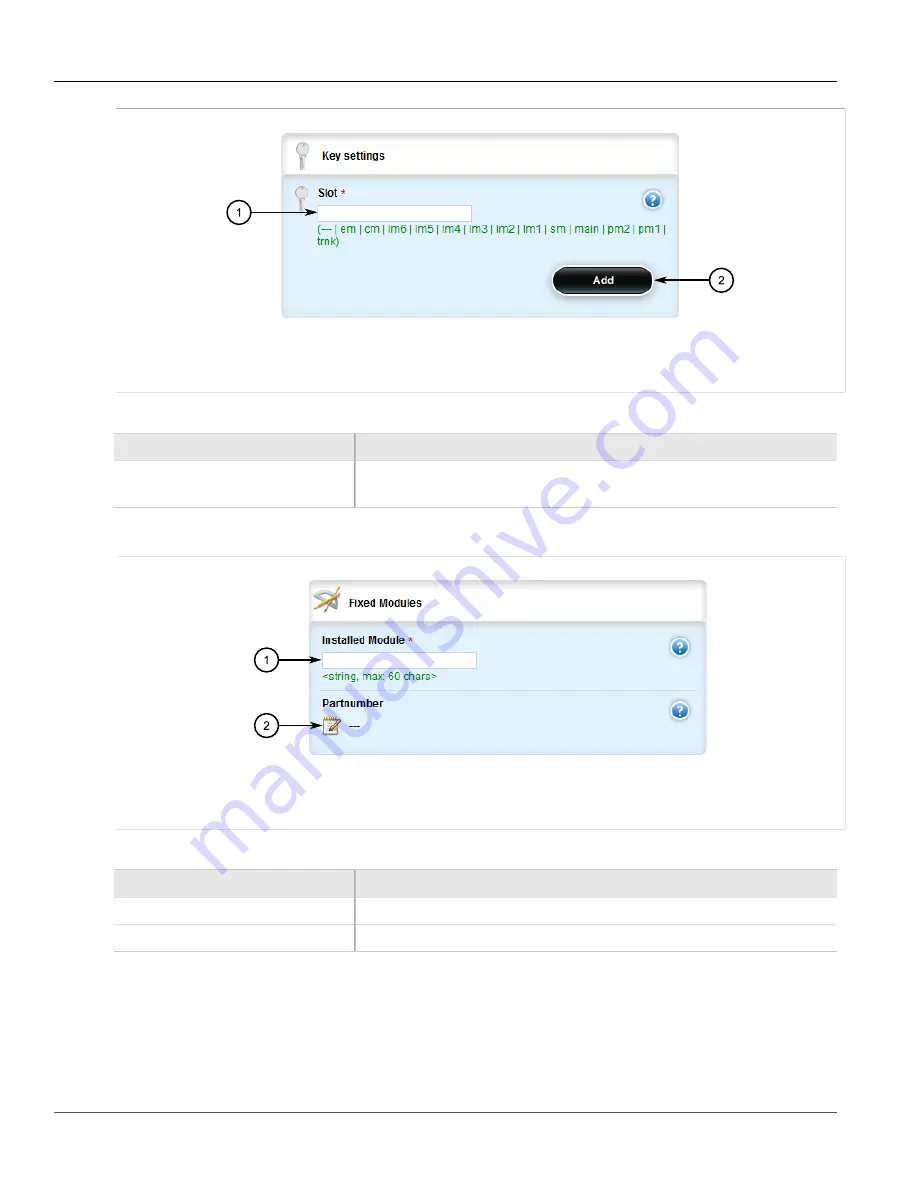
Figure 79: Key Settings Form
1.
Slot Box
2.
Add Button
3. Configure the following parameter(s) as required:
Parameter
Description
slot
Synopsis:
pm1, pm2, main, sm, lm1, lm2, lm3, lm4, lm5, lm6, cm, em, trnk
The slot name, as marked on the silkscreen across the top of the chassis.
4. Click
Add
. The
Fixed Modules
form appears.
Figure 80: Fixed Modules Form
1.
Installed Module Box
2.
Part Number Box
5. Configure the following parameter(s) as required:
Parameter
Description
Installed Module
The module type to be used in this slot.
partnumber
The part number of the module type in this slot.
6. Click
Commit
to save the changes or click
Revert All
to abort. A confirmation dialog box appears. Click
OK
to proceed.
7. Click
Exit Transaction
or continue making changes.
Содержание RUGGEDCOM RX1510
Страница 32: ...RUGGEDCOM ROX II User Guide Preface Customer Support xxxii ...
Страница 44: ...RUGGEDCOM ROX II User Guide Chapter 1 Introduction User Permissions 12 ...
Страница 62: ...RUGGEDCOM ROX II User Guide Chapter 2 Using ROX II Using the Command Line Interface 30 ...
Страница 268: ...RUGGEDCOM ROX II User Guide Chapter 4 System Administration Deleting a Scheduled Job 236 ...
Страница 852: ...RUGGEDCOM ROX II User Guide Chapter 5 Setup and Configuration Enabling Disabling an LDP Interface 820 ...


