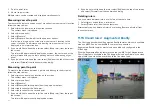
2. 2
nd
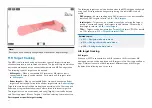
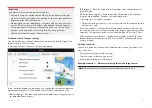
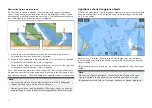
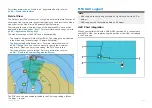
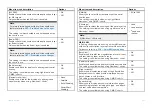
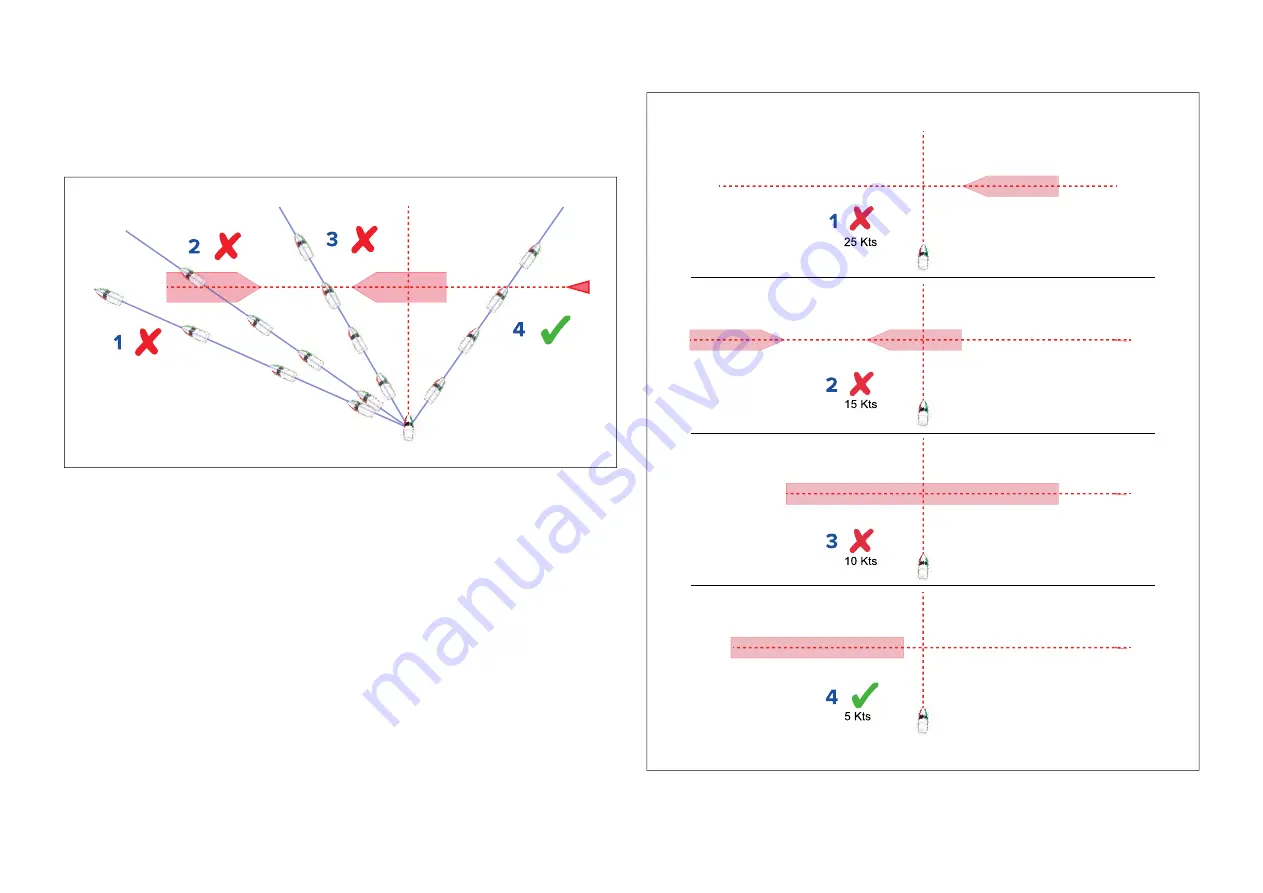
— The second Interception zone (displayed farthest from the target
vessel) represents the target vessel running you down from behind.
When altering course and speed, both Interception zones must be avoided.
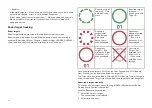
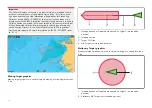
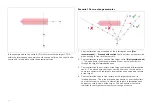
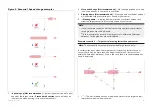
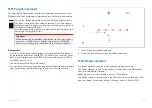
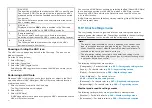
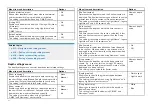
Scenario 2 Course change examples
1.
Course alteration to pass ahead of the Interception zone
[Not
recommended]
— As the target vessel is moving faster than your vessel
you will pass astern of the target.
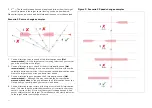
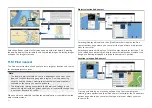
2. Course alteration to pass ahead of the first Interception zone
[Not
recommended]
— Although this course alteration is sufficient to avoid a
potential bow-to-bow collision, it has created a second Interception zone
where the target may now run you down from behind.
3.
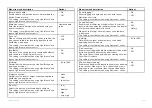
Course alteration to pass between the 2 Interception zones
[Not
recommended]
— Although this may seem like the quickest option,
proceed with caution
, as the gap between the 2 Interception zones can
close quickly, especially when your vessel slows down.
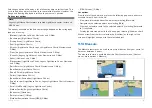
4.
Course alteration to clear astern of the target vessel and its Interception
zone. This would be the preferred manoeuvre as it correctly alters your
vessel’s course so that it is clear of the target’s Interception zone, and
passes safely astern of the target. This manoeuvre also clearly indicates
to the target vessel your change of course.
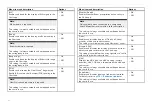
Figure 2. Scenario 2 Speed change examples
192
Содержание LIGHTHOUSE 4
Страница 2: ......
Страница 4: ......
Страница 20: ...APPENDIX C HARDWARE AND SOFTWARE COMPATIBILITY 478 APPENDIX D DOCUMENT CHANGE HISTORY 480 20...
Страница 414: ...414...
Страница 451: ...4 Select Delete again to confirm 5 Select OK YachtSense ecosystem 451...
Страница 484: ......
Страница 503: ......


