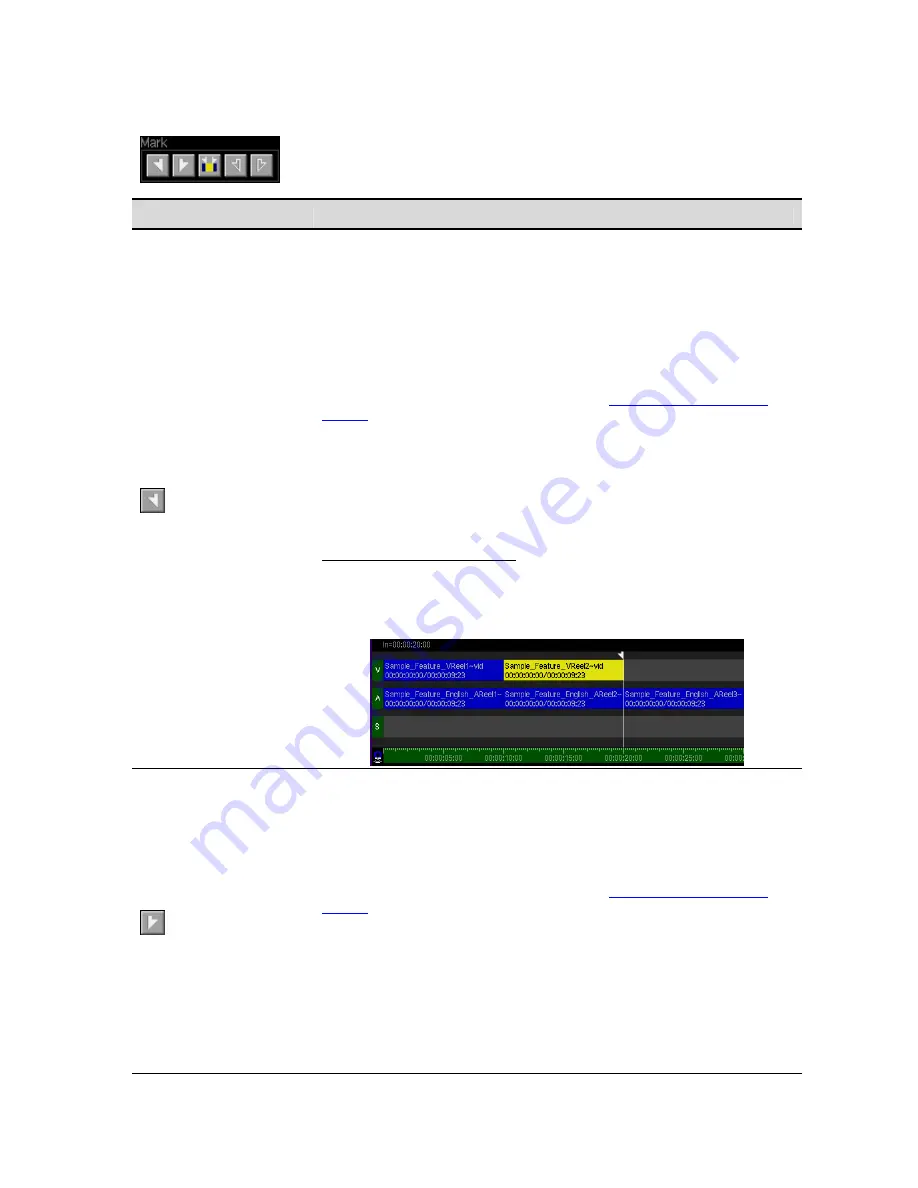
Mark Commands
Button Command
Description
The
Mark In
command is used to set the
In
point position of the timeline
cursor. By marking an In point on the timeline, you can control where to place
a new asset when it is added to the timeline.
By itself, the Mark In point is the same as placing the timeline cursor at a
specific timecode location before an asset is added.
If a
Mark
Out
point is also defined, the asset being added to the timeline can
automatically be trimmed to fit within the Mark In and Mark Out points. Mark In
and Mark Out points provide the ability to perform advanced editing types,
such as three- and four-point edits. See section
Advanced Timeline Editing
Options
for information on advanced editing options.
Mark In
Important!
When performing an edit that uses both Mark In and Mark Out
points, if the clip being added is longer than the defined area between
markers, the end of the clip will be trimmed to make room. The Out point of the
clip may be further adjusted using the
Slide
edit function, which will turn adjust
the In point of the clip.
To set the
Mark In
point position
1.
Place the timeline cursor at the desired timeline timecode position.
2.
To mark the In point, press the
Mark In
button at the bottom of the
screen (using the
soft
button directly below the display).
Mark Out
The
Mark Out
command is used to set the
Out
point
position of the timeline
cursor. Mark the Out point on the timeline to control where the end of the last
frame of a new edit is positioned when the asset is added to the project.
If a
Mark In
point is also defined, the asset being added to the timeline can
automatically be trimmed to fit within the marked In and Out points. Mark In
and Mark Out points provide the ability to perform advanced editing types,
such as three- and four-point edits. See section
Advanced Timeline Editing
Options
for information on advanced editing options.
Important!
1.
If there are any edits placed to the left of the Mark Out point, it is
possible that the new edit being added will overlap existing edits. This
condition is dependent upon the length of the new asset and the Mark
Out point distance from existing edits. If a mistake is made, the
UNDO function will allow the mistake to be reversed.
2.
When performing an edit that uses both In and Out points, if the clip
being added is longer than the defined area between markers, the
QuVIS Acuity
™
Page 143
QSR Version 3.3
Содержание Acuity
Страница 1: ......
Страница 152: ...Keyboard Hotkeys Description ENTER Complete current edit QuVIS Acuity Page 151 QSR Version 3 3...
Страница 190: ...QuVIS Acuity Page 189 QSR Version 3 1...
Страница 200: ......


