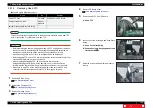
3.8.15 Replacing Head
137
3.8 Replacing Cursor section
VJ628XE-M-00
15
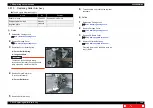
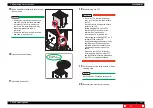
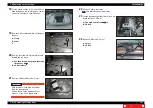
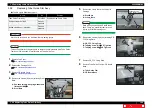
Swap Head Rank sticker with the sticker for
the new Head.
NOTE
• Remove the old seal from a head cover
and stick it on the removed printhead.
• Be careful for ink not to adhere to a
seal.There is a possibility that it may
become impossible to read a
character.
• Remove a seal from a new print head
and stick on a head cover.
16
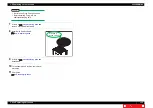
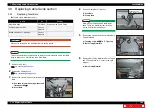
Install Valve head to Head.
17
Assemble Head Cover.
‧
““
““
“
…‧
‹“
……
‧
“
““
““
››
‧
““
““
“
…‧
””
“…
‧
“
““
““
“›
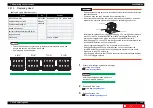
Install them in
the same direction
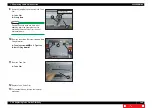
18
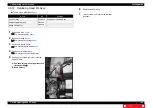
Reassemble Head FFC.
CAUTION
• Do not let FFC terminal section get
dirty, or let ink from the head surface
touch it.
• Be careful not to damage the nozzle
surface with FFC.
• Before plugging FFC, check FFC
terminal (to see the corner of the
terminal is not crooked and
reinforcement is not peeled off).
• When plugging/unplugging FFC, do it
vertically to the connector.
If plugged/unplugged obliquely, it may
damage, shunt, or disconnect the
terminals inside the connector, and
may damage the elements on the
board.
• Make sure to plug FFC all the way.
• After plugging, make sure that FFC
and connector terminal are aligned and
that FFC is not plugged obliquely.
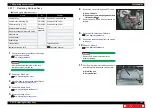
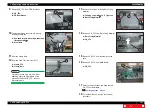
19
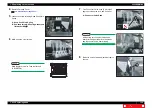
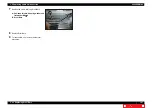
Put Head back to the fixing position of Head
mounting plate.
NOTE
Do not screw on Print head at this point.
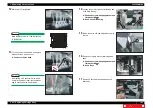
20
Reassemble Connector Valve Head.

