ENGINE
【
6-63
】
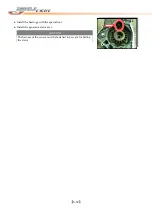
●
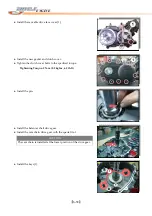
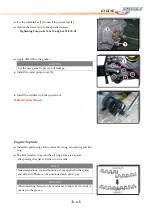
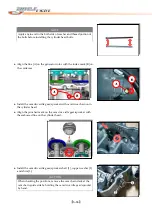
Use
the
suitable
bar
[1]
to
install
the
starter
cup
[2].
●
Tighten
the
starter
cup
to
the
specified
torque.
Tightening
Torque:
26
N
‐
m
(2.6
kgf
‐
m,
19.0
lb
‐
ft)
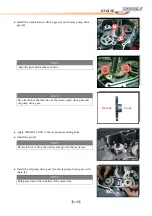
●
Apply
GREASE
to
the
gasket.
CAUTION
Use
the
new
gasket
to
prevent
oil
leakage.
●
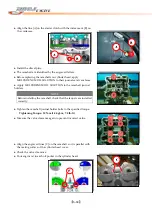
Install
the
water
pump
cover
[1].
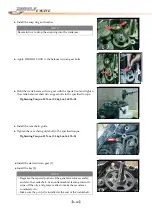
●
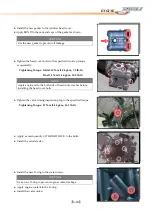
Install
the
oil
filter
with
the
special
tool.
D003
‐
Oil
Filter
Wrench
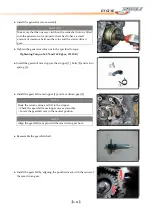
Engine
Top
Side
●
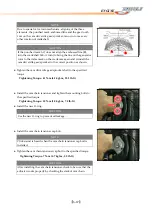
Install
the
piston
rings
in
the
order
of
oil
ring,
second
ring
and
first
ring
●
The
first
member
to
go
into
the
oil
ring
groove
is
a
spacer.
After
placing
the
spacer,
fit
the
two
side
rails.
NOTE
Side
designations,
top
and
bottom,
are
not
applied
to
the
spacer
and
side
rails.
Those
can
be
positioned
each
either
way.
CAUTION
When
installing
the
spacer,
be
careful
not
to
allow
its
two
ends
to
overlap
in
the
groove.
Содержание DL-702 2008
Страница 1: ...FOREWORD INDEX 0 0...
Страница 41: ...3 11 BRAKE...
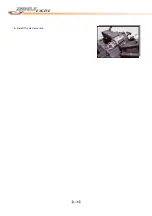
Страница 180: ...6 70 ENGINE Install the starter motor...
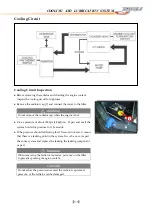
Страница 201: ...7 21 COOLING AND LUBRICATION SYSTEM Engine Lubrication System Chart...
Страница 202: ...7 22 COOLING AND LUBRICATION SYSTEM Engine Lubrication System 1 2 3 1 2 3 1 2 3...
Страница 203: ...7 23 COOLING AND LUBRICATION SYSTEM 1 2 3...
Страница 205: ...7 2 ELECTRICAL SYSTEM Fuses 7 30 Main Fuse Removal 7 30 Fuse Inspection 7 30 Switches 7 31 Wiring Diagram 7 32...
Страница 235: ...7 32 ELECTRICAL SYSTEM Wiring Diagram...
Страница 236: ...7 33 ELECTRICAL SYSTEM Wiring Diagram...
Страница 237: ...7 34 7 34 ELECTRICAL SYSTEM ELECTRICAL SYSTEM...
Страница 238: ...7 35 ELECTRICAL SYSTEM NOTE...
Страница 240: ...9 2 PERIODIC MAINTENANCE...
Страница 246: ...9 8 PERIODIC MAINTENANCE Intake Side...
Страница 247: ...9 9 PERIODIC MAINTENANCE Exhaust Side Side...
Страница 270: ...9 32 PERIODIC MAINTENANCE 1 2 3 4 18 19 12 16 17 21 13 14 15 22 23 5 6 7 8 9 12 10 11 20...

