SmartPAC PRO Servo User Manual
1147100
Chapter 4
– Initialization Mode
103
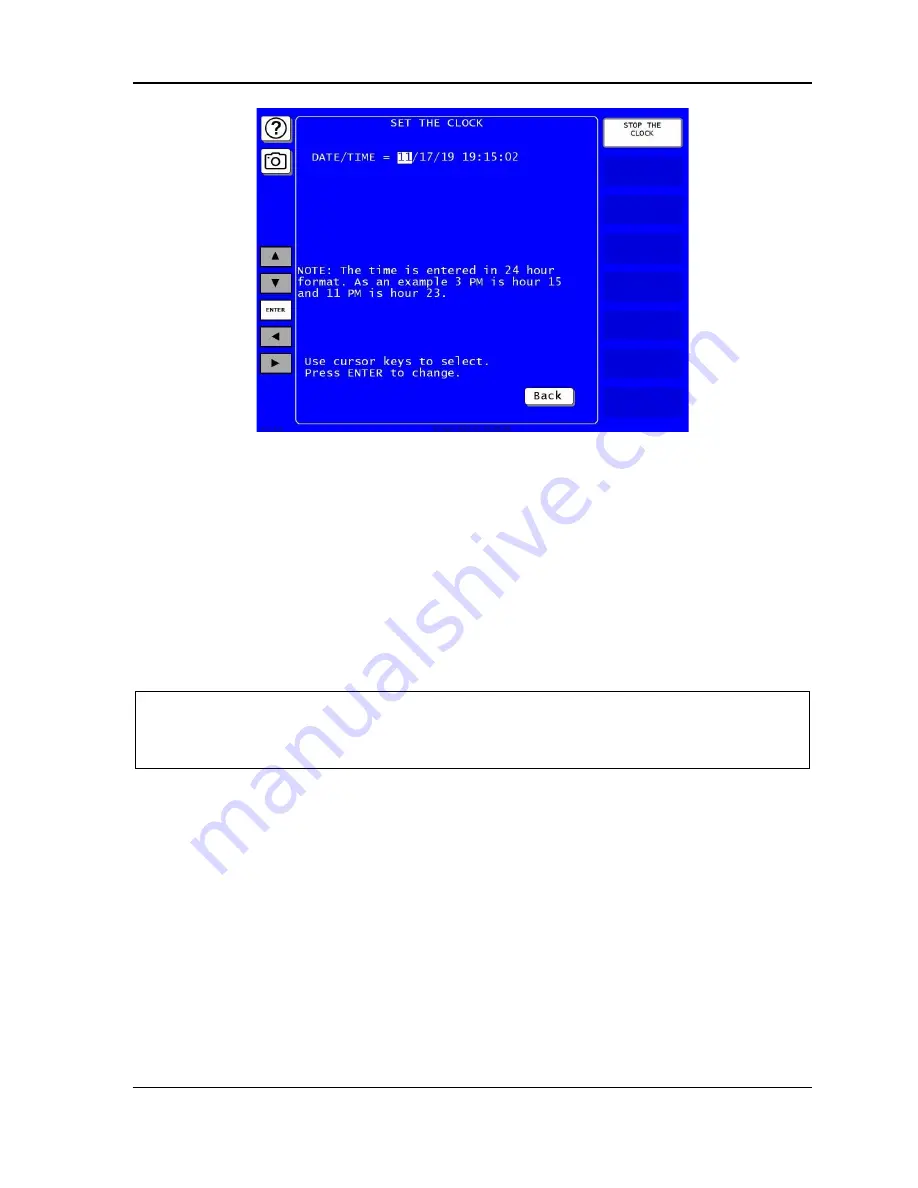
Figure 4-28. Set the Clock Screen
On this screen you can set the date in month/day/year (mm/dd/yy) format and the time in military
hours/minutes (hh:mm) format (i.e., 1:30 p.m. = 13:30, 11:00 p.m. = 23:00). To do so, perform these
steps:
1.
Highlight the segment of the date or time that you want to change, using the Left (
) and Right
(
) cursor keys, then press ENTER. The on-screen keyboard displays.
2.
Key in a value and press ENTER. You are returned to the Set the Clock screen with your entry
displayed in the date or time segment you selected in step 1.
3.
Repeat steps 1 and 2 for other date/time segments.
NOTICE
To stop the clock, press
Stop the Clock
. The label changes to START THE CLOCK. To restart the
clock, press
Start the Clock
.
4.
Press EXIT when you are done to return to the Diagnostics Menu.
SAVE TO USB DISK
(INITIALIZATION
– DIAGNOSTICS – SAVE TO USB DISK)
This item enables you to save the error/event log, screen captures, and other data maintained in a
special SmartPAC PRO Servo buffer to a USB disk. Once the data has been saved, you can remove
the USB disk, transfer the information to a computer, and e-mail it to Wintriss Tech. Support or to
another recipient (see MESSAGING in Chapter 6). This function is useful if your SmartPAC PRO
Servo is not networked. To save information to a USB disk, do the following:
1.
Make sure a USB disk is installed in the USB connector on the SmartPAC PRO Servo’s front
panel.
2.
Access the Main Initialization Menu, select DIAGNOSTICS. When the Diagnostics Menu
displays, select SAVE TO USB DISK. The following messages appear in succession:
Summary of Contents for SmartPAC PRO Servo
Page 2: ......
Page 4: ......
Page 14: ......
Page 16: ......
Page 18: ......
Page 26: ...1147100 SmartPAC PRO Servo User Manual 26 Chapter 1 Introduction ...
Page 70: ...1147100 SmartPAC PRO Servo User Manual 70 Chapter 3 Displays and Operating Modes ...
Page 158: ...1147100 SmartPAC PRO Servo User Manual 158 Chapter 5 Program Mode ...
Page 204: ......
Page 206: ......
Page 208: ......
Page 210: ......
Page 212: ......
Page 213: ......
Page 214: ......
Page 215: ......
Page 216: ......
Page 217: ......
Page 218: ......
Page 219: ......
Page 220: ......
Page 221: ......
Page 222: ......
Page 223: ......
Page 224: ......
Page 225: ......
Page 226: ......
Page 227: ......
Page 228: ......


