FINAL DRIVE
7.23
AWD FRONT HOUSING DISASSEMBLY, CONT.
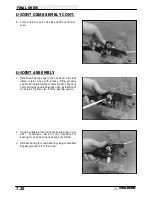
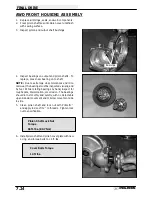
3.
Remove output shaft assembly, large shim, and
thrust button with its small shim.
4.
Clean all parts and inspect spacers for wear.
Inspect ring gear for chipped, broken, or missing
teeth.
5.
Remove pinion cover and O-ring.
6.
Unscrew fill plug and remove pinion shaft
assembly. Inspect pinion gear for chipped broken
or missing teeth.
NOTE: Pinion shaft assembly will not clear the fill plug
unless it is backed out.
Summary of Contents for Sportsman 400
Page 6: ...SPORTSMAN 400 A01CH42AC GENERAL INFORMATION 1 4 MODEL COLOR IDENTIFICATION ...
Page 21: ...Newton Meter to Pound Foot and Pound Inch GENERAL INFORMATION 1 19 TORQUE CONVERSIONS ...
Page 22: ...Newton Meter to Pound Foot and Pound Inch GENERAL INFORMATION 1 20 TORQUE CONVERSIONS ...
Page 152: ...Forward FUEL SYSTEM CARBURETION 4 2 FUEL TANK ASSEMBLY ...
Page 366: ...ELECTRONIC SPEEDOMETER WIRING DIAGRAM ELECTRICAL 10 32 ...
Page 372: ...ELECTRICAL 10 38 NOTES ...
Page 379: ...ELECTRICAL 10 39 WIRING DIAGRAM 2001 SPORTSMAN 400 ...
Page 380: ...ELECTRICAL 10 40 WIRING DIAGRAM 2001 SPORTSMAN 500 EARLY ...
Page 381: ...ELECTRICAL 10 41 WIRING DIAGRAM 2001 SPORTSMAN 500 LATE ...


