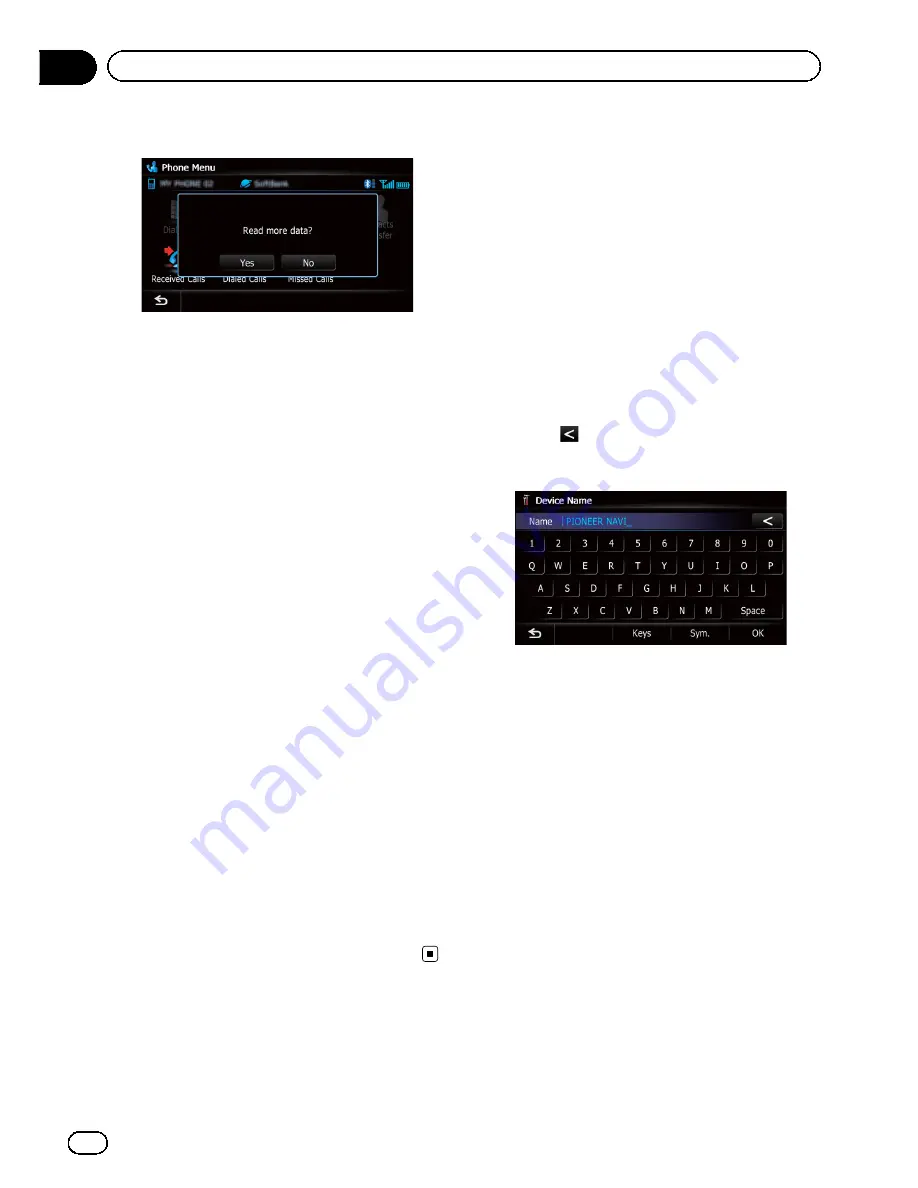
4
Touch [No].
The transferred data is imported to the naviga-
tion system.
When the data is successfully imported, an
import complete message is displayed and the
“
Contacts List
”
screen appears.
p
It may take time depending on how many
entries will be transferred.
Deleting registered contacts
1
Display the
“
Phone Menu
”
screen.
=
For details, refer to
Displaying the phone
menu
on page 61.
2
Touch [Contacts].
The
“
Contacts List
”
screen appears.
3
Touch [Delete].
The
“
Delete from Contacts
”
screen appears.
4
Touch the entry you want to delete.
A check mark appears next to the entry.
#
If you touch [
All
], you can select all entries. If
you want to deselect all entries, touch [
None
].
5
Touch [Delete].
The message confirming whether to delete the
entry appears.
6
Touch [Yes].
The entry is deleted.
#
If you touch [
No
], the deletion is canceled.
Changing the phone settings
Editing the device name
You can change the device name to be dis-
played on your cellular phone. (Default is
“
PIONEER NAVI
”
.)
1
Display the
“
Settings Menu
”
screen.
=
For details of the operations, refer to
Screen
switching overview
on page 22.
2
Touch [Bluetooth Settings].
The
“
Bluetooth Settings
”
screen appears.
3
Touch [Device Name].
The keyboard to enter the name appears.
4
Touch
to delete the current name,
and enter the new name by using the key-
board.
p
Up to 16 characters can be entered for a de-
vice name.
5
Touch [OK].
The name is changed.
Editing the password
You can change the password to be used for
authentication on your cellular phone. (De-
fault is
“
1111
”
.)
p
Four to eight characters can be entered for
a password.
1
Display the
“
Settings Menu
”
screen.
=
For details of the operations, refer to
Screen
switching overview
on page 22.
2
Touch [Bluetooth Settings].
The
“
Bluetooth Settings
”
screen appears.
3
Touch [Password].
The
“
Set Password
”
screen appears.
En
66
Chapter
12
Using hands-free phoning
Summary of Contents for AVIC-X930BT
Page 246: ...Section _C_o_n_n_e_ct_i_ng_th_e_sy_s_t_e_m G En CD ...
Page 267: ...Section D Installation Adjusting the microphone angle The microphone angle can be adjusted En ...
Page 270: ...En 2 ...
Page 271: ...En 3 ...
Page 272: ...En 4 ...
Page 273: ...En 5 ...
Page 274: ...En 6 ...
Page 295: ...En 27 Chapter 04 Instructions for upgrading Instructions for upgrading ...
Page 346: ...En 78 Chapter 14 Using Applications ...
Page 411: ...En 143 ...
Page 440: ......


