


8
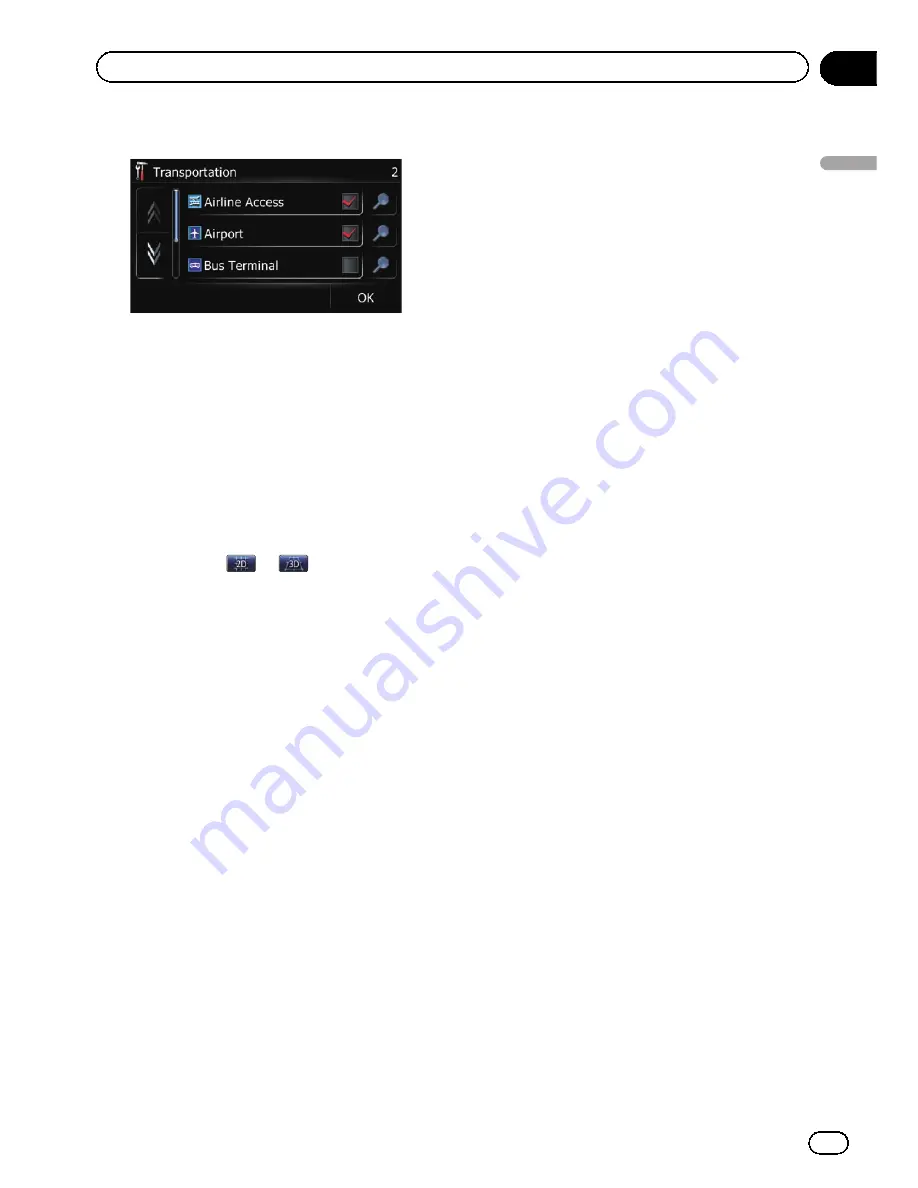
Touch [OK].
The
“
Overlay POI (Main Category)
”
screen
returns.
If you want to select or deselect other items,
repeat these steps as many as necessary.
9
To finish the selection, touch [OK] in
the
“
Overlay POI (Main Category)
”
screen.
Switching the map between 2D
and 3D
p
You can touch
or
on the map
screen to switch between 2D and 3D.
=
For details of the operations, refer to
Switching the map between 2D and 3D
on page 35.
1
Display the
“
Settings Menu
”
screen.
=
For details of the operations, refer to
Dis-
playing the
“
Settings Menu
”
screen
on
page 115.
2
Touch [Map].
The map setting screen appears.
3
Touch [View Mode].
Each time you touch the key changes the set-
ting.
!
2D
(default):
Displays the 2D map screen.
!
3D
:
Displays the 3D map screen.
Displaying maneuvers
Selects whether to display or hide maneuvers
on the map.
=
For details, refer to
How to read the map
screen
on page 32.
1
Display the
“
Settings Menu
”
screen.
=
For details of the operations, refer to
Dis-
playing the
“
Settings Menu
”
screen
on
page 115.
2
Touch [Map].
The map setting screen appears.
3
Touch [Show Maneuver].
Each time you touch the key changes the set-
ting.
!
View
(default):
Displays maneuvers on the map.
!
Hide
:
Hides maneuvers on the map.
Changing the setting of
navigation interruption screen
You can set whether to automatically switch to
the navigation screen from the AV screen
when your vehicle approaches a guidance
point such as an intersection.
1
Display the
“
Settings Menu
”
screen.
=
For details of the operations, refer to
Dis-
playing the
“
Settings Menu
”
screen
on
page 115.
2
Touch [Map].
The map setting screen appears.
3
Touch [AV Guide Mode].
Each time you touch the key changes the set-
ting.
!
On
(default):
Switches from the AV operation screen to
the navigation screen.
!
Off
:
Does not switch the screen.
p
This setting is effective only when
“
Close
Up View
”
is set to
“
On
”
.
En
119
Chapter
26
Customizing
pr
eferences
Customizing preferences
Summary of Contents for AVIC-X930BT
Page 246: ...Section _C_o_n_n_e_ct_i_ng_th_e_sy_s_t_e_m G En CD ...
Page 267: ...Section D Installation Adjusting the microphone angle The microphone angle can be adjusted En ...
Page 270: ...En 2 ...
Page 271: ...En 3 ...
Page 272: ...En 4 ...
Page 273: ...En 5 ...
Page 274: ...En 6 ...
Page 295: ...En 27 Chapter 04 Instructions for upgrading Instructions for upgrading ...
Page 346: ...En 78 Chapter 14 Using Applications ...
Page 411: ...En 143 ...
Page 440: ......


