Chapter 5
Using Menus
26
Ple
a
se Re
ad
Fi
rst
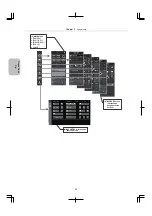
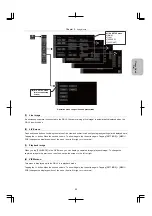
(5) MAIN
menu
Use this menu to specify the settings of the microscope camera. This menu is displayed when you tap [MENU] in the LIVE
or VIEW menu. From this menu, you can select to open the [CAMERA], [SHOT/REC], [MEAS/DRAW], [SCALE], [IMAGE],
[MIC EASY], or [MIC CNTRL] menu. (Note that some of these menus might be unavailable depending on the connection
or operating status. Unavailable menus are grayed out.)
Tapping the <> button shows or hides the tab menu.
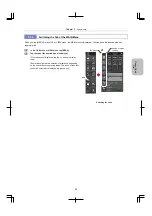
(6) NOSEPIECE
window
This menu is displayed only when a Nikon microscope is connected to a USB connector. While viewing the image, you can
use this menu to control (from the DS-L4) the microscope's motorized nosepiece.
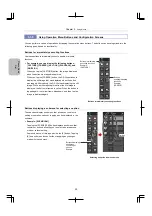
(7) INFO
window
This menu displays a histogram (showing brightness/darkness distribution in an image), and camera and microscope
information. This menu is displayed when you tap [INFO] in the LIVE or VIEW menu. You can change the screen by
swiping the screen to the left or right.
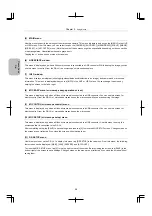
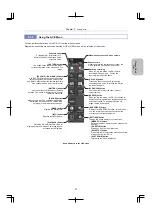
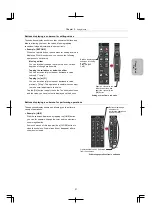
(8) MIC EASY menu (microscope easy-operation screen)
This menu is displayed only when a Nikon microscope is connected to a USB connector. You can use this screen for
electric control (from the DS-L4) of motorized accessories on the microscope while you are observing the image.
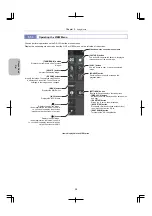
(9) MIC CNTRL (microscope control) menu
This menu is displayed only when a Nikon microscope is connected to a USB connector. You can use this screen for
electric control (from the DS-L4) of motorized accessories on the microscope.
(10) MIC SETUP (microscope setup) menu
This menu is displayed only when a Nikon microscope is connected to a USB connector. Use this menu to set up the
microscope that is connected to the DS-L4.
After completing setup, tap [SAVE] to save settings, and then tap [X] to close the MIC SETUP screen. Changes made on
the screen are not reflected if you close the screen without saving them.
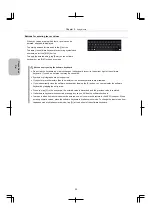
(11) DS SETUP menu
Use this menu to set up the DS-L4. To display this menu, tap [DS SETUP] in the tab menu. From this menu, the following
four screens can be displayed: [MAIN], [LAN], [SERVER], and [ACCOUNT].
To close the MIC SETUP menu, tap [X] in the top right corner of the screen. Before closing the screen, tap [SAVE] in the
bottom right of the screen to save settings. Changes made on the menu are not reflected if you close the screen without
saving them.


