Setup Guide for the RadioRA Chronos System Bridge
56
Section 4 - T
imeclock Programming
Astronomical Time Clock Programming
Step 4
Assign Zones
Step 5
Complete Zone Assignment
Press “Continue” (
button)
to display the list of
Time Clock scenes:
Note:
The system is still in Assignment Mode, as indi-
cated by the icon in the upper right hand corner of the
screen. The arrow on the right of the screen indicates
which scene is currently in Assignment Mode.
Use
and
buttons to highlight a new Time Clock
scene.
Press “Select” (
button)
to enter
Assignment Mode for the highlighted scene.
Repeat Steps 4 and 5 for any remaining scenes.
Press “Exit” (
button)
to exit Assignment Mode.
Assign Zones
1. Morning
2. Scene 2
3. Scene 3
4. Scene 4
Exit
Select
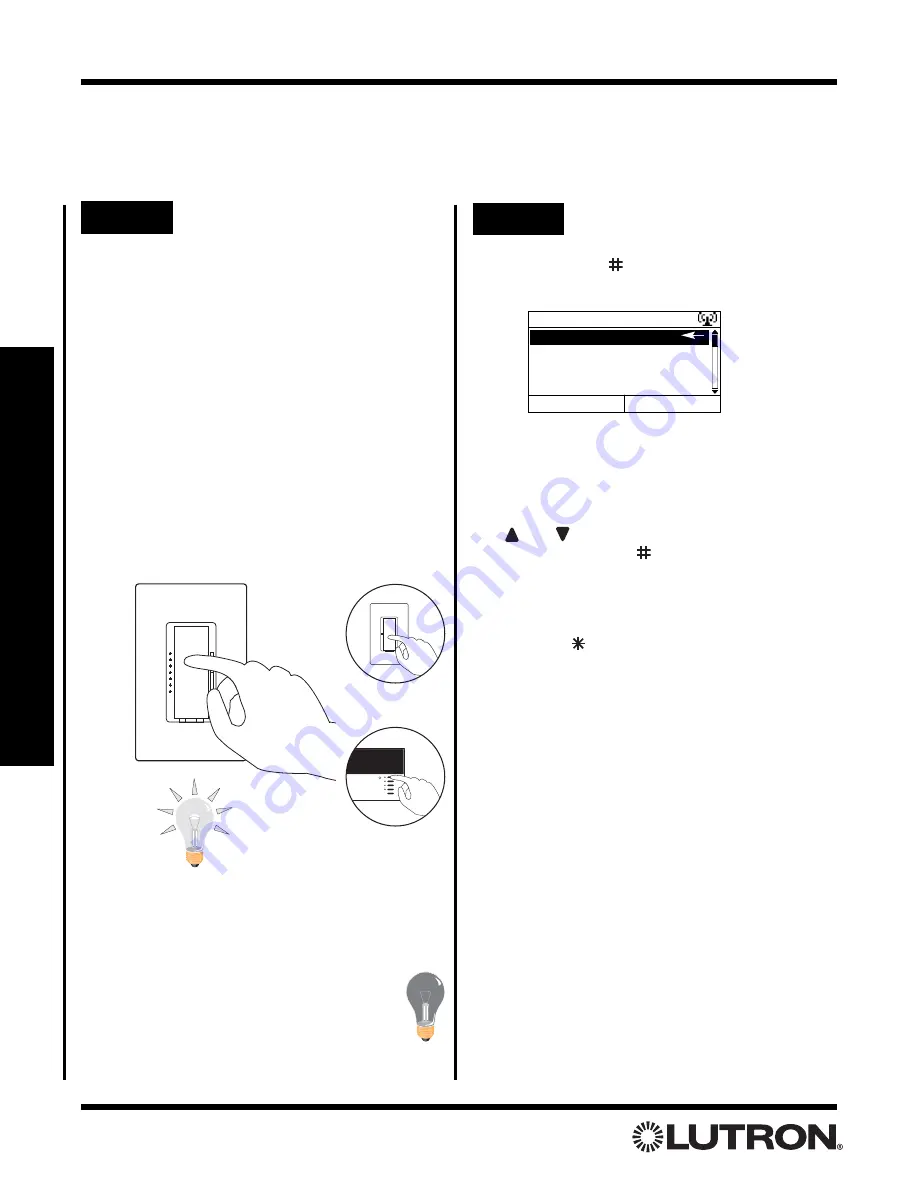
Assign Dimmers or Switches to the selected
Time Clock Scene by turning the Controls ON.
Assign all Dimmers and Switches to be affect-
ed by the Scene, including Dimmers and
Switches which are to be turned OFF by the
Scene.
Assign GRAFIK Eye
®
/GRAFIK RA
TM
Control
Units to the selected Time Clock Scene by
pressing one of the
GRAFIK Eye/GRAFIK RA
Control Unit scene buttons. Assign all
GRAFIK Eye/GRAFIK RA
Control Units to be
affected by the Scene, including
GRAFIK
Eye/GRAFIK RA
Control Units which are to be
turned OFF by the Scene.
Switch
Dimmer
OR
TRON
Notes:
• GRAFIK Eye/GRAFIK RA
Control Units will automat-
ically turn on to Scene 1 once assigned.
• If the wrong Lighting Zone Control is assigned to a
Time Clock Scene, turn the Lighting Zone Control
OFF to unassign it.
GRAFIK
Eye/GRAFIK RA
Control Unit


