Setup Guide for the RadioRA Chronos System Bridge
46
Section 3 - Button Programming
Setting Button Properties for Phantom Buttons
Note:
If the Chronos
TM
System Bridge is not configured to bridge systems or to use RS-232, Phantom Buttons
are not available and this procedure does not apply.
Whole-home/Phantom Button Programming
Step 1
Go to Set Properties
Use
and
to highlight a Phantom Button.
Press
“Select” (
button)
to set button properties for the
highlighted button. The following screen will be dis-
played:
Use
and
to change the value of the selected
setting. Use
and
to select the next / previous
setting.
Fade Time
determines the fade time of the selected
scene. The options are Default (1 second ON, 3 sec-
onds OFF), 1 second, 3 seconds, 10 seconds, 30 sec-
onds, 1 minute, 4 minutes, and Legacy.
If the system contains Dimmers, Switches, or
GRAFIK Eye
®
Interfaces that were manufac-
tured prior to January 1, 2001, the Legacy
setting
MUST
be used.
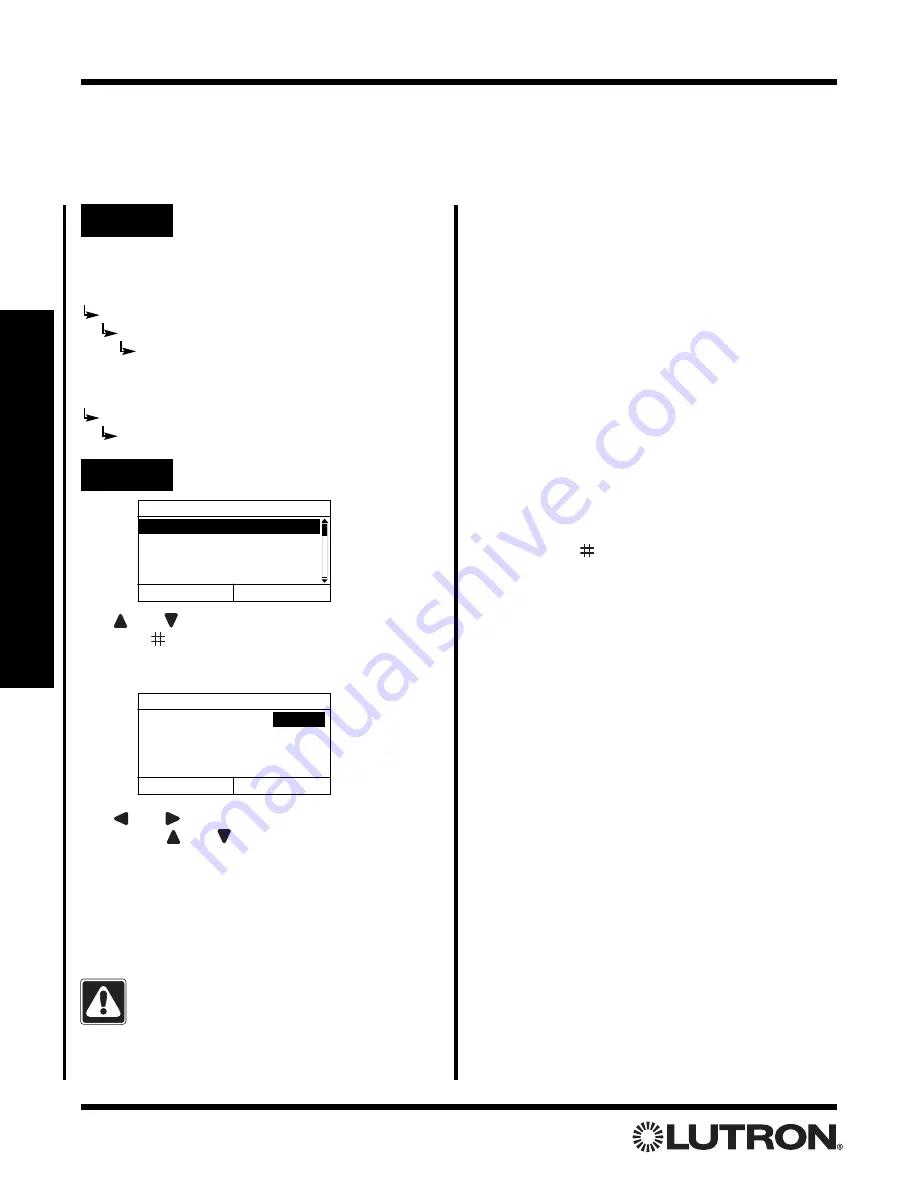
Select Btn to Set Properties
1. RM - Home
2. RM - Btn 2
3. RM - Btn 3
4. RM - Btn 4
Back
Select
Set Properties
Default
Fade Time - - - - - - -
Switches - - - - - - - -
Back
Done
FO/FO
Action- - - - - - - - - - - Toggle
If bridging two systems:
Main Menu
Whole-home Button Setup
Phantom Button Setup
Set Properties
If not bridging systems:
Main Menu
Phantom Button Setup
Set Properties
Switches
determines whether any switches in the
selected scene operate:
• First On / First Off (FO/FO)
• First On / Last Off (FO/LO).
• Last On / First Off (LO/FO)
• Last On / Last Off (LO/LO).
The options for
Action
are Toggle and Single Action.
When activating a Toggle Phantom Button from a
Master Control, a button press will turn the scene:
• ON if it is OFF
• OFF if it is ON
When activating a Single Action Phantom Button from
a Master Control, a button press will always turn the
scene ON.
Press “Done” (
button)
when changes are com-
plete.
• Repeat for any additional Phantom Buttons.
Step 2
Select Phantom Button


