Setup Guide for the RadioRA Chronos System Bridge
47
Section 3 - Button Programming
Assigning Phantom Buttons to Master Controls
When a Whole-home Button is linked to a Master Control button, the Whole-home Button type (ROOM or
SCENE) does not have to match the other button types on the Master Control being linked to (i.e. a column of
buttons on a Master Control could have 4 ROOM buttons and one Whole-home SCENE button).
Note:
•
If the Chronos
TM
System Bridge is not configured to bridge systems, Phantom Buttons cannot be assigned to
Master Controls and this procedure does not apply.
• Chronos
System Bridge Whole-home scenes will not work with Master Controls shipped prior to January 1,
2001. The buttons on these Master Controls do not send programming necessary to activate
Chronos
System
Bridge scenes. Also, this feature was not supported in RA-RS232 and RA-IR Interfaces shipped prior to
September 1, 2001. For this reason, these older devices cannot be used to activate Whole-home scenes.
Whole-home/Phantom Button Programming
Step 1
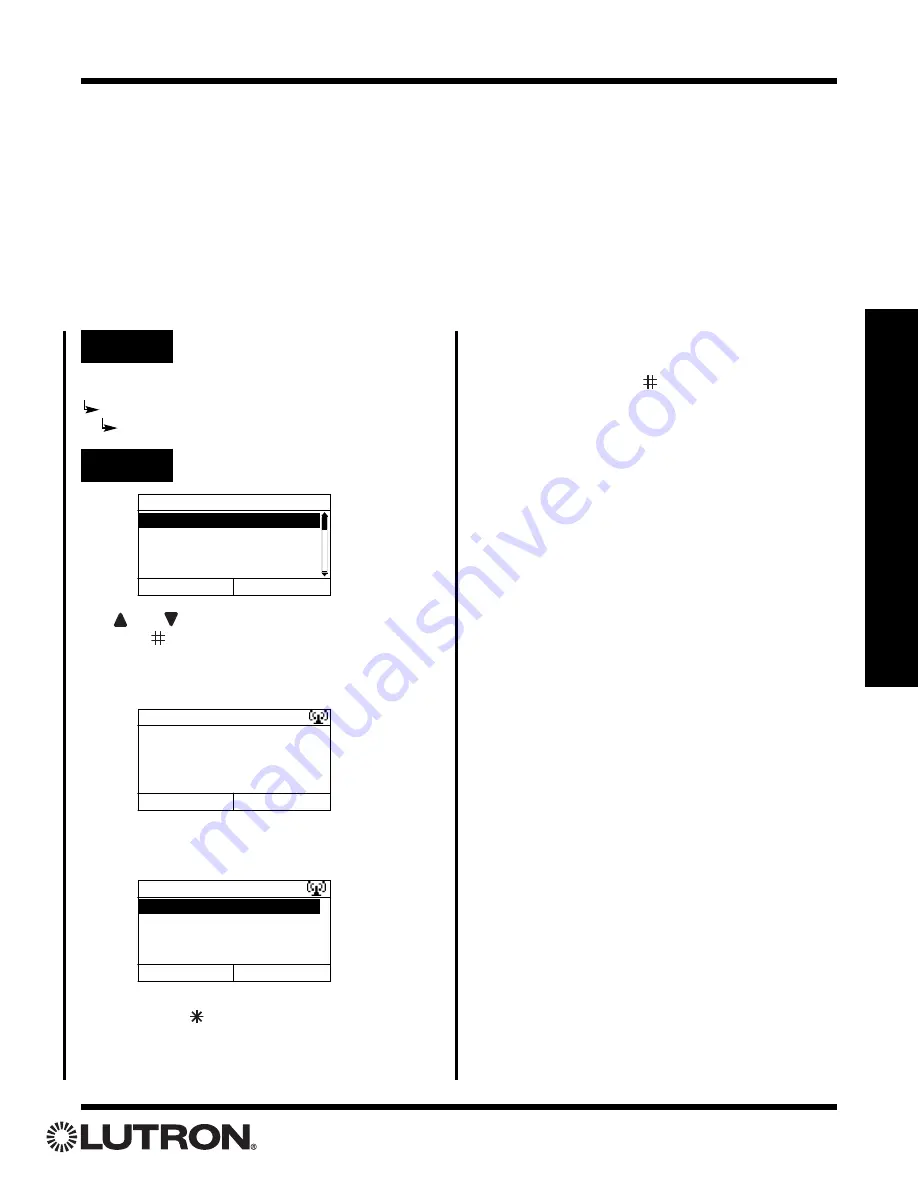
Go to Link to Master Controls
Use
and
to highlight a Phantom Button.
Press
“Select” (
button)
to begin assigning Master
Control Buttons to the highlighted Phantom Button.
The following screen will be displayed:
Pressing a Master Control button will bring up the fol-
lowing screen:
Press “Done” (
button)
to complete assigning
Master Control Buttons to the highlighted Phantom
Button.
Select Button to Link
1. RM - Home
2. RM - Btn 2
3. RM - Btn 3
4. RM - Btn 4
Back
Select
Home Links
No MC buttons have
been linked yet.
Press a Master Control
Back
button to link.
Home Links
System 1, MC 5, Button 3
Done
Delete
Main Menu
Whole-home Button Setup
Link to Master Controls
Step 2
Select Phantom Button
Press “Delete” (
button)
to delete the link
from the highlighted Master Control button.


