EasyMatch QC User’s Manual Version 2.1
UltraScan VIS
11G-35
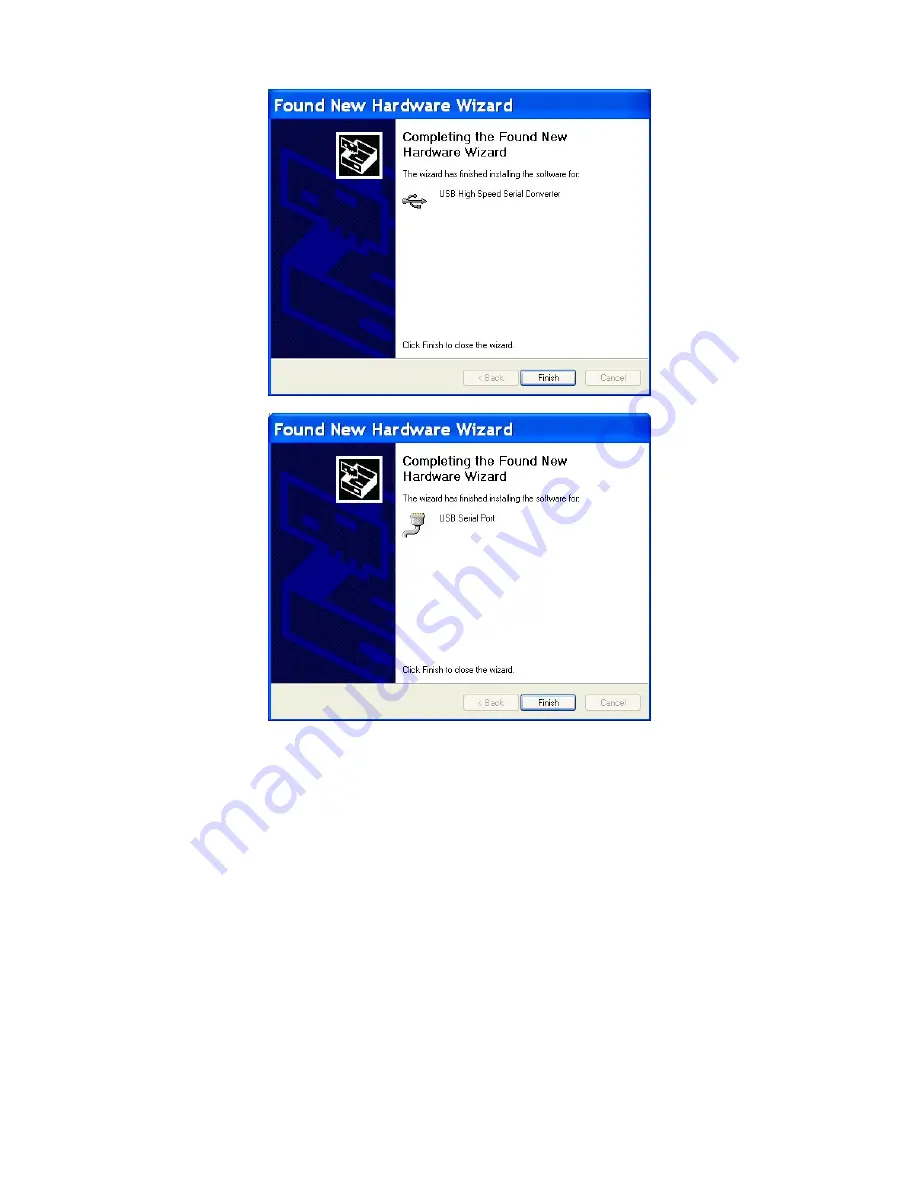
13. The opening screen of the Found New Hardware wizard may appear again. If it does, repeat Steps
10-12. If the screen does not appear again, proceed with Step 14.
14. At the end of the process, observe the Windows “balloons” that appear until the message “Found
New Hardware: Your new hardware is installed and ready to use” is shown. At this point, the
installation CD may be removed.
15. Open the Windows Control Panel and move to the Device Manager.
16. Open the branch labeled “Ports (COM & LPT) and locate the USB Serial Port.
Summary of Contents for EasyMatch QC
Page 11: ...Part I Software Overview...
Page 105: ...EasyMatch QC User s Manual Version 2 1 2 50 Lessons...
Page 112: ...Part II Software Menu Commands...
Page 140: ...EasyMatch QC User s Manual Version 2 1 3 28 The File Menu...
Page 150: ...EasyMatch QC User s Manual Version 2 1 3 38 The File Menu...
Page 156: ...EasyMatch QC User s Manual Version 2 1 5 2 The View Menu Toolbar is not displayed...
Page 227: ...Part III Instruments...
Page 290: ...Part IV Reference...
Page 325: ...EasyMatch QC User s Manual Version 2 1 Measurement Values A 35...


