EasyMatch QC User’s Manual Version 2.1
3-20
The File Menu
File/Print Job Setup
The
Print Job Setup
command in the
File
menu allows you to lay out a report that will be printed when
you select
Print Job
from the
File
menu or click the
button on the default toolbar. All of the data
views currently in your job except the Job Tree may be printed as part of your report. When you print
the report, data for all the samples and standards currently selected in your Job Tree for display in the
other views will be printed.
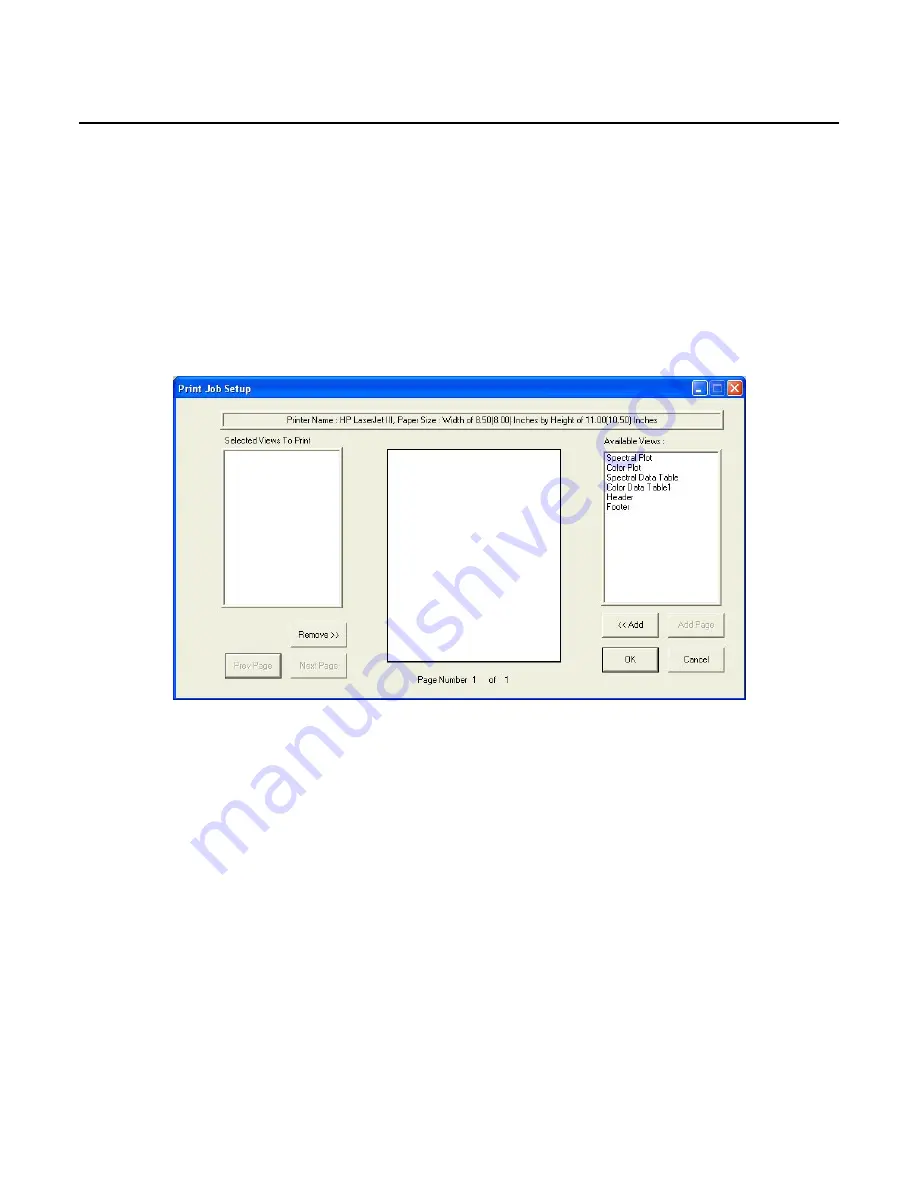
When
Print Job Setup
is selected, the Print Job Setup screen is obtained. The printer and paper size as
designated for your Windows default printer will be shown at the top of the screen and all of the data
views in the current job are shown under Available Items. The header and footer configured in
Header/Footer Setup
and company logo configured in
Configure Company Logo
(discussed earlier in
this chapter) may also be placed in the report.
To add an item to your report, highlight it in the Available Items list on the right side of the display by
clicking on its name and then click the
<<Add
button. The item is moved to the Selected Items box and
is assigned a representative color. You may remove an item added in error by highlighting it in the
Selected Items list and using the
Remove>>
button.
To configure the size and location of an item on the page, highlight it in the Selected Items list on the
left side of the screen. Then click the mouse on the page representation in the middle of the screen
where you wish to locate one of the corners of the view. Hold the mouse button and drag to the location
of the opposite corner. Then release the mouse button. The colored box indicates the location and size
of that data view. It may be altered at any time using the same procedure.
Summary of Contents for EasyMatch QC
Page 11: ...Part I Software Overview...
Page 105: ...EasyMatch QC User s Manual Version 2 1 2 50 Lessons...
Page 112: ...Part II Software Menu Commands...
Page 140: ...EasyMatch QC User s Manual Version 2 1 3 28 The File Menu...
Page 150: ...EasyMatch QC User s Manual Version 2 1 3 38 The File Menu...
Page 156: ...EasyMatch QC User s Manual Version 2 1 5 2 The View Menu Toolbar is not displayed...
Page 227: ...Part III Instruments...
Page 290: ...Part IV Reference...
Page 325: ...EasyMatch QC User s Manual Version 2 1 Measurement Values A 35...


