Ma
int
enanc
e
170
5
5.9
Adjusting Gradation
5.9.1
Gradation Adjustment
When the color gradation of the print image is not correct, you can easily adjust
it. Through this gradation adjustment, the image quality of this printer can be
consistently maintained.
To adjust the gradation, print the gradation adjustment chart and compare it with
"Color sample for gradation adjustment" supplied with the printer to get the value
for lighter/darker settings, and then set this value to the printer.
You can specify low density (Low), middle density (Mid), or high density (High)
for C (cyan), M (magenta), Y (yellow), and K (black).
To reset the density values to the default settings after gradation adjustment, set
all values to 0. If all values are set to 0, the gradation adjustment is disabled dur-
ing printing.
●
If color gradation is often incorrect even after gradation adjustment, contact our Customer Support
Center or your dealer.
●
Resetting the density values to the default value (all 0) does not mean that the image quality returns
to the quality that you could get first at installation time. Using the printer for a long period, the
image quality has differed from that at installation time under influence of aging, change in the
environment, and amount printed.
5.9.2
Performing Gradation Adjustment
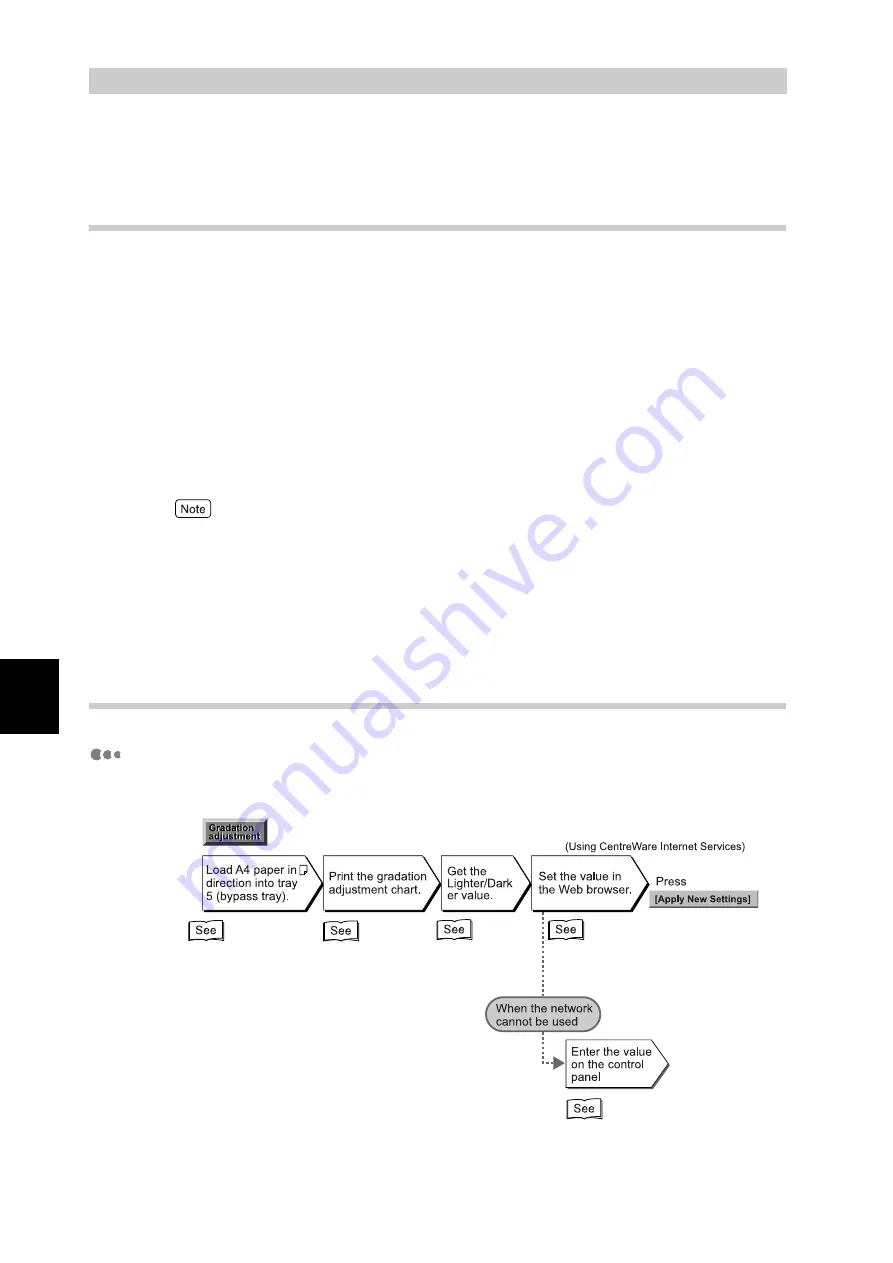
Flow of Gradation Adjustment
Flow of gradation adjustment is as follows.
“Loading Paper into
Tray 5 (Bypass)”(P.126)
“How to get the set-
ting value”(P.172)
“How to enter the value
Entering the value from
Web browser”(P.176)
“How to enter the value Entering the
value on the control panel”(P.178)
Summary of Contents for DocuPrint C4350
Page 1: ...DocuPrint C4350 User Guide...
Page 4: ...ii DocuPrint C4350 Features The DocuPrint C4350 has the following features...
Page 30: ...xxviii...
Page 42: ...1 3 Setting the IP Address 12 Setting up the Printer Environment 1 Setting the IP Address...
Page 44: ...1 3 Setting the IP Address 14 Setting up the Printer Environment 1...
Page 47: ...1 4 Setting the Port 17 Setting up the Printer Environment 1...
Page 49: ...1 4 Setting the Port 19 Setting up the Printer Environment 1...
Page 74: ...3 5 Loading Configuration of Options and Paper Settings for Trays 44 Basic Operations 3...
Page 88: ...4 5 Printing on Non Standard Size Long size Paper 58 Printing 4...
Page 124: ...4 13 Sending a Document to the Printer by E Mail E mail Printing 94 Printing 4...
Page 161: ...5 4 Loading Paper 131 Maintenance 5...
Page 183: ...5 6 Printing Report List 153 Maintenance 5 Print example...
Page 197: ...5 8 Using Power Saver Mode 167 Maintenance 5...
Page 198: ...5 8 Using Power Saver Mode 168 Maintenance 5...
Page 212: ...5 10 Cleaning the Printer 182 Maintenance 5...
Page 282: ...6 8 Troubleshooting When Using E mail Services 252 Troubleshooting 6...
Page 322: ...7 4 List of Common Menu 292 Setting Common Menu 7 From the previous page To the next page...
Page 323: ...7 4 List of Common Menu 293 Setting Common Menu 7 From the previous page To the next page...
Page 324: ...7 4 List of Common Menu 294 Setting Common Menu 7 From the previous page To the next page...
Page 325: ...7 4 List of Common Menu 295 Setting Common Menu 7 From the previous page To the next page...
Page 326: ...7 4 List of Common Menu 296 Setting Common Menu 7 From the previous page...
Page 339: ...A Main Specifications 309 Appendix Simpli fied Chi nese PCL5 and ESC P ShuSong Optional...
Page 368: ...338 Index...


