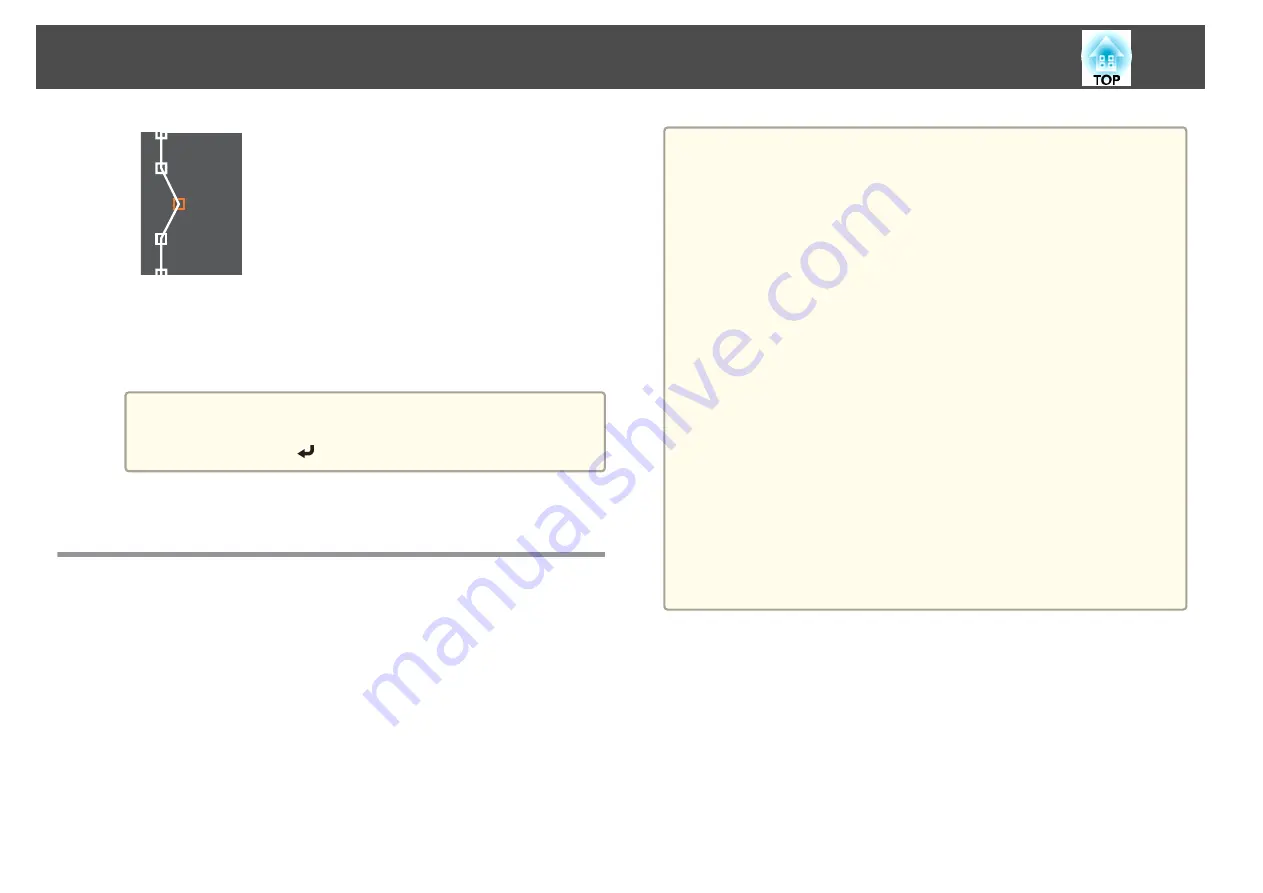
To continue to move another point, press the [Esc] button to return
to step 12, and then repeat steps 12 and 13.
To adjust another boundary line, press the [Esc] button until the
screen for selecting a boundary line from step 9 is displayed.
a
To return
Black Level
to its default value, press the [Esc]
button to return to the screen from step 7, select [Reset], and
then press the [
] button.
h
To complete the adjustment, press the [Menu] button.
Screen Matching
Adjust the tint and brightness for multiple projectors.
When projectors are connected to a network, the tint and brightness for
multiple projectors are automatically adjusted based on the darkest
projector.
When projectors are not connected to a network, or if auto adjustment
does not work, you can adjust the tint and brightness for all projectors
manually.
a
•
We recommend performing Screen Matching at least 20 minutes
after turning on the projector or canceling the shutter function.
•
To increase the accuracy of adjustments, we recommend darkening
the room while projecting images and then making adjustments.
•
Perform the following on the master projector before starting
adjustments.
- Set the
Color Mode
to
Multi-Projection
with the remote
control's [Color Mode] button.
- Press the [Shutter] button on the remote control to release the
shutter function.
- Adjust the following items on the Image menu as necessary.
Brightness, Contrast, Color Saturation, Tint, White Balance,
Advanced
s
- Set the brightness of the projected image.
s
•
When there are large differences in the brightness for each projector
due to aging light sources, perform Screen Matching again.
•
By using the scheduling function, you can automatically adjust the
tint and brightness at the time you set.
s
•
See the following if Screen Matching does not work correctly.
s
"Automatic adjustments are not performed correctly"
Operating conditions for auto adjustment functions
The auto adjustment functions for Screen Matching are enabled when the
following conditions are met.
•
The screen is flat without any curves or distortions
•
Using a matte white diffusion screen
•
The projection size is 100 to 300 inches
•
The projected image after tiling is rectangular
Multi-Projection Function
92
Summary of Contents for EB-L25000U
Page 1: ...User s Guide ...
Page 13: ...Introduction This chapter explains the names for each part ...
Page 49: ...Basic Usage This chapter explains how to project and adjust images ...
Page 114: ...Security Functions 114 ...
Page 115: ...Configuration Menu This chapter explains how to use the Configuration menu and its functions ...
Page 186: ...m To complete the adjustment press the Menu button Image Maintenance 186 ...
Page 187: ...Appendix ...


