•
There are no gaps between projected images (or part of the images
overlap)
•
Projectors are installed in parallel with the screen
•
The blend width for edge blending is 15 to 45%
a
•
Auto adjustment is not available when using the following lenses.
ELPLR04, ELPLL08, ELPLL07
•
After auto adjustment, lens shift may not work for some lenses.
s
"Adjusting the Position of the Projected Image (Lens Shift)"
Automatically correct the brightness and tint for multiple
projectors
The brightness and tint for the arranged images are adjusted automatically
based on the darkest projector.
a
•
Check the following before starting auto adjustment.
- The projector is connected to the network
- The
Location Setup
for the projector has already been set
- The
Brightness Level
is set to the maximum for all projectors
s
Settings
-
Brightness Settings
-
Light Source Mode
-
Brightness Level
•
Auto adjustment is performed using the camera built into the front
of the projector. Do not block the camera or the projected images.
•
The time necessary for auto adjustment varies according to the
location and number of projectors and can take up to approximately
17 minutes.
•
Settings are auto adjusted for Brightness Settings and Black Level
(
Color Adjustment
only).
•
After making automatic adjustments, Color Uniformity and Color
Matching are returned to their defaults.
a
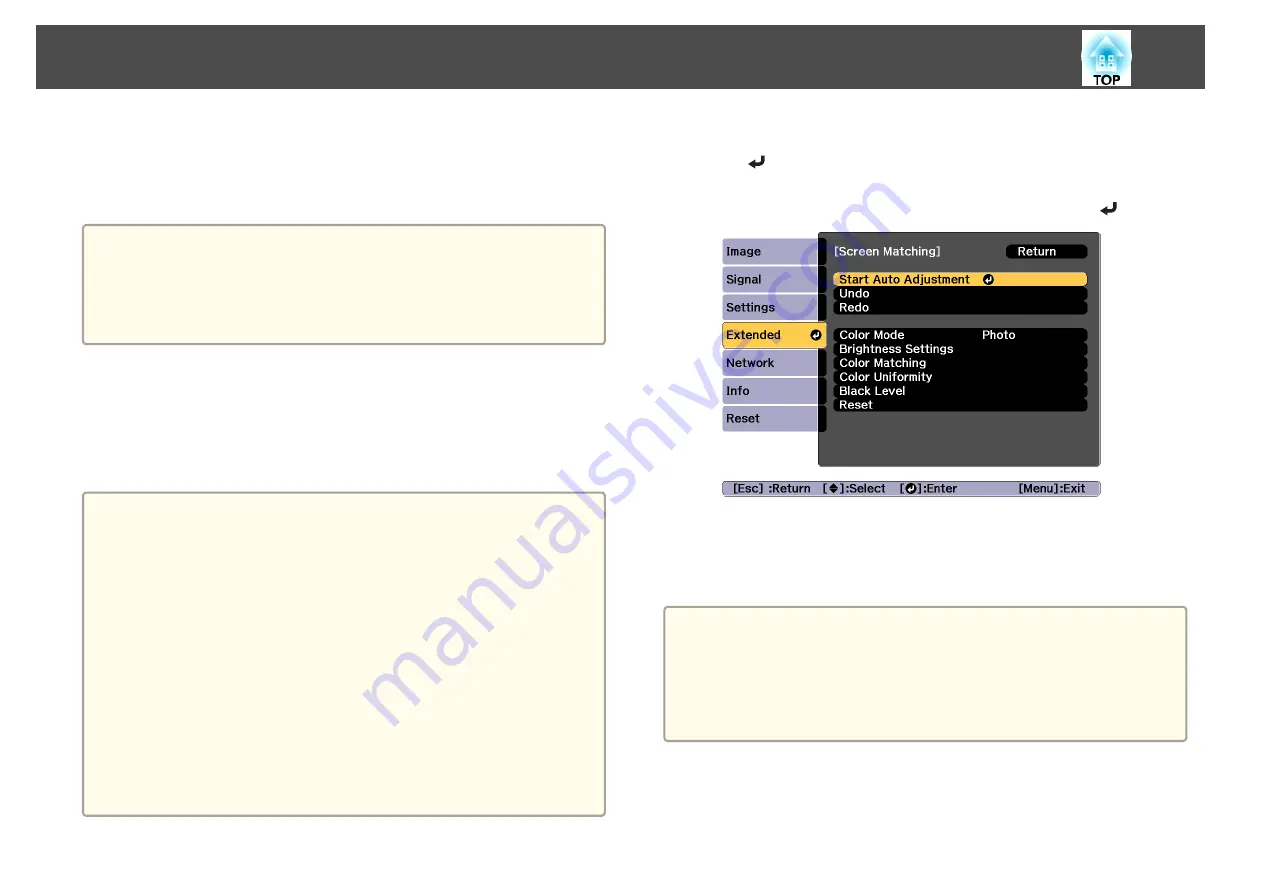
Select
Screen Matching
from
Multi-Projection
, and then press
the [
] button.
b
Select
Start Auto Adjustment
, and then press the [
] button.
The adjustment pattern is displayed, and adjustment starts. If the
projected image is displayed before the adjusting, the procedure is
complete.
a
•
See the following if an error occurs.
s
"Automatic adjustments are not performed correctly"
•
To return to the status before auto adjustment, select
Undo
. When
you select
Redo
after selecting
Undo
, it returns the image to the
status after auto adjustment.
•
To return
Screen Matching
to its default value, select
Reset
.
Multi-Projection Function
93
Summary of Contents for EB-L25000U
Page 1: ...User s Guide ...
Page 13: ...Introduction This chapter explains the names for each part ...
Page 49: ...Basic Usage This chapter explains how to project and adjust images ...
Page 114: ...Security Functions 114 ...
Page 115: ...Configuration Menu This chapter explains how to use the Configuration menu and its functions ...
Page 186: ...m To complete the adjustment press the Menu button Image Maintenance 186 ...
Page 187: ...Appendix ...


