Changing the Aspect Ratio of the Projected
Image
You can change the Aspect Ratio
of the projected image to suit the type,
the ratio of height and width, and the resolution of the input signals.
Available aspect modes vary depending on the Screen Type currently set.
a
Set the
Screen Type
before changing the aspect ratio.
s
Changing methods
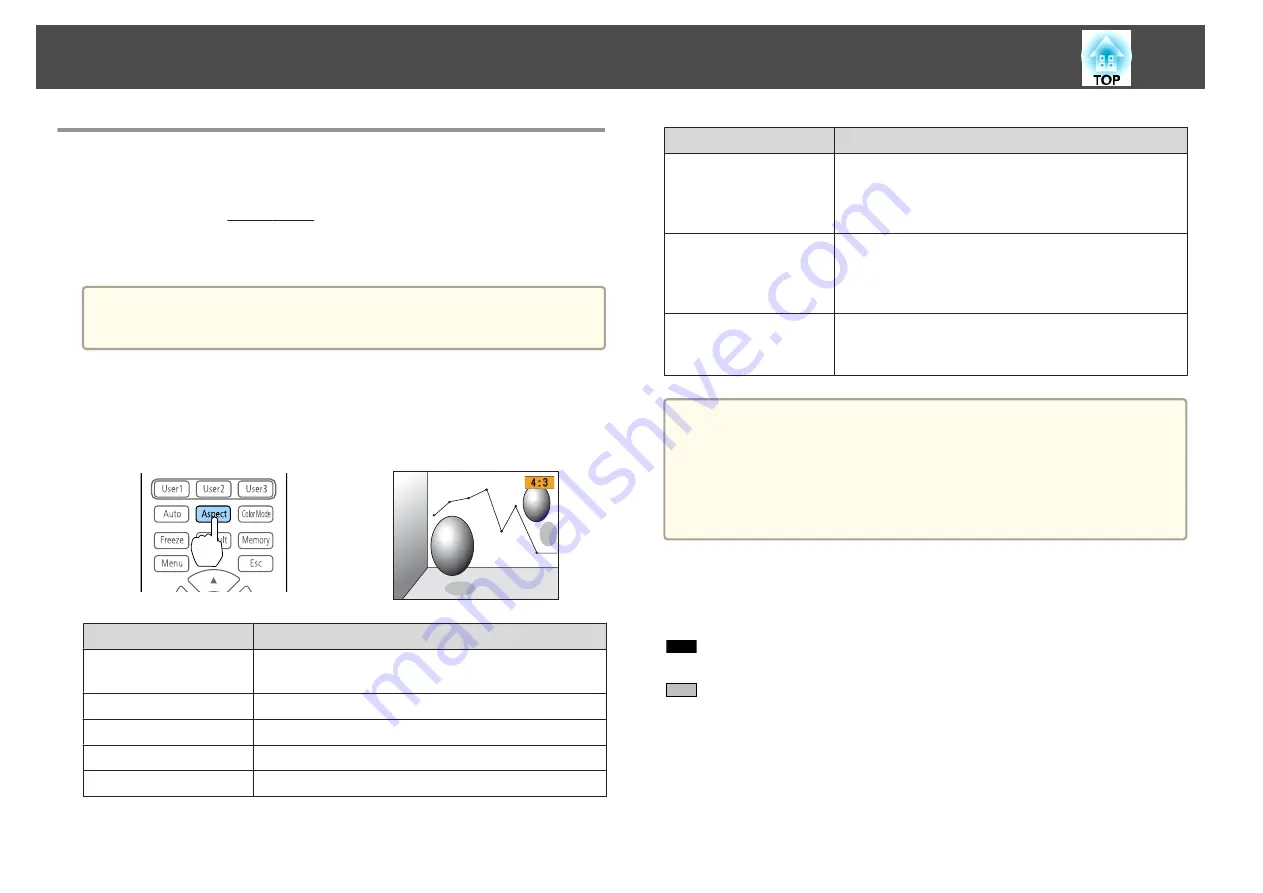
Each time you press the [Aspect] button on the remote control, the aspect
mode name is displayed on the screen and the aspect ratio changes.
Aspect Mode
Explanation
Auto
Projects in an appropriate aspect ratio based on
information from the signal being input.
Normal
Projects while retaining the aspect ratio of the input image.
4:3
Projects at an aspect ratio of 4:3.
16:9
Projects at an aspect ratio of 16:9.
Full
Projects at the full size of the projected screen.
Aspect Mode
Explanation
H-Zoom
Projects by enlarging the input image to the full width of
the projected screen while retaining the aspect ratio. Areas
that exceed the edges of the projected screen are not
projected.
V-Zoom
Projects by enlarging the input image to the full height of
the projected screen while retaining the aspect ratio. Areas
that exceed the edges of the projected screen are not
projected.
Native
Projects to the center of the projected screen at the
resolution of the input image. Areas that exceed the edges
of the projected screen are not projected.
a
•
You can also set the aspect ratio from the Configuration menu.
s
Signal
-
Aspect
•
If parts of the computer image are missing, set the
Resolution
setting to
Wide
or
Normal
from the Configuration menu, according
to the resolution of the computer.
s
Signal
-
Resolution
The aspect mode changes as shown in the tables below.
The following colors in screen images in the tables indicate areas that are
not displayed.
: The area where the image is not displayed depending on the screen
type setting.
: The area where the image is not displayed depending on the aspect
mode setting.
Screen type setting: 16:10
Adjusting Projected Images
71
Summary of Contents for EB-L25000U
Page 1: ...User s Guide ...
Page 13: ...Introduction This chapter explains the names for each part ...
Page 49: ...Basic Usage This chapter explains how to project and adjust images ...
Page 114: ...Security Functions 114 ...
Page 115: ...Configuration Menu This chapter explains how to use the Configuration menu and its functions ...
Page 186: ...m To complete the adjustment press the Menu button Image Maintenance 186 ...
Page 187: ...Appendix ...


