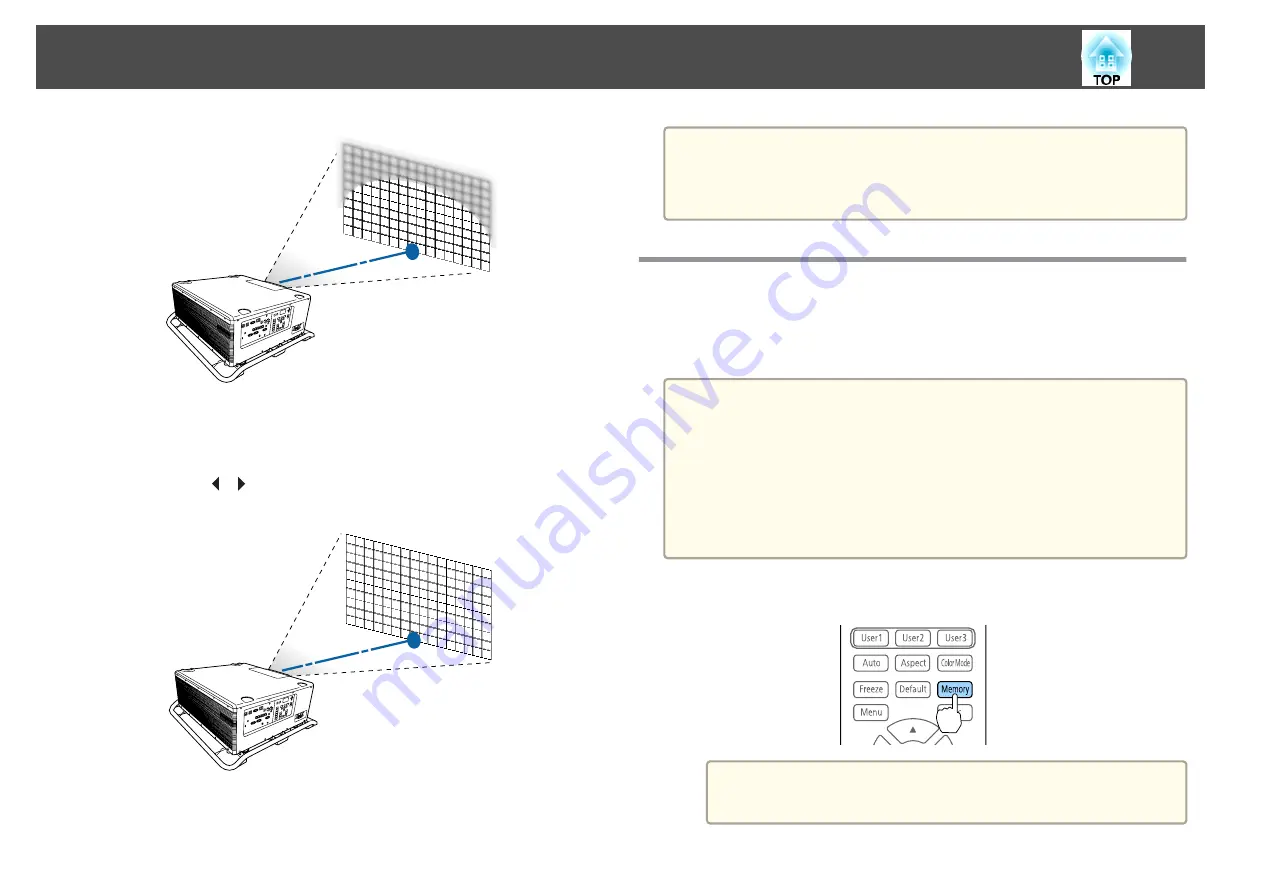
c
Press the [Focus/Distortion] button on the control panel again.
Press repeatedly until the distortion adjustment screen is displayed.
d
Press the [
][
] button to adjust the focus of the surrounding
area.
If the center is out of focus after adjusting the surrounding image,
repeat steps 1 to 2.
a
You can also adjust distortion in images using the remote control.
After adjusting the focus at the center of the image using the [Focus]
button [+] [-], use the [Distortion] button [+] [-] to adjust the
surrounding image.
Registering and Loading Lens Adjustment Values
You can register a lens position whose lens shift, zoom, focus, and
distortion was adjusted in memory, and load it when necessary. You can
register up to 10 values.
a
•
If you did not calibrate your lens, a message is displayed when you
save a memory. Select
Yes
to calibrate the lens.
•
The lens position when a memory is loaded may not completely
match the lens position when the memory was saved.
•
If there is a large discrepancy between the lens position when a
memory is loaded and the lens position when the memory was
saved, calibrate the lens.
s
Extended
-
Operation
-
Lens Calibration
a
Press the [Memory] button while projecting.
a
You can also operate from the Configuration menu.
s
Settings
-
Memory
Installing the Projector
35
Summary of Contents for EB-L25000U
Page 1: ...User s Guide ...
Page 13: ...Introduction This chapter explains the names for each part ...
Page 49: ...Basic Usage This chapter explains how to project and adjust images ...
Page 114: ...Security Functions 114 ...
Page 115: ...Configuration Menu This chapter explains how to use the Configuration menu and its functions ...
Page 186: ...m To complete the adjustment press the Menu button Image Maintenance 186 ...
Page 187: ...Appendix ...


