5.
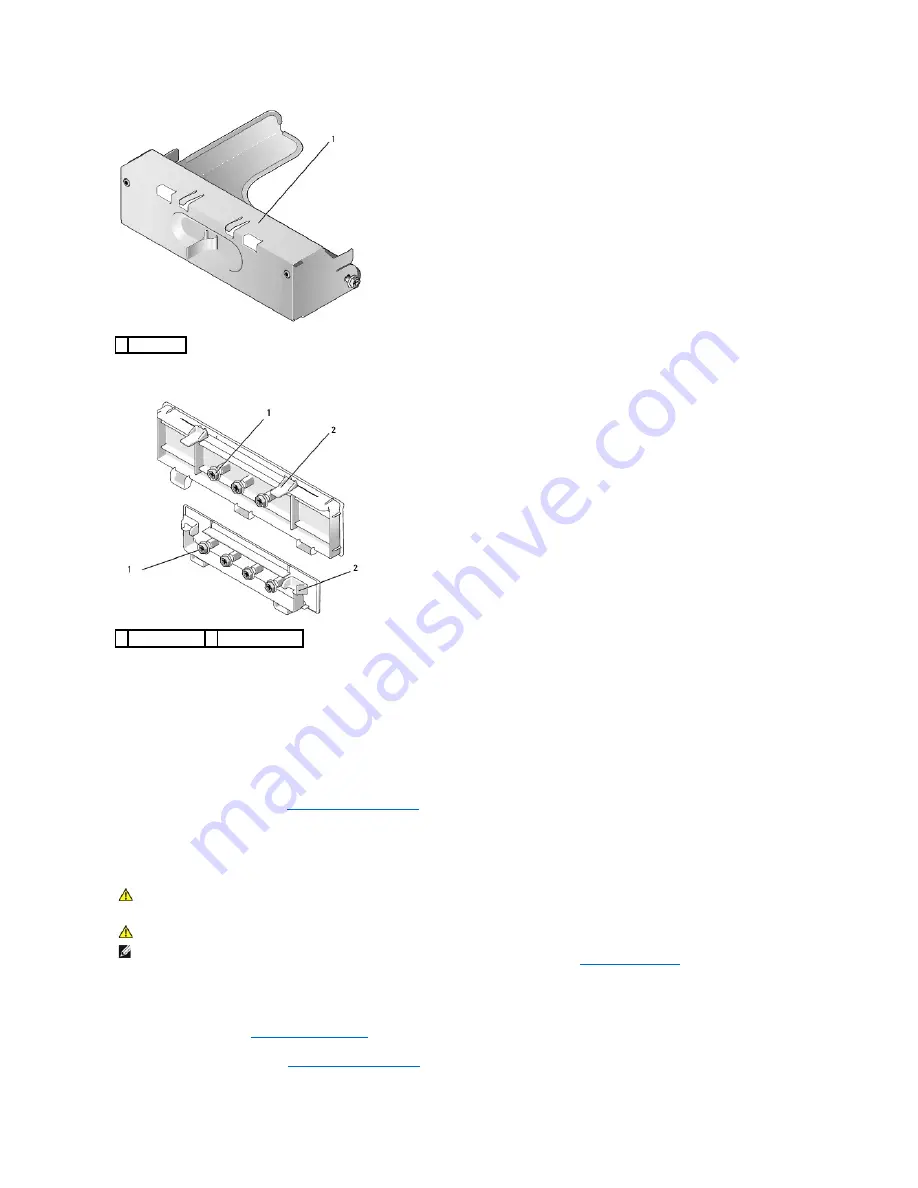
Press the release tabs on the plastic insert and press from behind to remove.
Replacing Drive Inserts
If you are removing a drive, and need to replace the inserts:
1.
Place the plastic insert over the opening and press the insert tab down until the plastic insert snaps into place.
2.
Slide the metal bracket toward the front of the computer and click into place.
3.
Replace the computer cover (see
Replacing the Computer Cover
).
Optical Drive
Removing an Optical Drive
1.
Follow the procedures in
Working on Your Computer
.
2.
Remove the computer cover (see
Removing the Computer Cover
).
1 metal insert
1 shoulder screws 2 plastic drive insert
WARNING:
Before working inside your computer, read the safety information that shipped with your computer. For additional safety best
practices information, see the Regulatory Compliance Homepage at www.dell.com/regulatory_compliance.
WARNING:
To guard against electrical shock, always unplug your computer from the electrical outlet before removing the computer cover.
NOTE:
If you will be operating your computer without an optical drive or a 3.5-inch device (floppy drive or media card reader) installed, the appropriate
drive bay insert must be installed in place of the drive. Contact Dell if you need a drive bay insert. See
Removing Drive Inserts
.
Summary of Contents for OptiPlex 760
Page 29: ......
Page 48: ......
Page 101: ......
Page 106: ...Back to Contents Page 1 release knob ...
Page 140: ...5 Replace the computer cover 6 Turn on power to the computer Back to Contents Page ...
Page 143: ...Back to Contents Page 19 fan connector FAN_CPU ...
Page 146: ...Desktop System Board Screws Small Form Factor System Board Screws 1 screws 9 1 screws 9 ...
Page 148: ...Back to Contents Page ...
Page 157: ...Mini Tower Desktop Small Form Factor Ultra Small Form Factor ...
Page 194: ...7 Replace the cable cover if used Back to Contents Page ...
Page 196: ...Back to Contents Page ...
Page 199: ...5 Replace the computer cover 6 Turn on power to the computer Back to Contents Page ...


